Next weekend, we’re going to a garden party with the theme of ‘A Midsummer Night’s Dream’. Now I need little excuse to dress up, especially if that dressing up can possibly involve tutus. But I’d been pondering a little what to do for Arthur… I was working generally around the idea of ‘woodland elf’, but was having trouble finding anything terribly inspiring. And then we went to my friend’s daughter’s first birthday party. And she was given a tutu. And it looked fabulous.
It got me thinking that maybe I was being a little narrow-minded in not including tutus as part of Arthur’s dressing up repertoire. I mean, tutus come in all sorts of styles and colours, and surely I could find one that would be fun for a little boy? Having trawled the internet though I could find nothing that wasn’t incredibly girly or incredibly expensive. But what I did find was a great little tutorial for no sew tutus – the perfect style for a woodland elf too rather than the more manicured ballerina-esque approach.
Using the tutorial as a guide I rustled up a tutu in no time at all. I’m fairly free-form in my approach to making things, but I’ve tried to break down how I did it here in case you feel the need for a tutu in your life!
Super easy tutus (for girls OR boys)
You will need:
Net in your choice of colour(s) – how much will depend on the size of the tutu, for Arthur’s I used about 4m off the roll
A length of elastic to fit round the waist
Basic sewing kit
Step One:
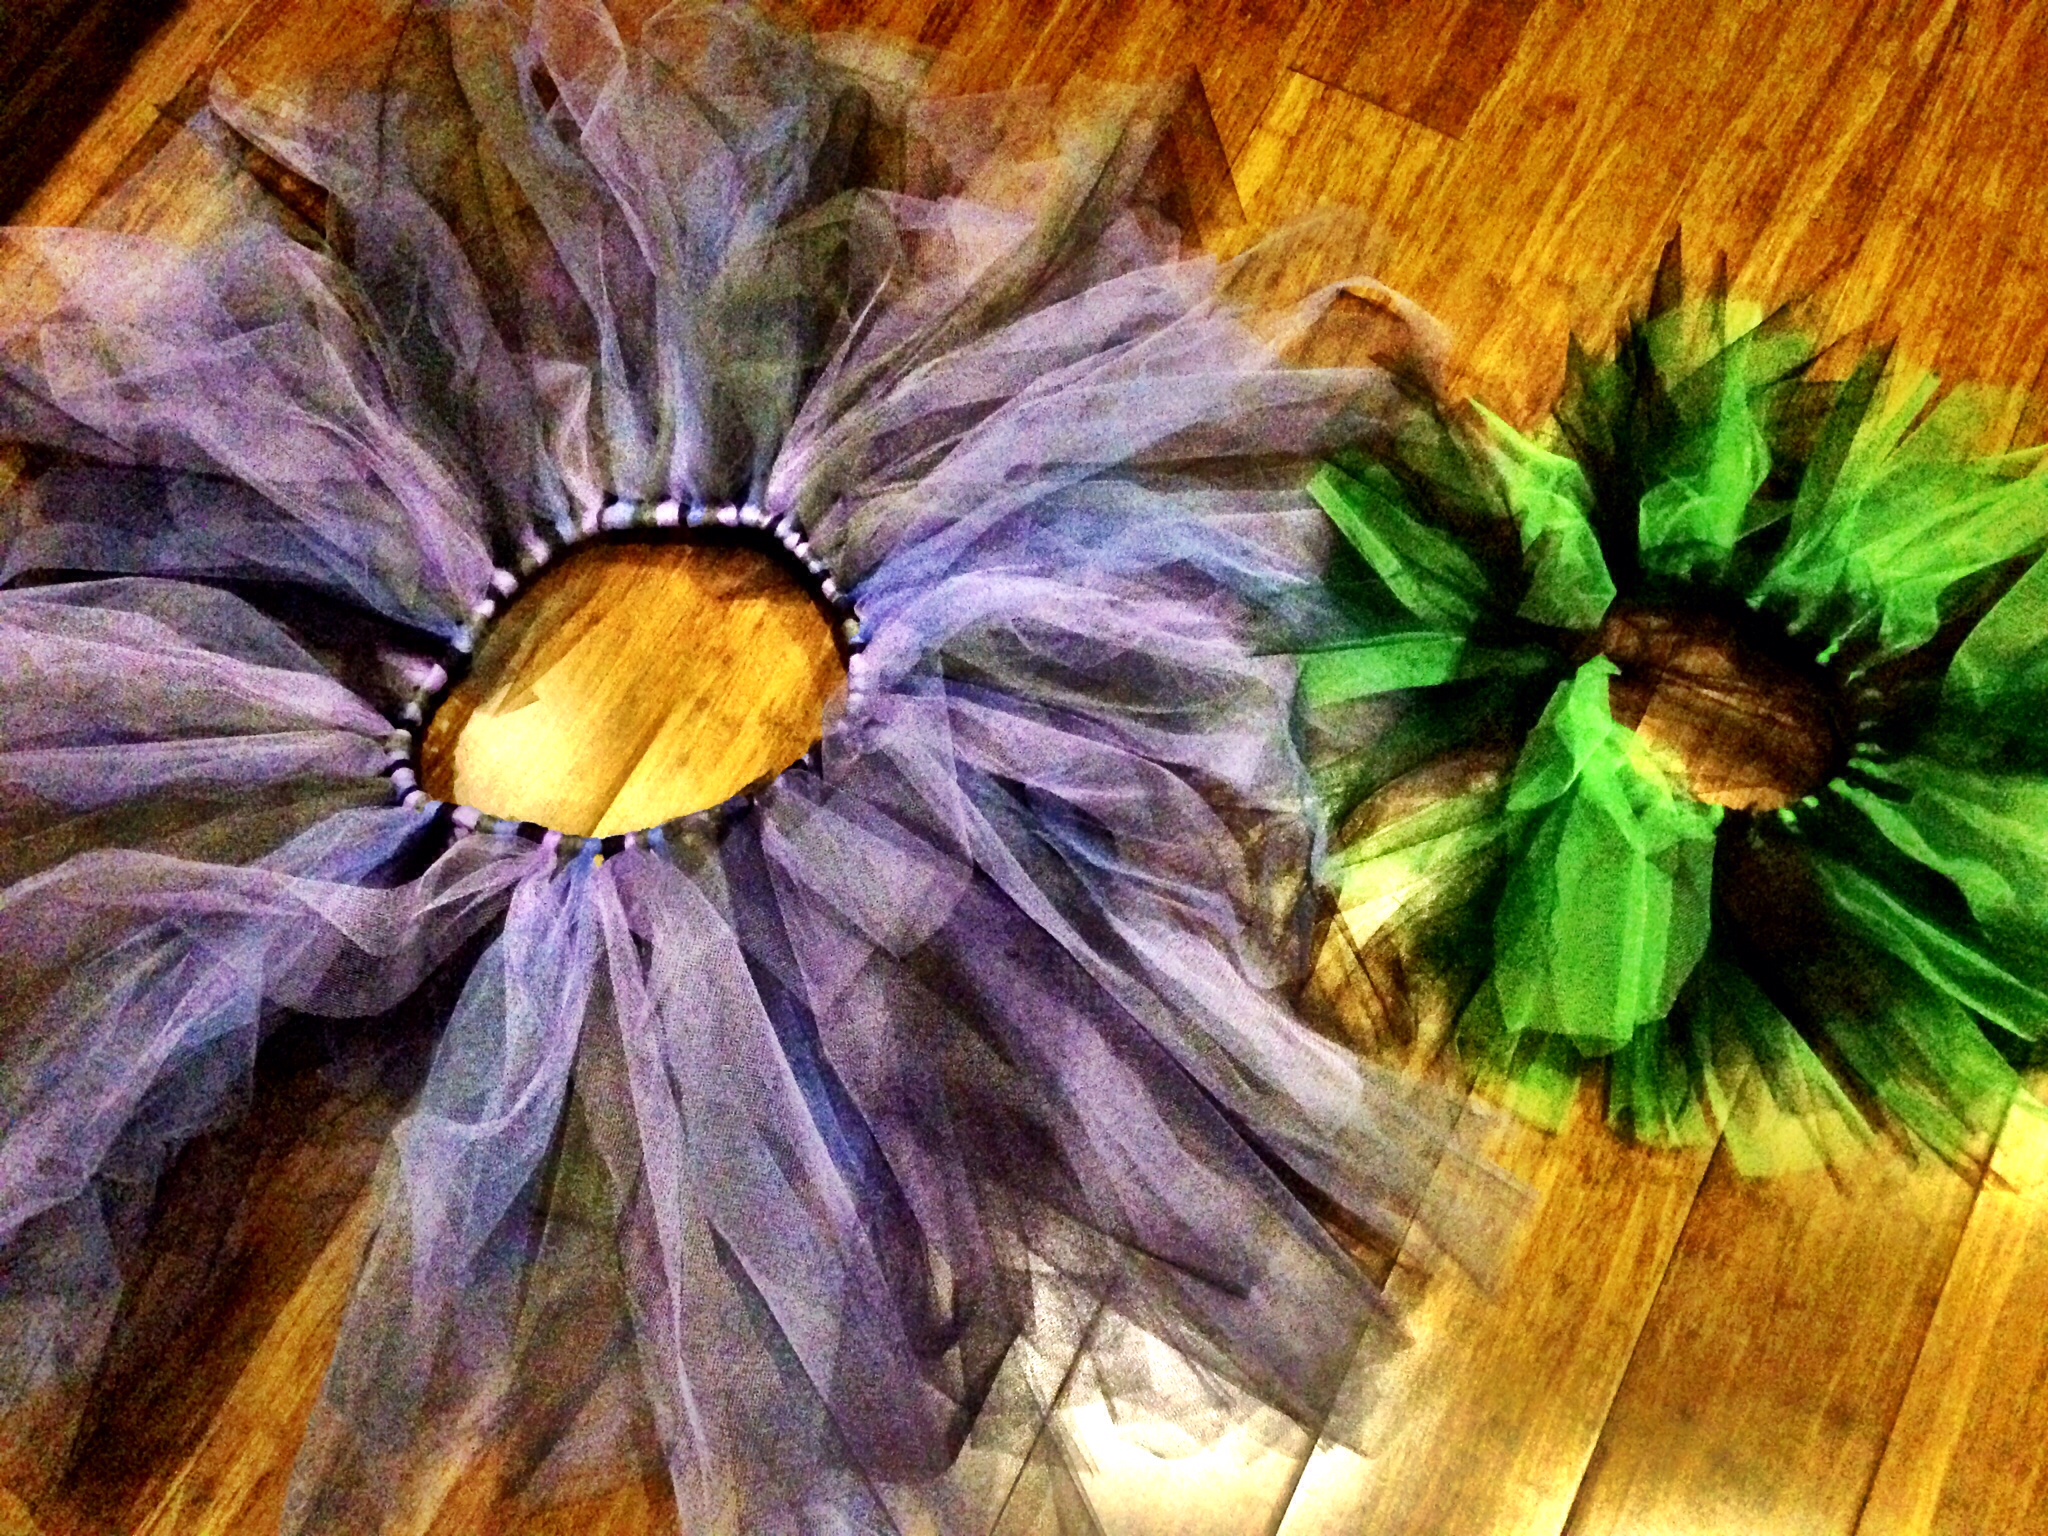
Cut the netting into strips – about 10 cm wide and twice the length you want the finished tutu to be. I used equal amounts of three colours (light green, dark green and brown) which I think looked pretty cool.

Step Two:
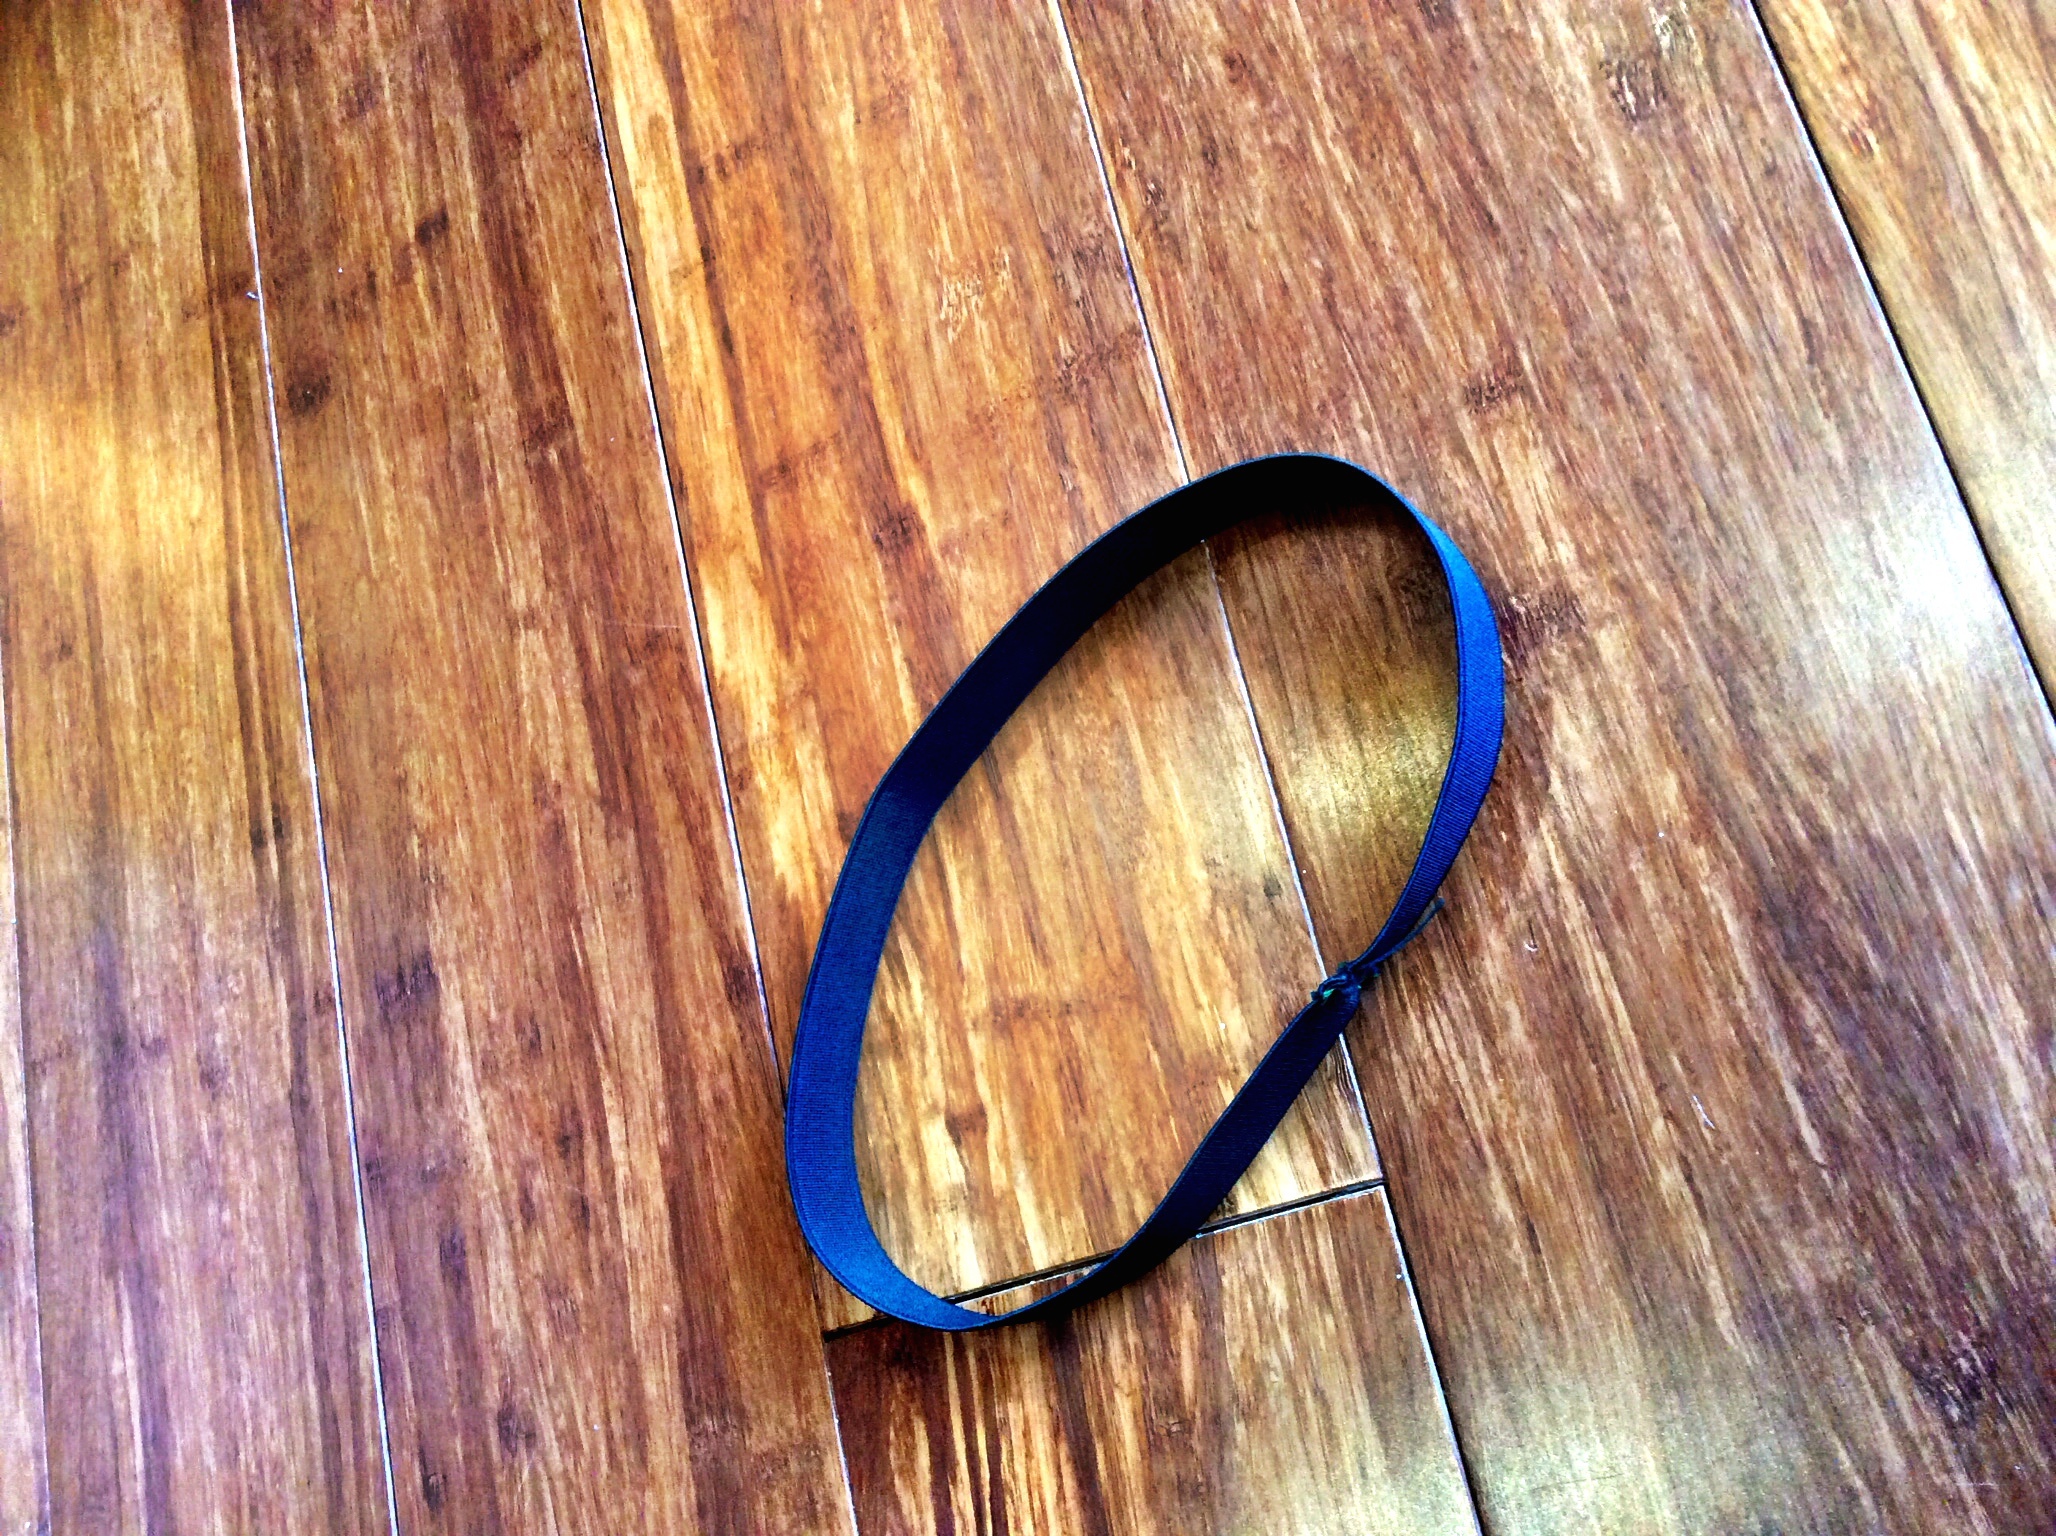
Cut a length of elastic to fit around the waist. You want it to be stretched quite tight as the process of making the tutu loosens it a bit. I sewed the ends of the elastic together, but you could knot it if you prefer.
Step Three:
Find something to use as a frame for making the tutu: you want the elastic to be tight enough not to fall down but not stretched too much. I started off with the piano stool but that was actually a bit too big. The handle of Arthur’s walker was a much better size!
Taking each strip in turn, fold it in half, put the loop at the top over the elastic and then draw the two ends through and pull tight. I didn’t manage to get a very good photo of this process but hopefully you get the idea…
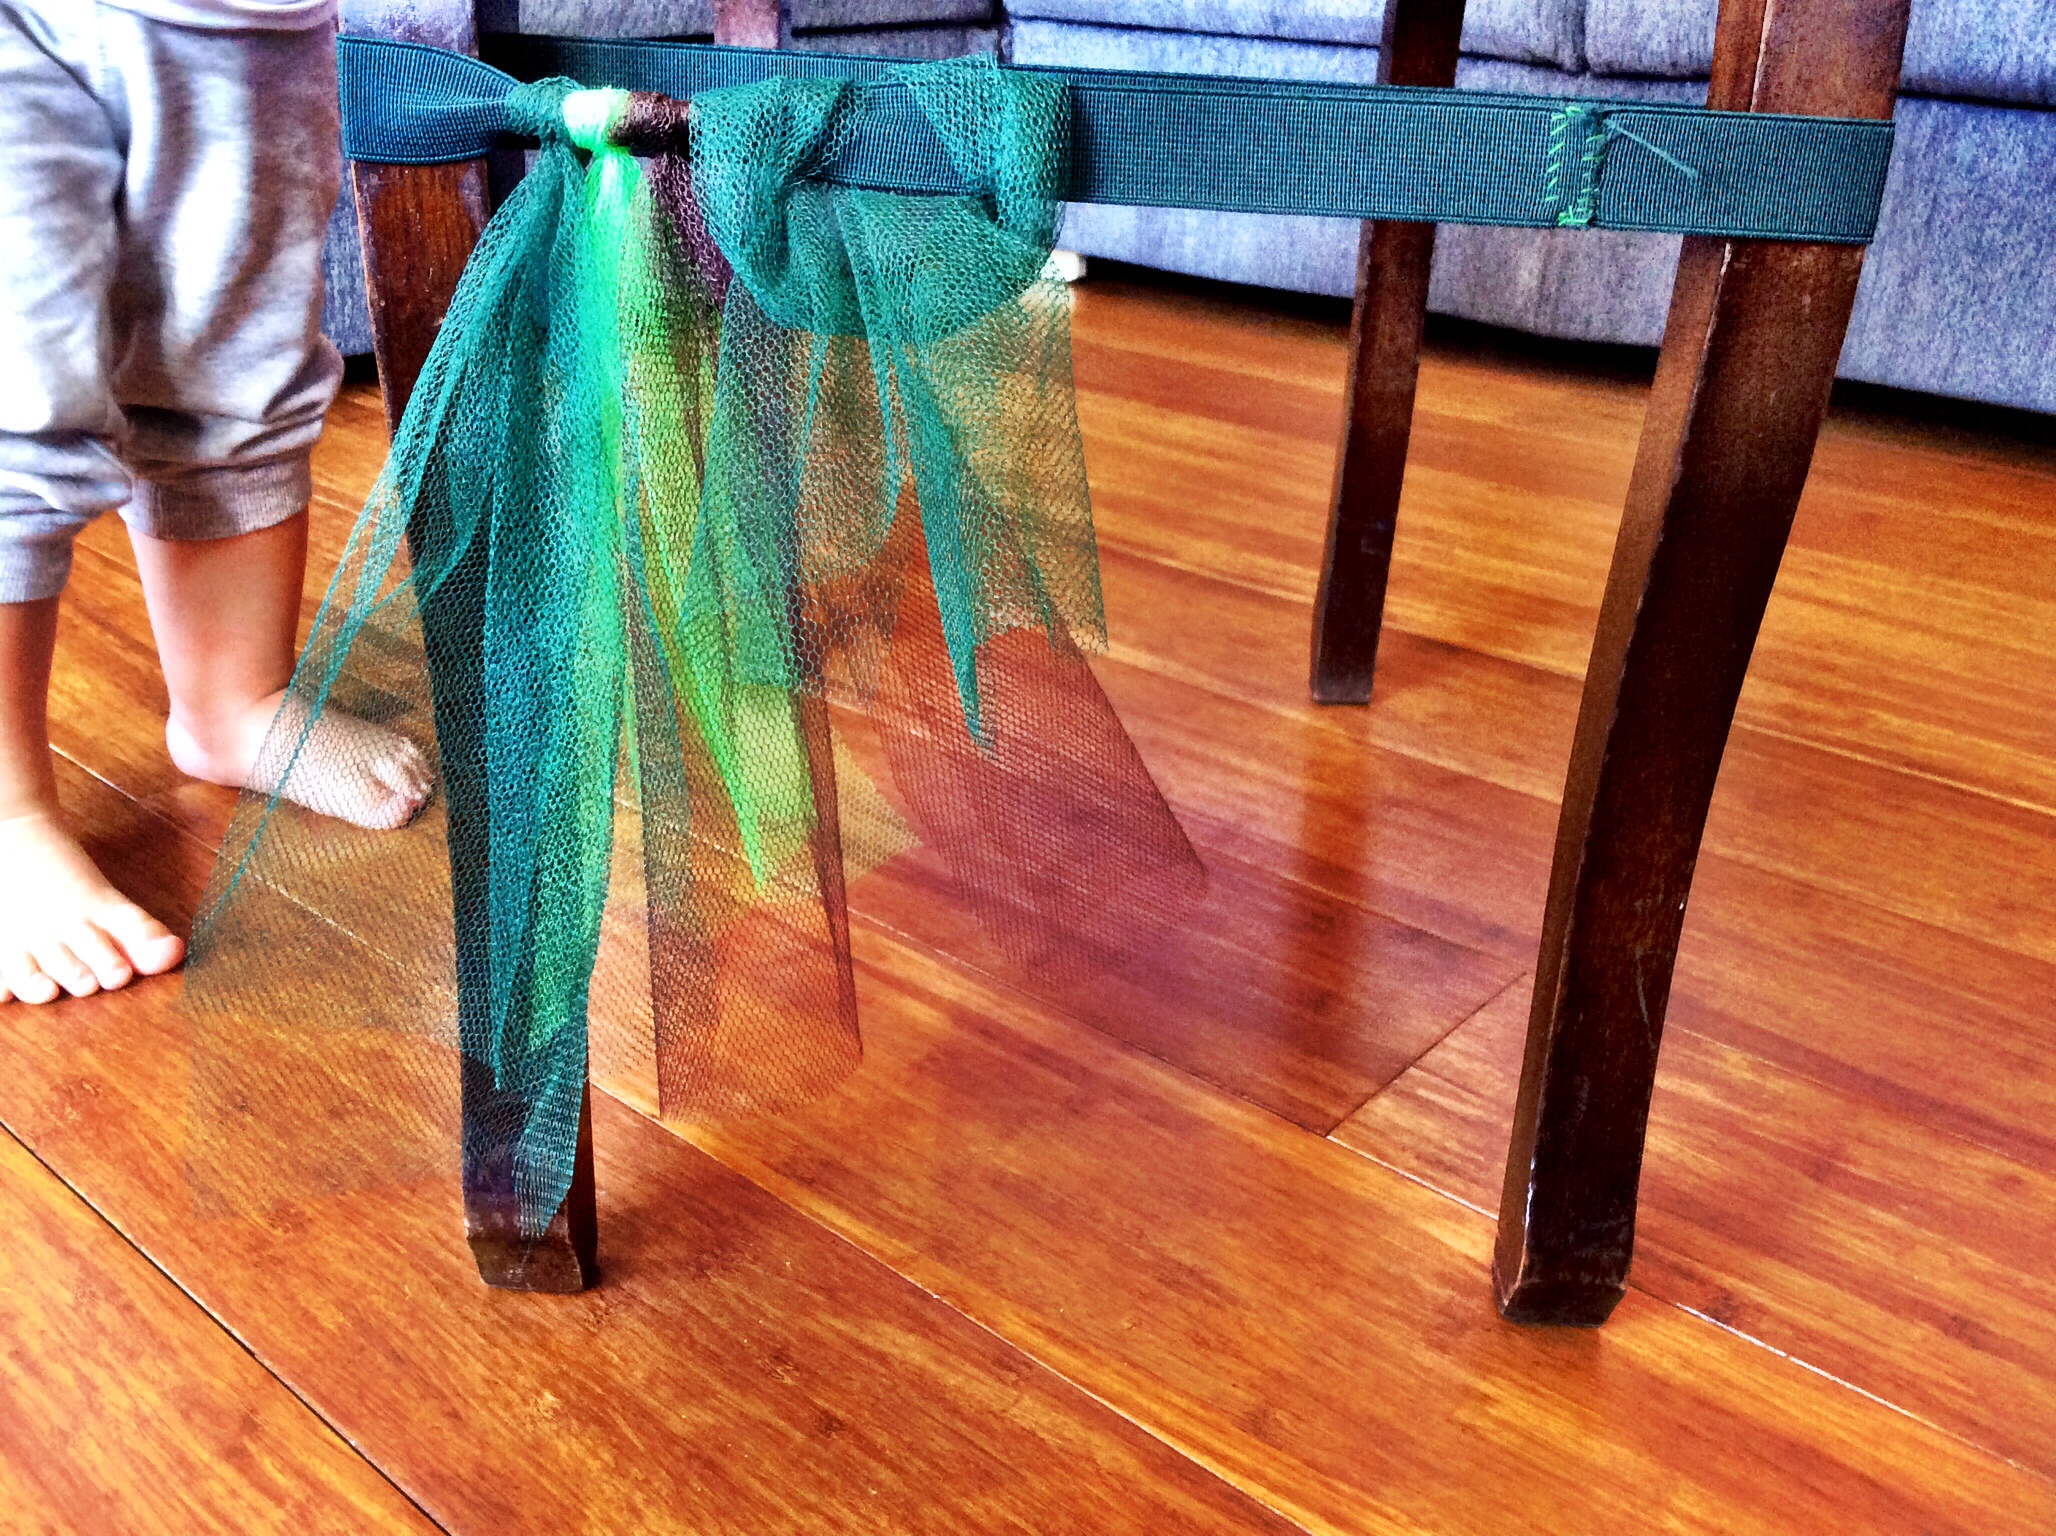
Keep going all the way around the piece of elastic. The tighter the knots the more strips of net you’ll need but the fuller the tutu will be.

Step Four:
Try the tutu on for size!
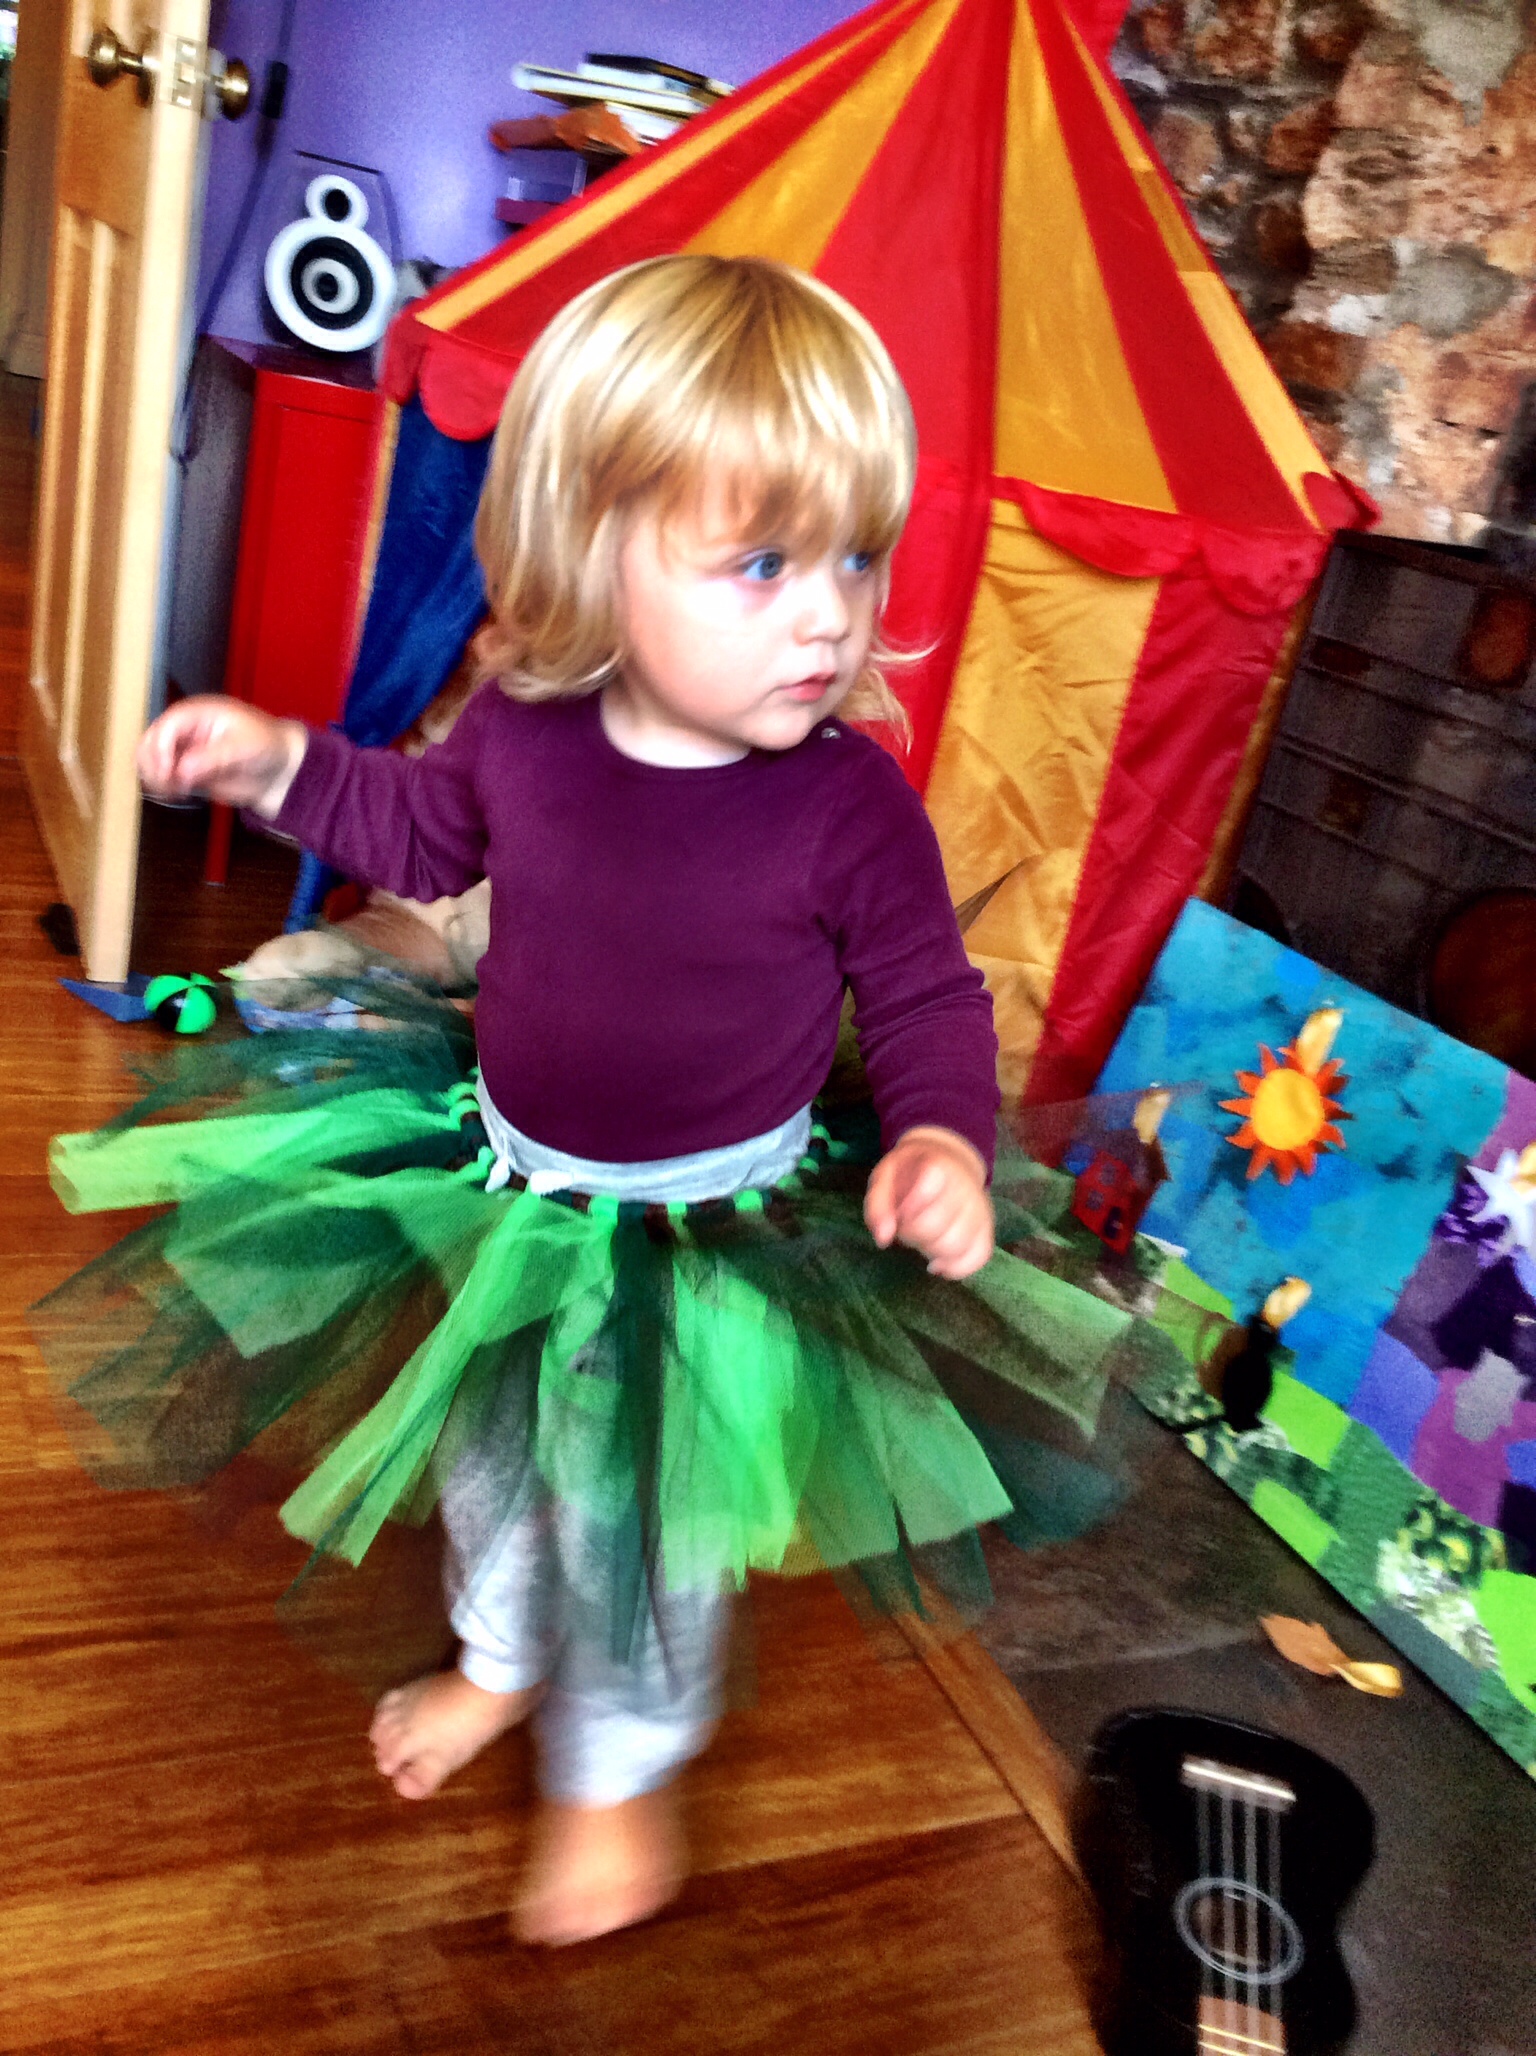
Arthur was a little bit sceptical at first but as you can see from the picture at the top of the post it wasn’t long before he was loving it!
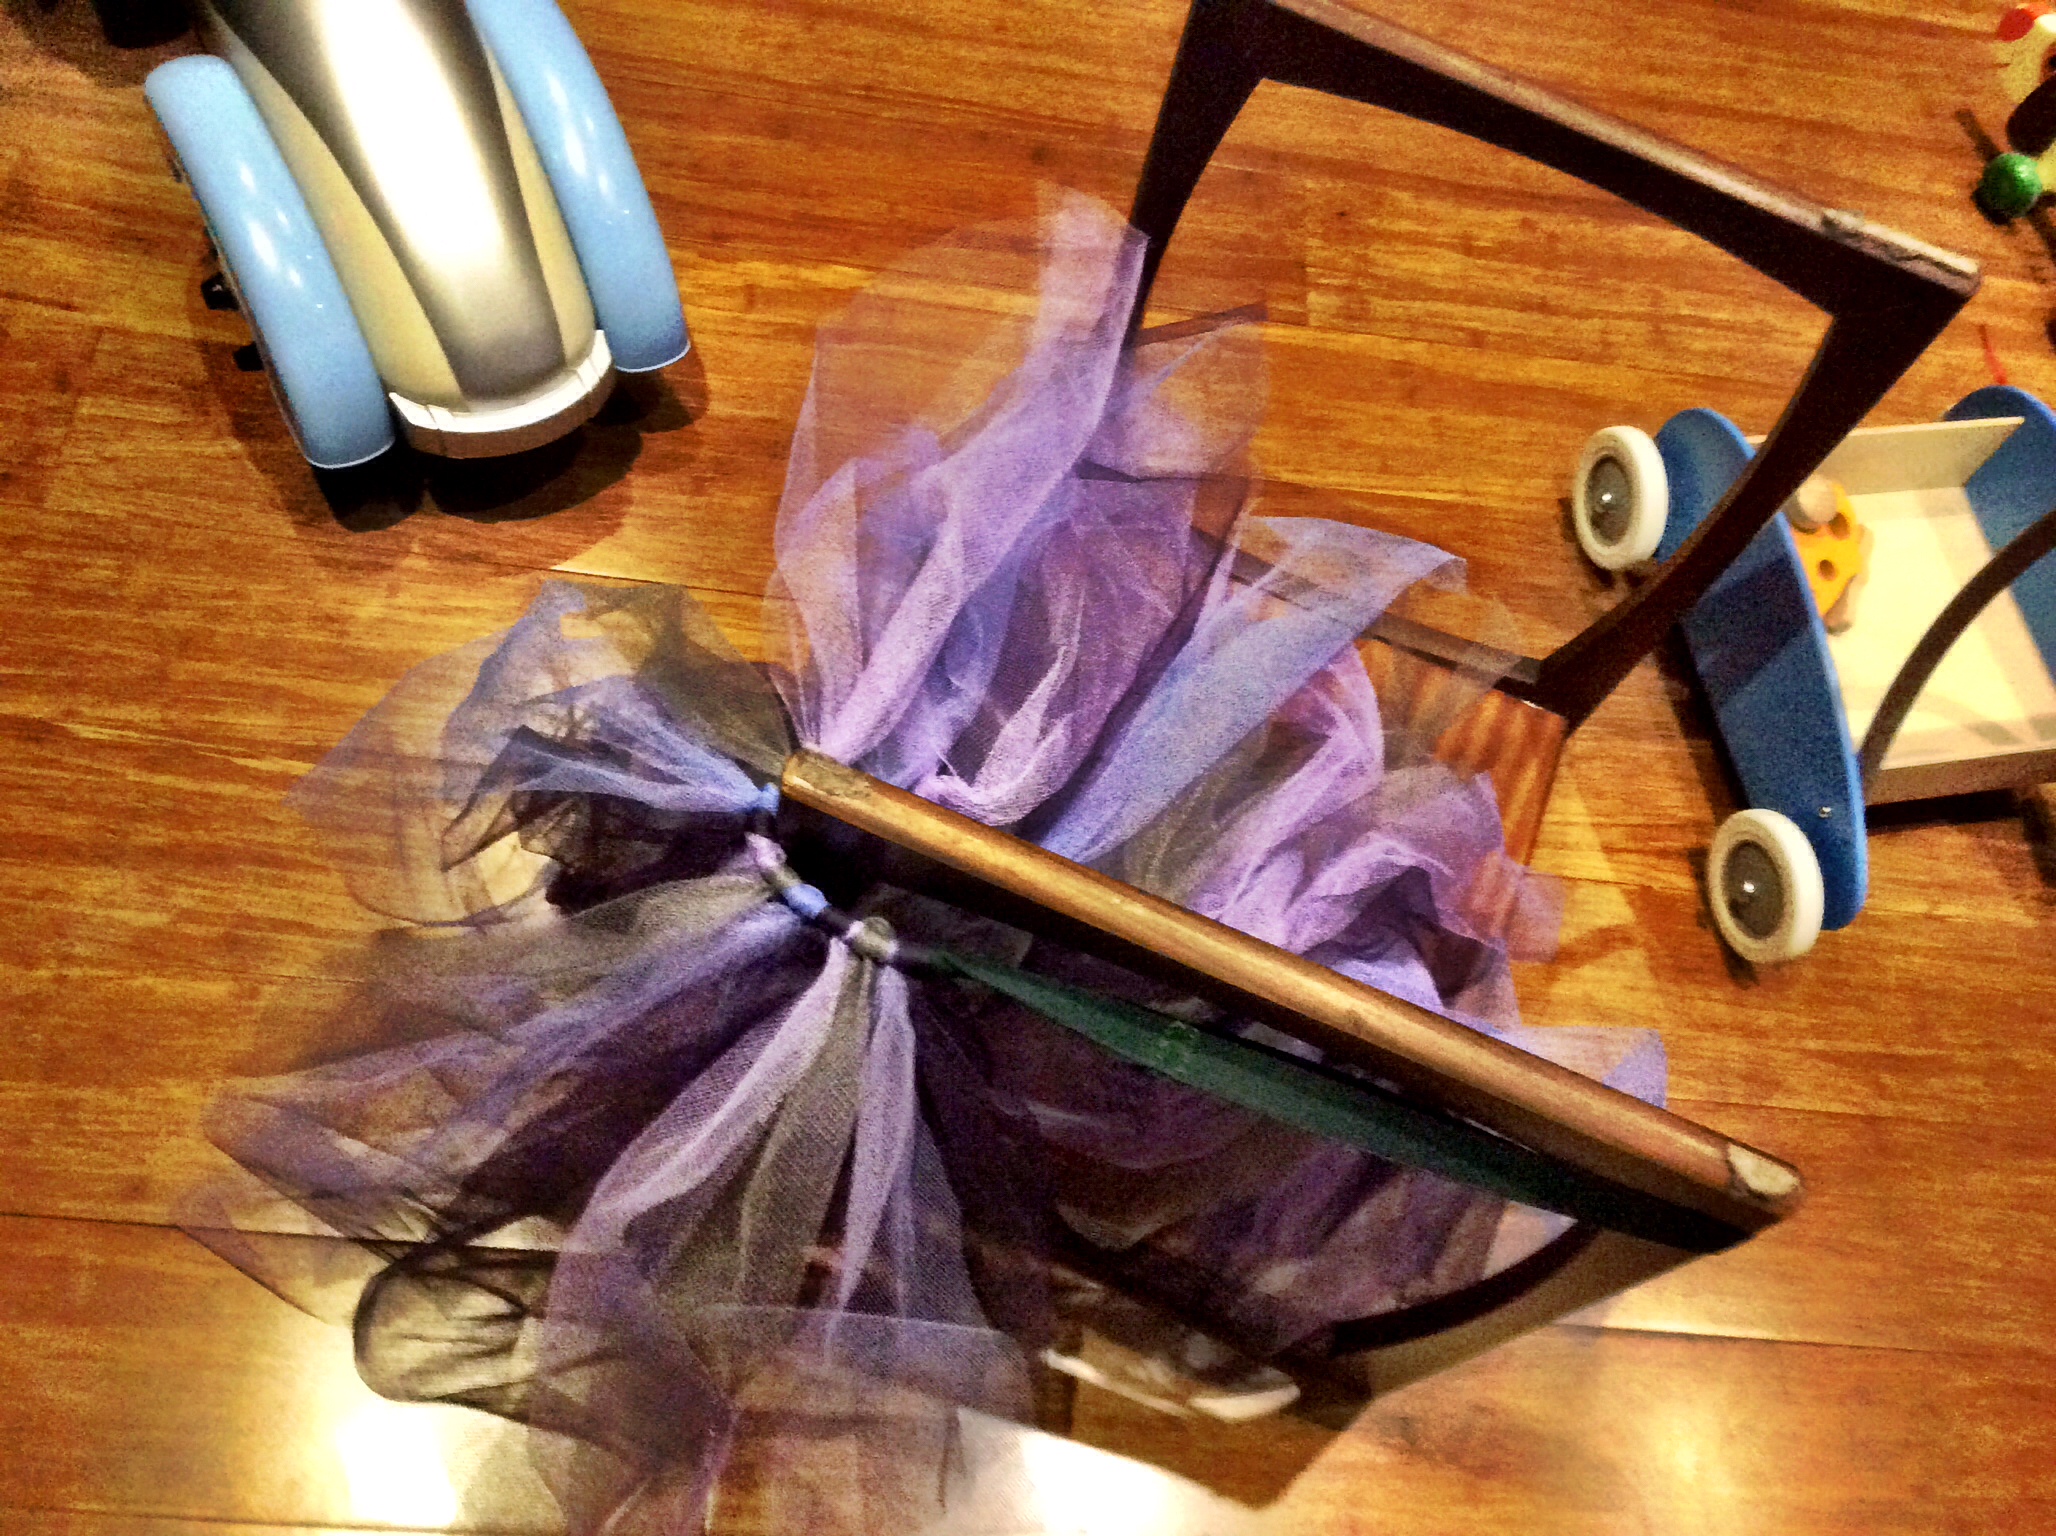
I made one for myself too, following exactly the same process but just sizing everything up. The upturned piano stool was perfect this time.
So there you have it: two gorgeous tutus ready to party.
Leigh was feeling left out by the time I was done so I’ll be making him one too this week. Watch this space to see how his turns out, and also for all of our finished costumes! Just a few more bits to do…