
Last Christmas I got it into my head that it would be a really nice idea to make people’s presents. That was after I’d bought them of course, so it didn’t happen. And once the festive season began to fade my ambitions faded with it: I had a novel to focus on, and there simply wasn’t enough time for any serious crafting.
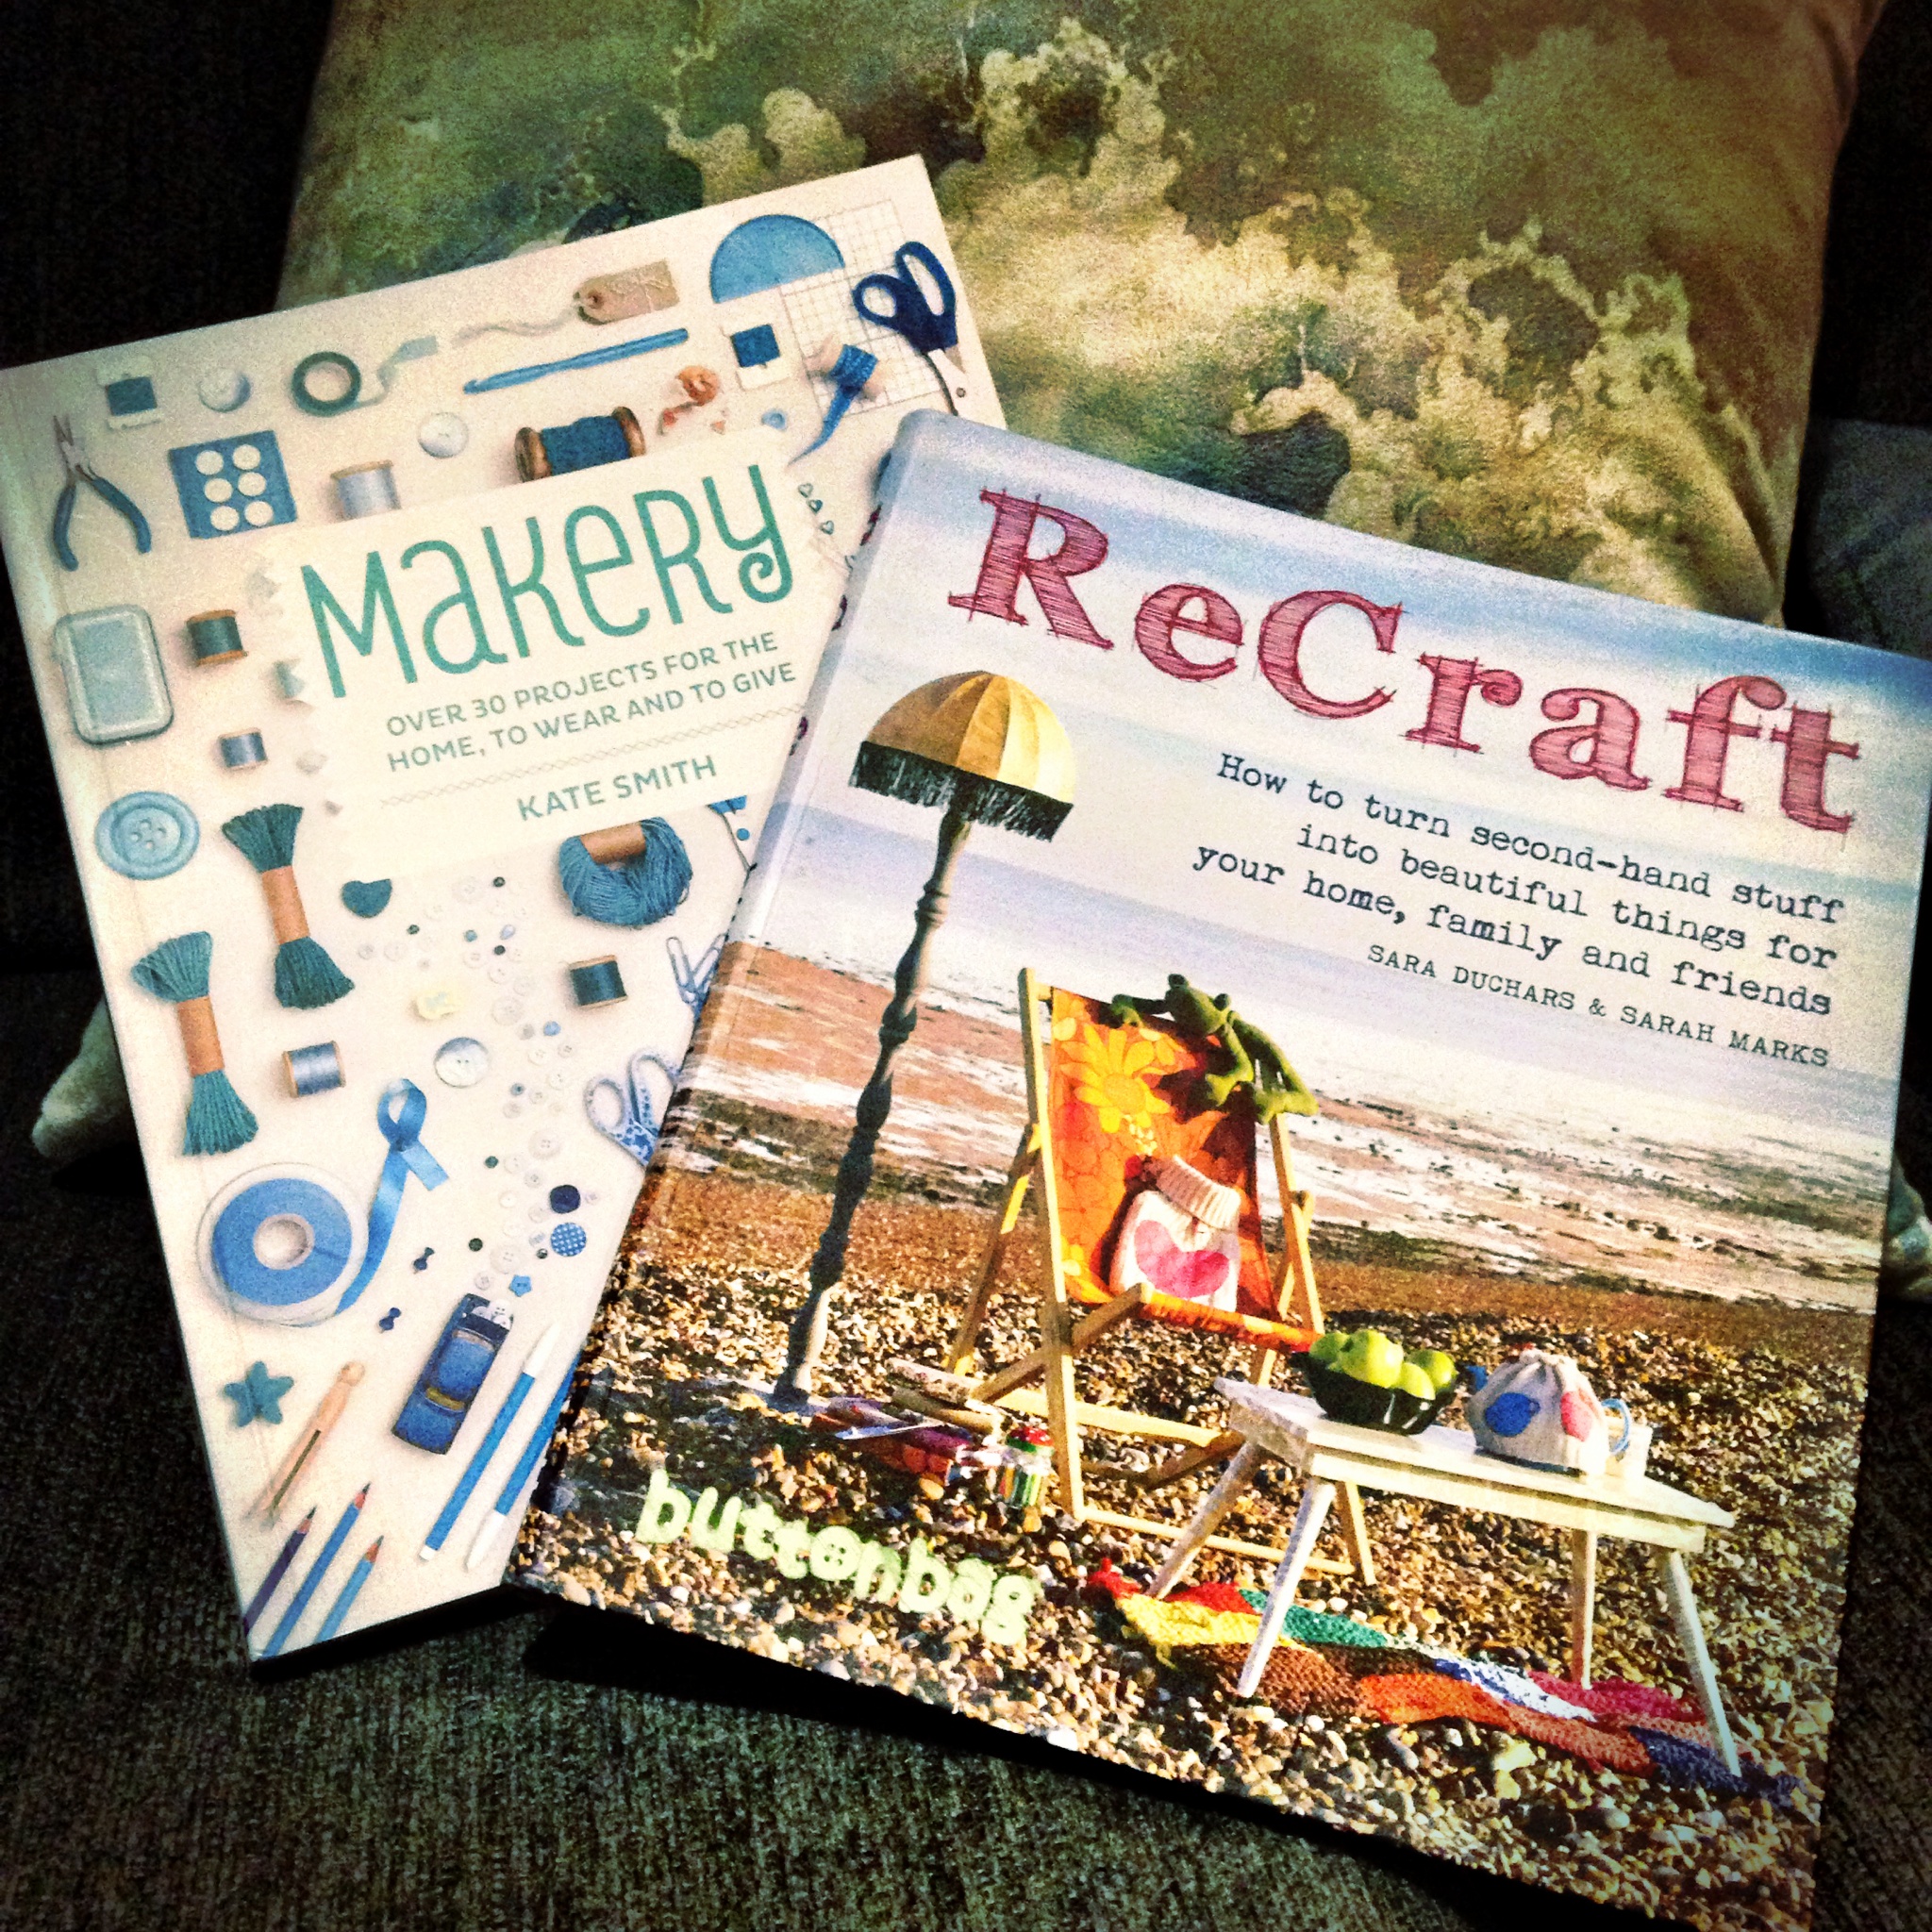
But then in mid-November the thought of a homemade Christmas fired up again. I started looking around for some inspiration, finding two books especially interesting: Makery and ReCraft, both using a combination of found and bought materials to create original and useful pieces.
I honed my ideas, and over the following couple of weeks began to gather the materials I would need. I was starting from a pretty basic set of skills – in fact the amount I was going to have to learn to pull of my plan was a major motivating factor. I had a sewing machine: it had been gifted to me last Christmas, but apart from a length of birthday bunting I’d never actually used it. But in my mind I’d committed by this point so I wasn’t about to give up.
I started small, with some gold necklaces made from refashioned toy animals and personalised notebooks for selected friends. But as Christmas drew ever nearer I realised I was going to have to take the plunge and tackle some of my more complex ideas.
It was a massive learning curve – especially where the sewing machine was concerned. I’d actually made the first few gifts before I realised that I was using it without the UK adapter. It’s a vintage Bernina, and fortunately very forgiving, but that did explain why it had been running at a million miles per hour…
I got over that hurdle, taught myself a few other crafting skills, and with the help of the books, the internet and a healthy dose of imagination, completed my mission a couple of days before Christmas itself.
What follows is a list of my craftings, mainly with pictures (apart from where it seems I got so into the making I forgot to take any) and with links where appropriate. I haven’t included detailed tutorials but I do hope to get round to that in the future – for some of these at least. If there’s anything in particular you’d like to know more about then please let me know in the comments!
For the kids
There were three children I wanted to make presents for: Arthur (nearly two) and his two cousins, aged three and five.
For Arthur I had decided months ago I wanted to make a doll. Having trawled the internet for ideas I decided on a Waldorf doll: I liked the principles behind it, and the fact that I could tailor it to suit him. There’s lots more I could – and will at some stage – say about this project, but I was generally pretty happy with how it turned out.

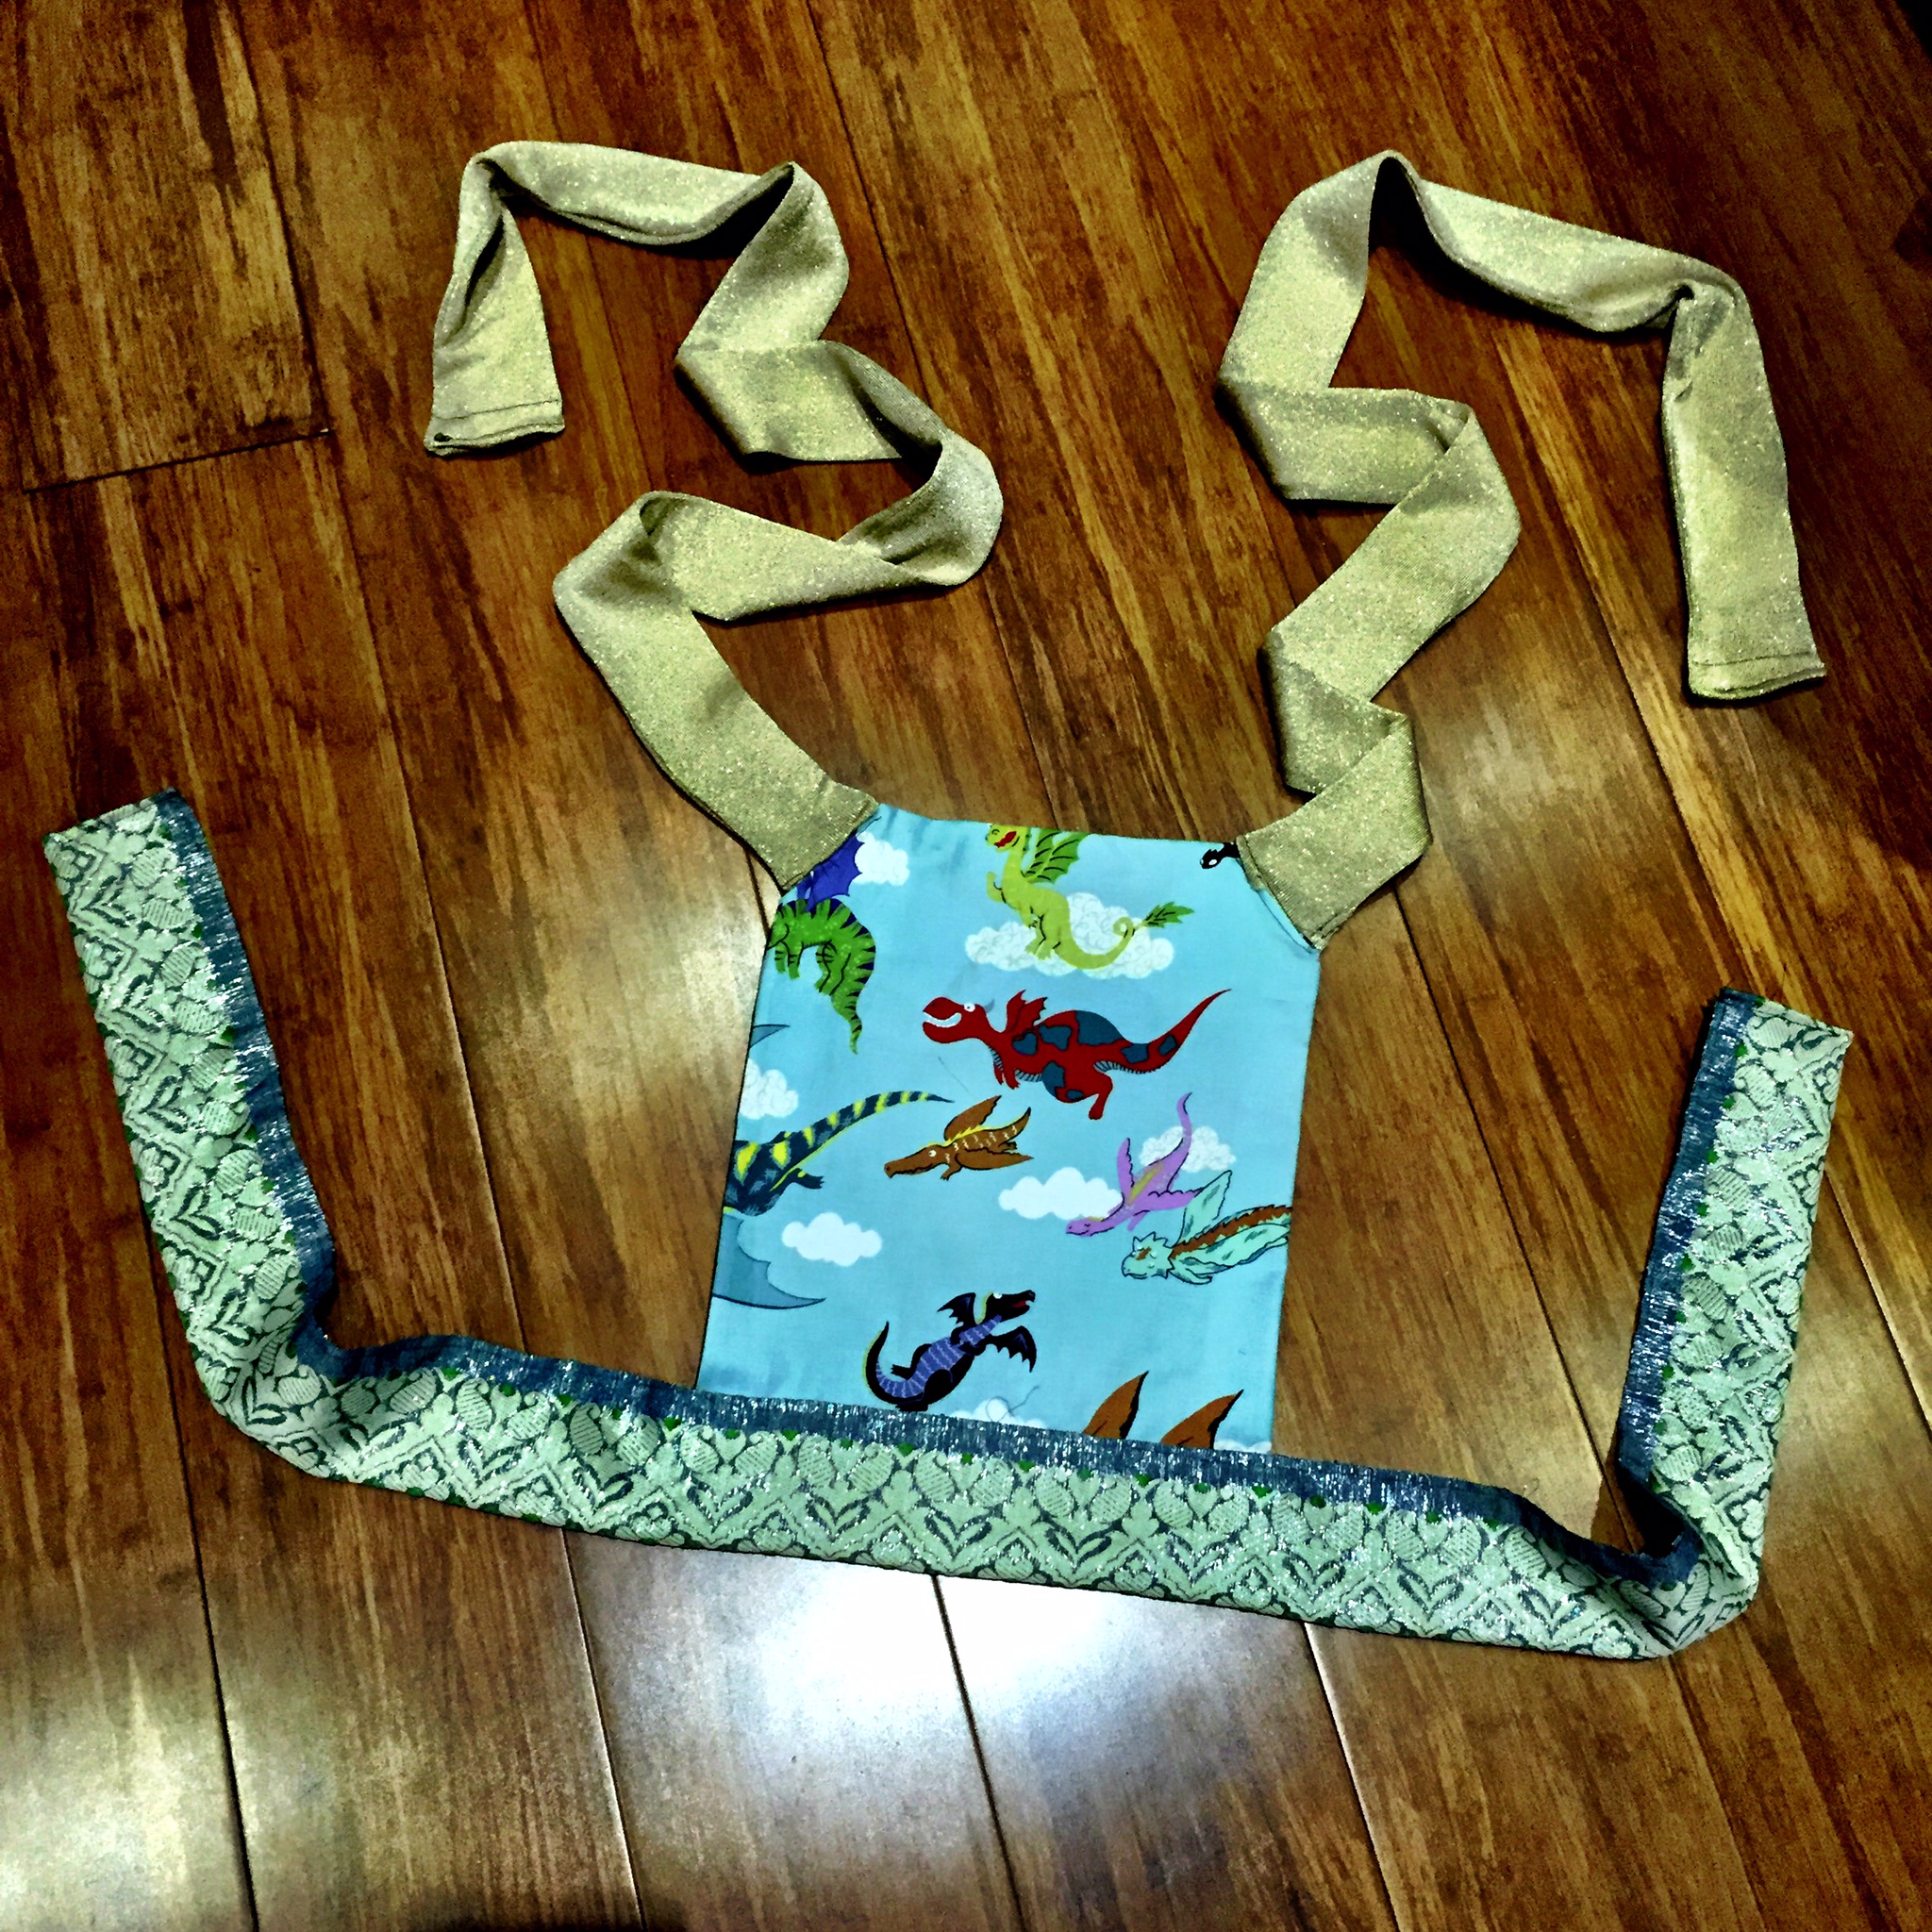
I came across a vintage pram in Oxfam to go with it, filled a couple of cardboard suitcases with a selection of clothes and accessories, and also made a doll-sized mei tai which only seemed appropriate for my little sling baby.

For Arthur’s cousins, I was keen to create things which would inspire imaginative play. For the three year old I decided on a hobby horse, inspired by one from Red Ted Art.

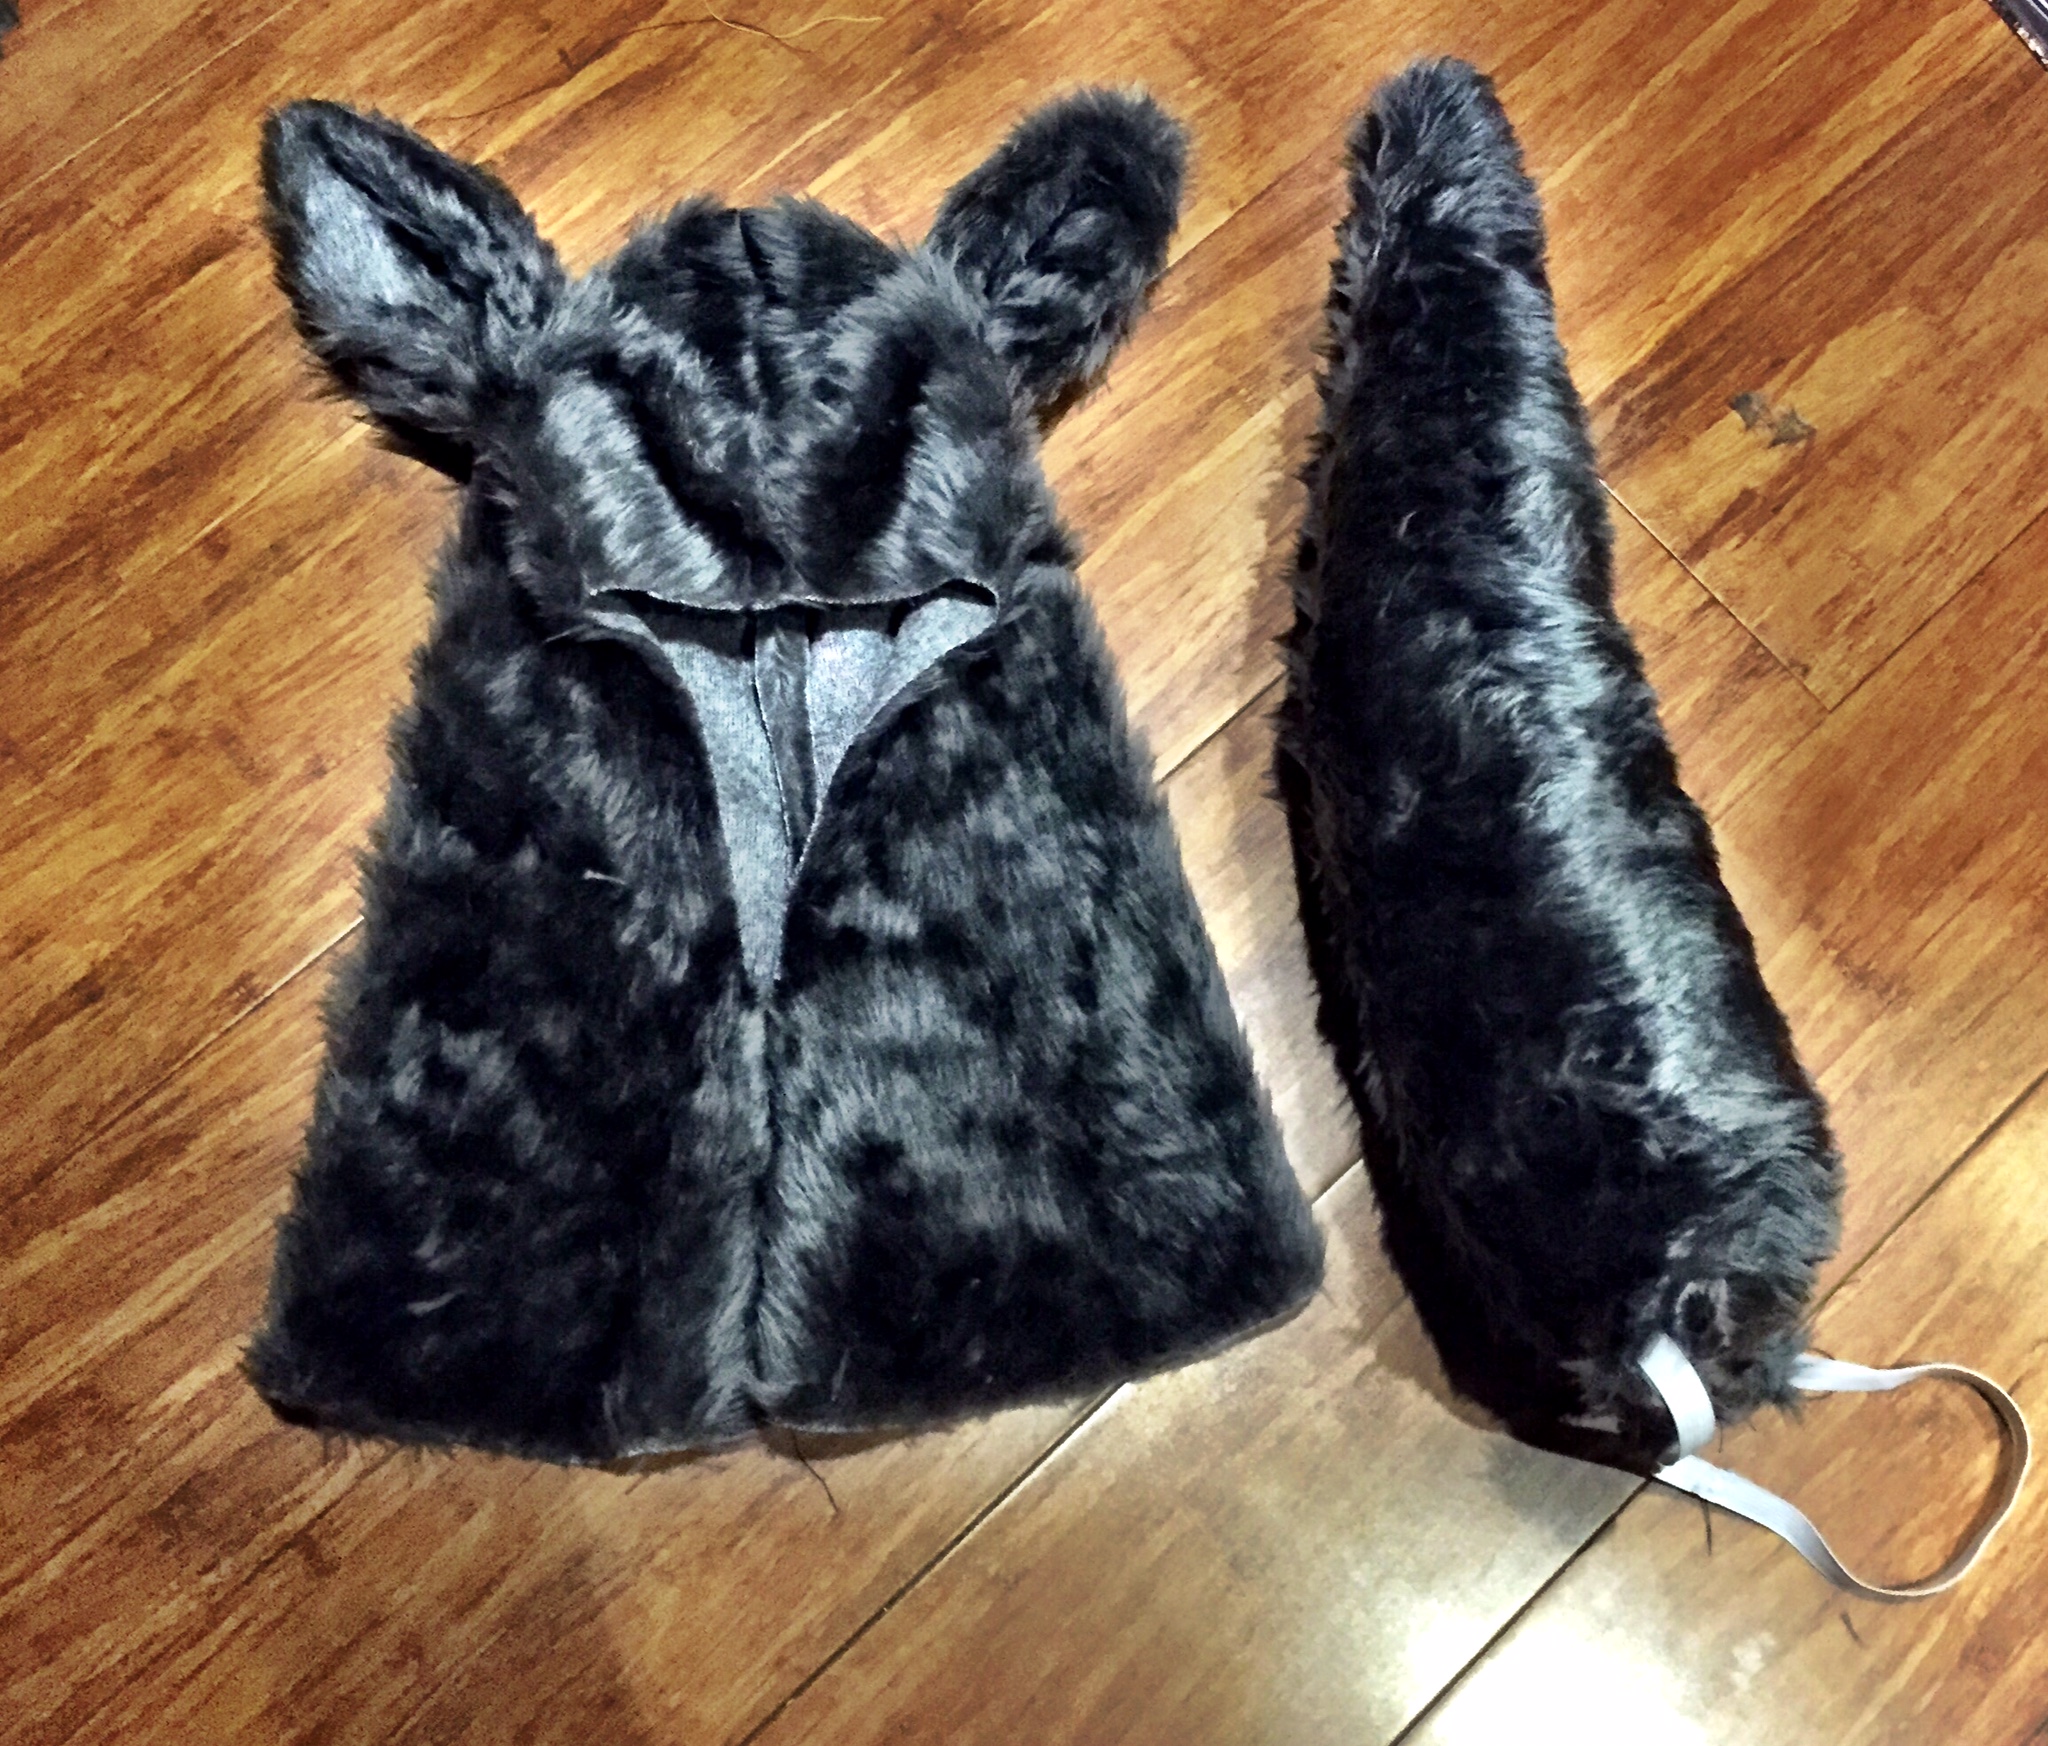
And for the five year old I made a wolf costume, loosely modelled on an idea in ReCraft.
For the brothers
There were five grown-up boys to make presents for, and they were actually my most challenging at first. By focusing in on their interests and just generally where they’re at, though, I soon came up with ideas.
Leigh’s brother is very into comics and graphic novels, as is Leigh. So when I came across the comic book coasters in Makery I figured they would be perfect. In the end Leigh did the actual crafting – clearly I couldn’t be trusted to choose the right pictures…
My eldest brother was about to embark on an adventure across the pond, beginning a new job in New York in January. So I carefully chose some fabric to make a passport case, again following instructions from Makery – and made a matching one for his wife too.


My middle brother is very into self-sufficiency and the environment, and has just finished a Masters degree in soil science. I made him a lunch pouch (another Makery idea), again choosing the fabric carefully, to help him on his eco-friendly path.

And the youngest… What exactly do you make an international rock star? I decided on something to make his life easier on the road, designing an allergy-friendly eating kit with stamped vintage cutlery and signs for the kitchens his food is prepared in. I might need to make a set for myself too!


Ben’s fiancee’s brother was also joining us for Christmas, and with Leigh’s help I made a set of scrabble fridge magnets. He’s in his final year at Oxford and I figured they fitted with the student vibe – I’d actually quite like a set of those as well…
For the girls
The four grown-up girls were a little easier to come up with ideas for. There was the passport cover for Greg’s wife, and for Ashley’s fiancee I created a picture from framed vintage lexicon cards to celebrate her growing business, Queen Bee Cakes. I’ve seen these all over the place, but I quite liked the addition of the lace background to give it a vintage feel.

For my youngest almost-sister-in-law I had a raft of ideas – she’s a clothes designer, and I came across all sorts of crafty things I thought she might like. In the end though I settled on a vintage tape measure brooch and a toy truck pin cushion – once again inspired by Makery.

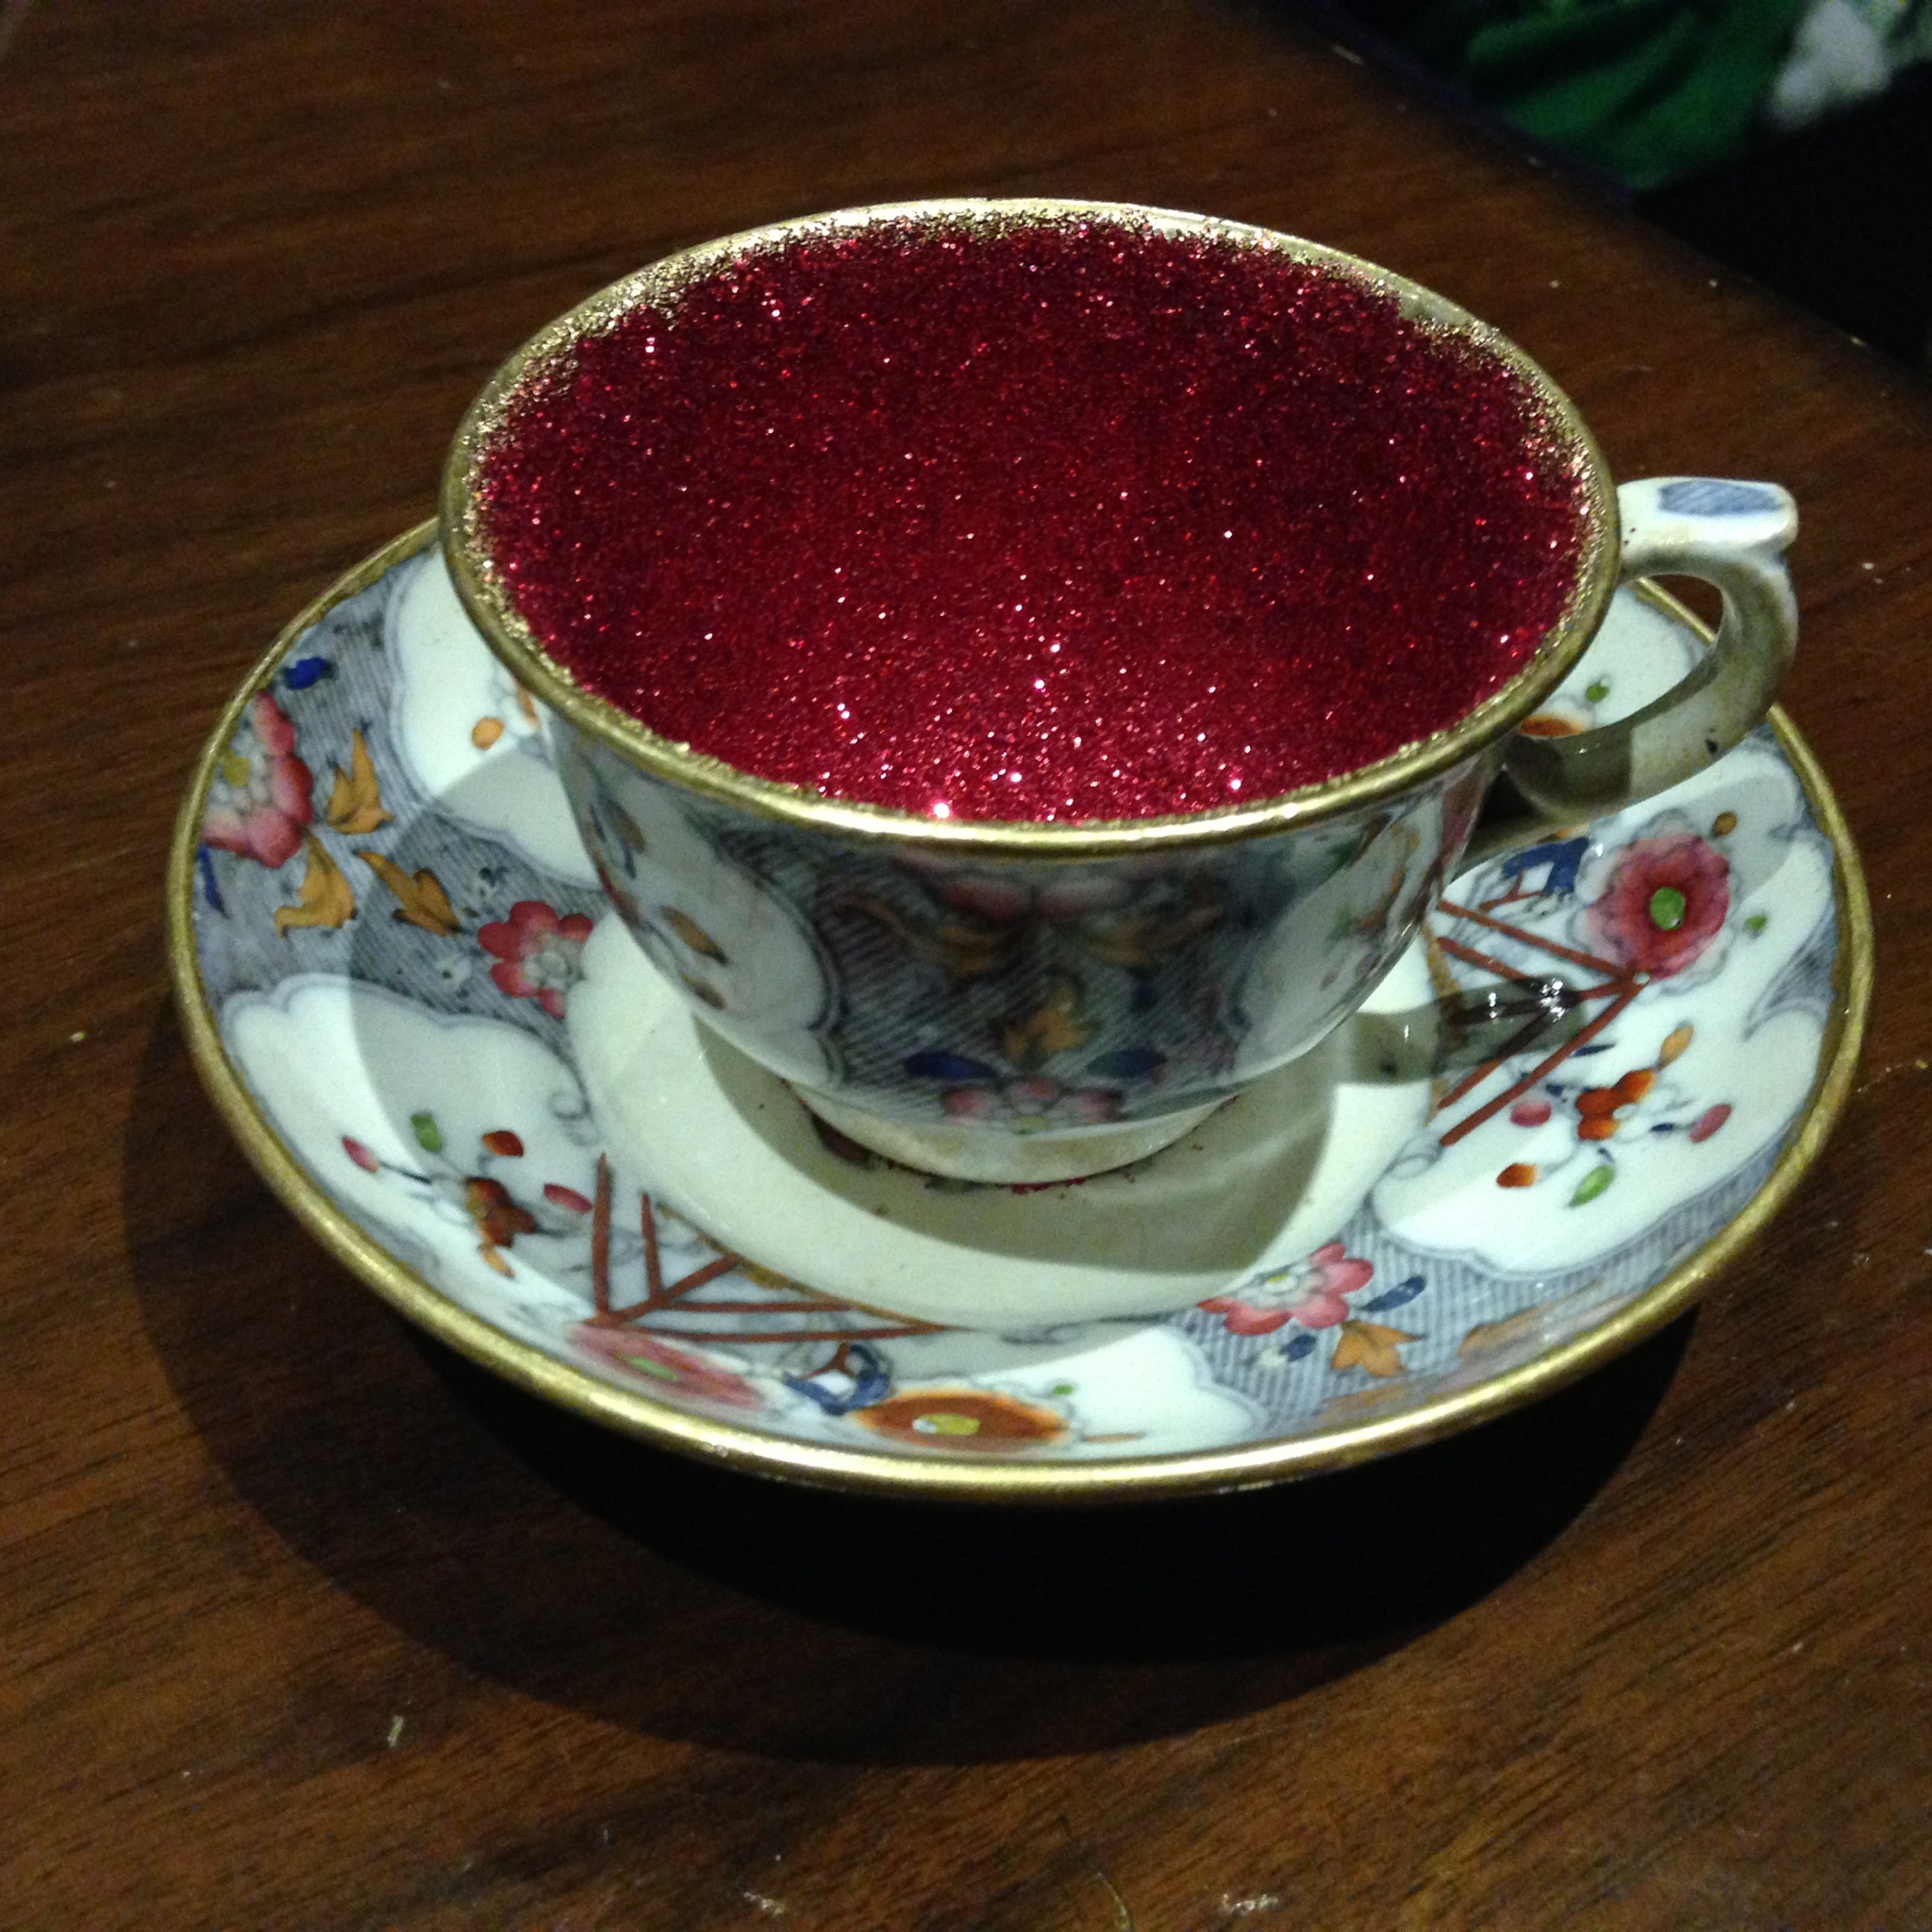
Leigh’s brother’s wife was a little trickier, being considerably more sophisticated than me. But then I fell in love with these glitter candle holders made from vintage crockery in ReCraft– easy to make, but surprisingly effective.
For the parents
Neither of our dads are massive fans of stuff, so we decided to go down the route of photo gifts. For my dad I printed off an image I love of him with my Grampa from this summer, presenting it in a refurbished vintage frame.
For Leigh’s dad we cheated a little – we wanted to give him a jigsaw, and decided that one with the necessary complexity would be a little beyond my skills. So we created one with the help of photobox, and I made a little tin to keep it in from an old fairy light box.
Our mums were a little easier. Leigh’s mum is an expert at crochet, so I made her a bag to keep her supplies in – along with a pouch of new bamboo crochet hooks and a book of adorable crocheted animals.

For my mum, I fell in love with this mobile, inspired by a Liberty creation. She embraces the changing seasons in her countryside home, and I loved how this design brought beauty to the rain to brighten up even the greyest day.

For my Grampa
The final recipient of a homemade gift was to be my 96 year old grandfather. Again stuff was the last thing that he needed, but he’s been an invaluable support in reading the drafts of my novels and I thought he might like to sample some of my blog. He’s not online, but I found a brilliant company who turned a selection of posts from my blog into a beautiful book. Not quite homemade, but certainly with a lot of my creativity in it.
So there you have it! A selection of homemade gifts for all the family. There were moments when I’d regretted my decision – generally when it was three in the morning and I just had to finish one last thing – but it was immensely satisfying to give presents which I had made myself. Now I just need to get thinking about what I’m going to make next time round…
Linking up to The List with Hannah at Mums’ Days and Aby at You Baby Me Mummy.


