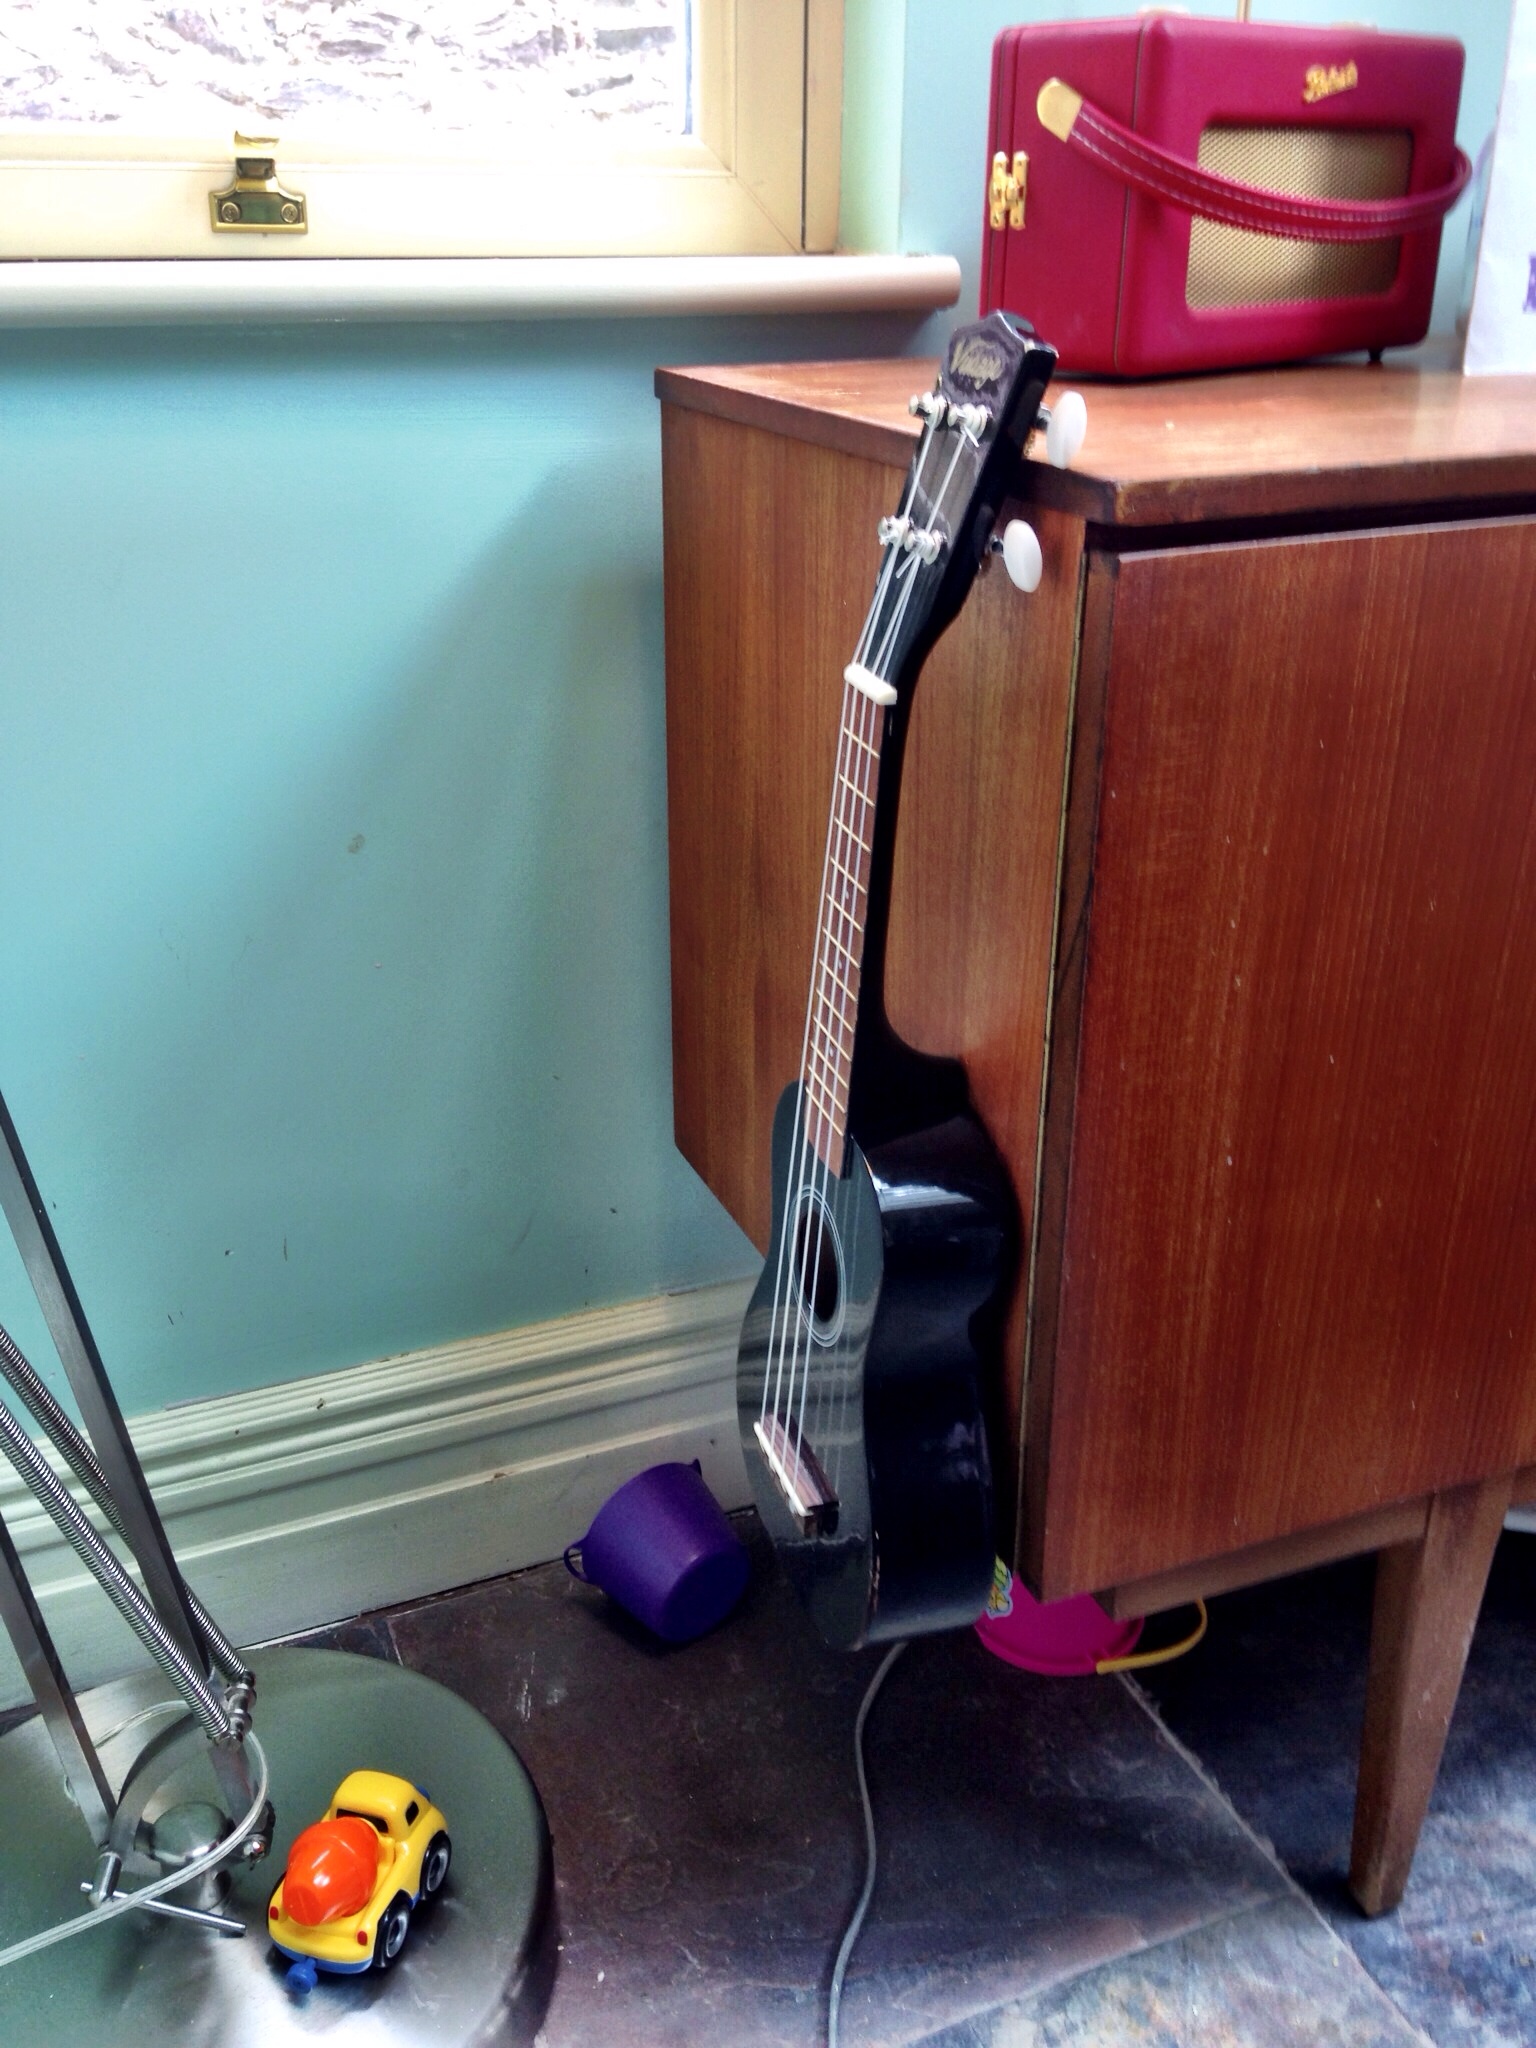
Over the past couple of weeks, Arthur has become obsessed with hanging things wherever he can manage to get them to stick. It started with his beloved Ukulele – balanced on the edge of a sideboard or hanging from the lamp in the kitchen. The other morning he was very pleased with himself when he hung a bag of nappies on the doorknob, though adding the hat was a little trickier. Now wherever I go around the house there is evidence of this new game he’s invented for himself.


It got me thinking: was there something I could make that would help him practise this new skill, and maybe discover some new ones whilst he was having fun with that? Then I remembered we had some cup hooks kicking around somewhere, and an idea was born.
Toddler Activity Board

You will need:
- A rectangular piece of wooden board: ours was 80 x 40 x 2cm
- Colourful paper for the background
- PVA glue
- Metallic or grey paper for the ‘shadows’
- Card for templates
- Cup hooks
- A selection of different coloured felt
- Ribbon for hanging
As well as the usual paint brush/sewing kit/basic tools!
Step One
I decided I wanted the background of Arthur’s board to be night and day: we’re still having issues with frequent night waking so this is something we need to discuss with him! Once I’d gathered my range of papers in three colours (blue for day, purple for night and green for the grass), I began by creating this background.

I used standard PVA glue – full strength as a base for sticking then diluted 50-50 with water as a glaze for over the top.
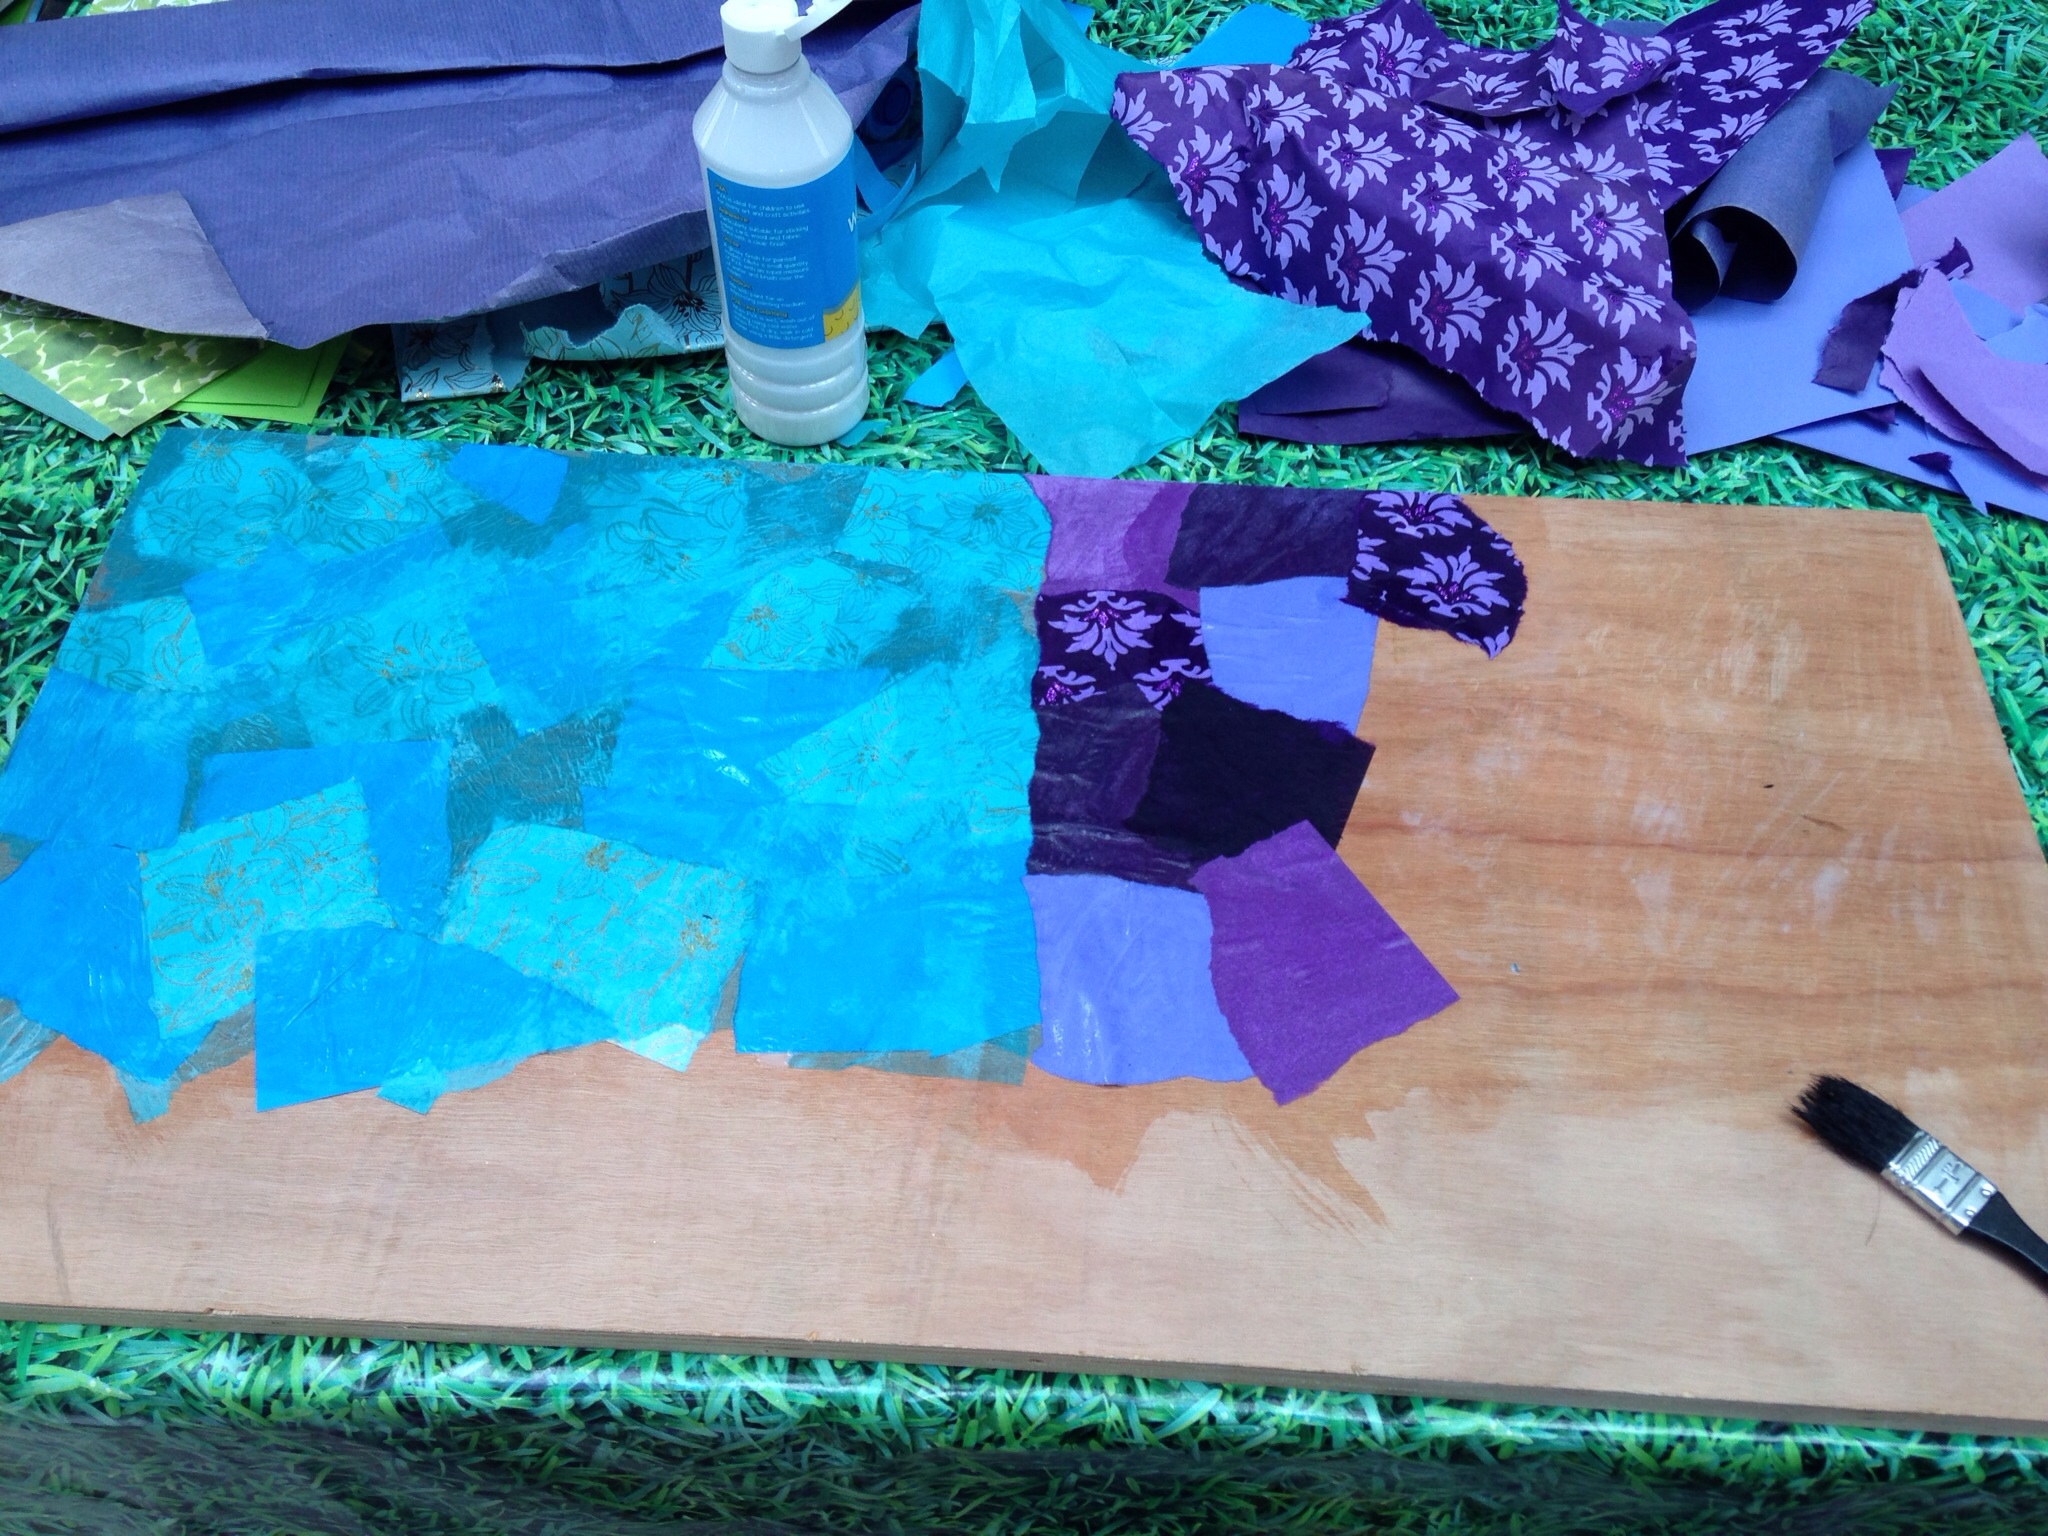
I was pretty pleased with the finished effect – it looked even better when it had dried!

Step Two
Using this background I wanted to create a simple scene using things that are just beginning to be in Arthur’s vocabulary. I decided on a house, the sun, a cat, a tree, an owl, a star and the moon. I drew the shapes on to card, then cut them out to use as templates.

Step Three
I wanted to create ‘shadows’ on the board so that part of the activity became matching shapes. I decided to use gold paper on the ‘day’ side, and silver for ‘night’. Once I’d used the templates to cut out the shapes I used the PVA to fix them in place, remembering to leave space for the cup hooks and hanging shapes.

Step Four
Next came the cup hooks for the key hanging part of the activity. I used a mix of sizes just because that’s what we had – but actually it works quite well to add different levels of difficulty into the activity. I used a hammer and nail to make an initial hole which made screwing in the hooks easy peasy.

Step Five
Once the board itself was completed it was time to make the shapes for hanging. I used the templates to cut these out of felt, embellishing them a little and sewing on a loop of ribbon to each. You could go as far as you like with these, maybe even creating little stuffed shapes if you wanted something more substantial!

Step Six
After checking all the shapes fitted where they were supposed to, it was time to lay them out in front of the board and see what Arthur made of it!

He was definitely quite intrigued, though at the moment he finds hanging the shapes a bit challenging – which is a good thing as it means there’s room to grow!

We also found that the portability of this activity was very handy when the sun came out this afternoon…

So all in all a success I reckon! These are the skills I think this activity board will help Arthur develop:
- Fine motor skills (hanging the shapes)
- Matching shapes
- Naming and developing vocabulary
- Understanding night and day
It only took a few hours to make, and that was whilst keeping Arthur entertained too. I’m already thinking about the next one which might end up being a little bit more complicated!


This is such a great idea Sophie! And the board is absolutely beautiful! You are obviously a crafty mom! I hope your little one continues to enjoy it for a long time!
Thank you 🙂 I do love getting crafty when I get the chance – I never had time when I was teaching!
I hear that! I know I’d never have time to blog if I were still teaching. Thank goodness for long naps!
Pingback: Word of the Week: Building | Sophie is…
Genius! This is so awesome. So many things being developed while he is having fun! your board is so pretty too! #pocolo
Ah thank you! He seems to like it 🙂
Wow, that is brilliant! You are amazingly crafty! I’m very impressed with his ‘game’ skills at such a young age too 🙂 over from #pocolo x
Ah thank you 🙂 It’s nice to have the time and purpose for crafting… And Arthur seems to enjoy it which is the main thing!
This is such a great idea #letkidsbekids
Thanks – he seems to enjoy it!
what a brilliant idea. fun to make and a real purpose which can develop many skills. fantastic. x
Thank you – it was great fun to make, and I always like crafting with a purpose! x
Great idea, lots of skills to learn with this, it looks great and fun and it also allows you to talk about night and day with him in a visual way.
Thanks for linking #LetKidsbeKids
I think I’m going to have lots of fun making things to help him learn 🙂
I can’t tell you how much I love this! What a fantastic idea- I know that my toddler will love this! I’m going to pin this so I don’t forget 🙂
x x
Ah thank you 🙂 It was great fun to make – and Arthur seems to enjoy it! X