Tag Archives: seaside

A natural playground

The unschooling diaries: week thirty-four

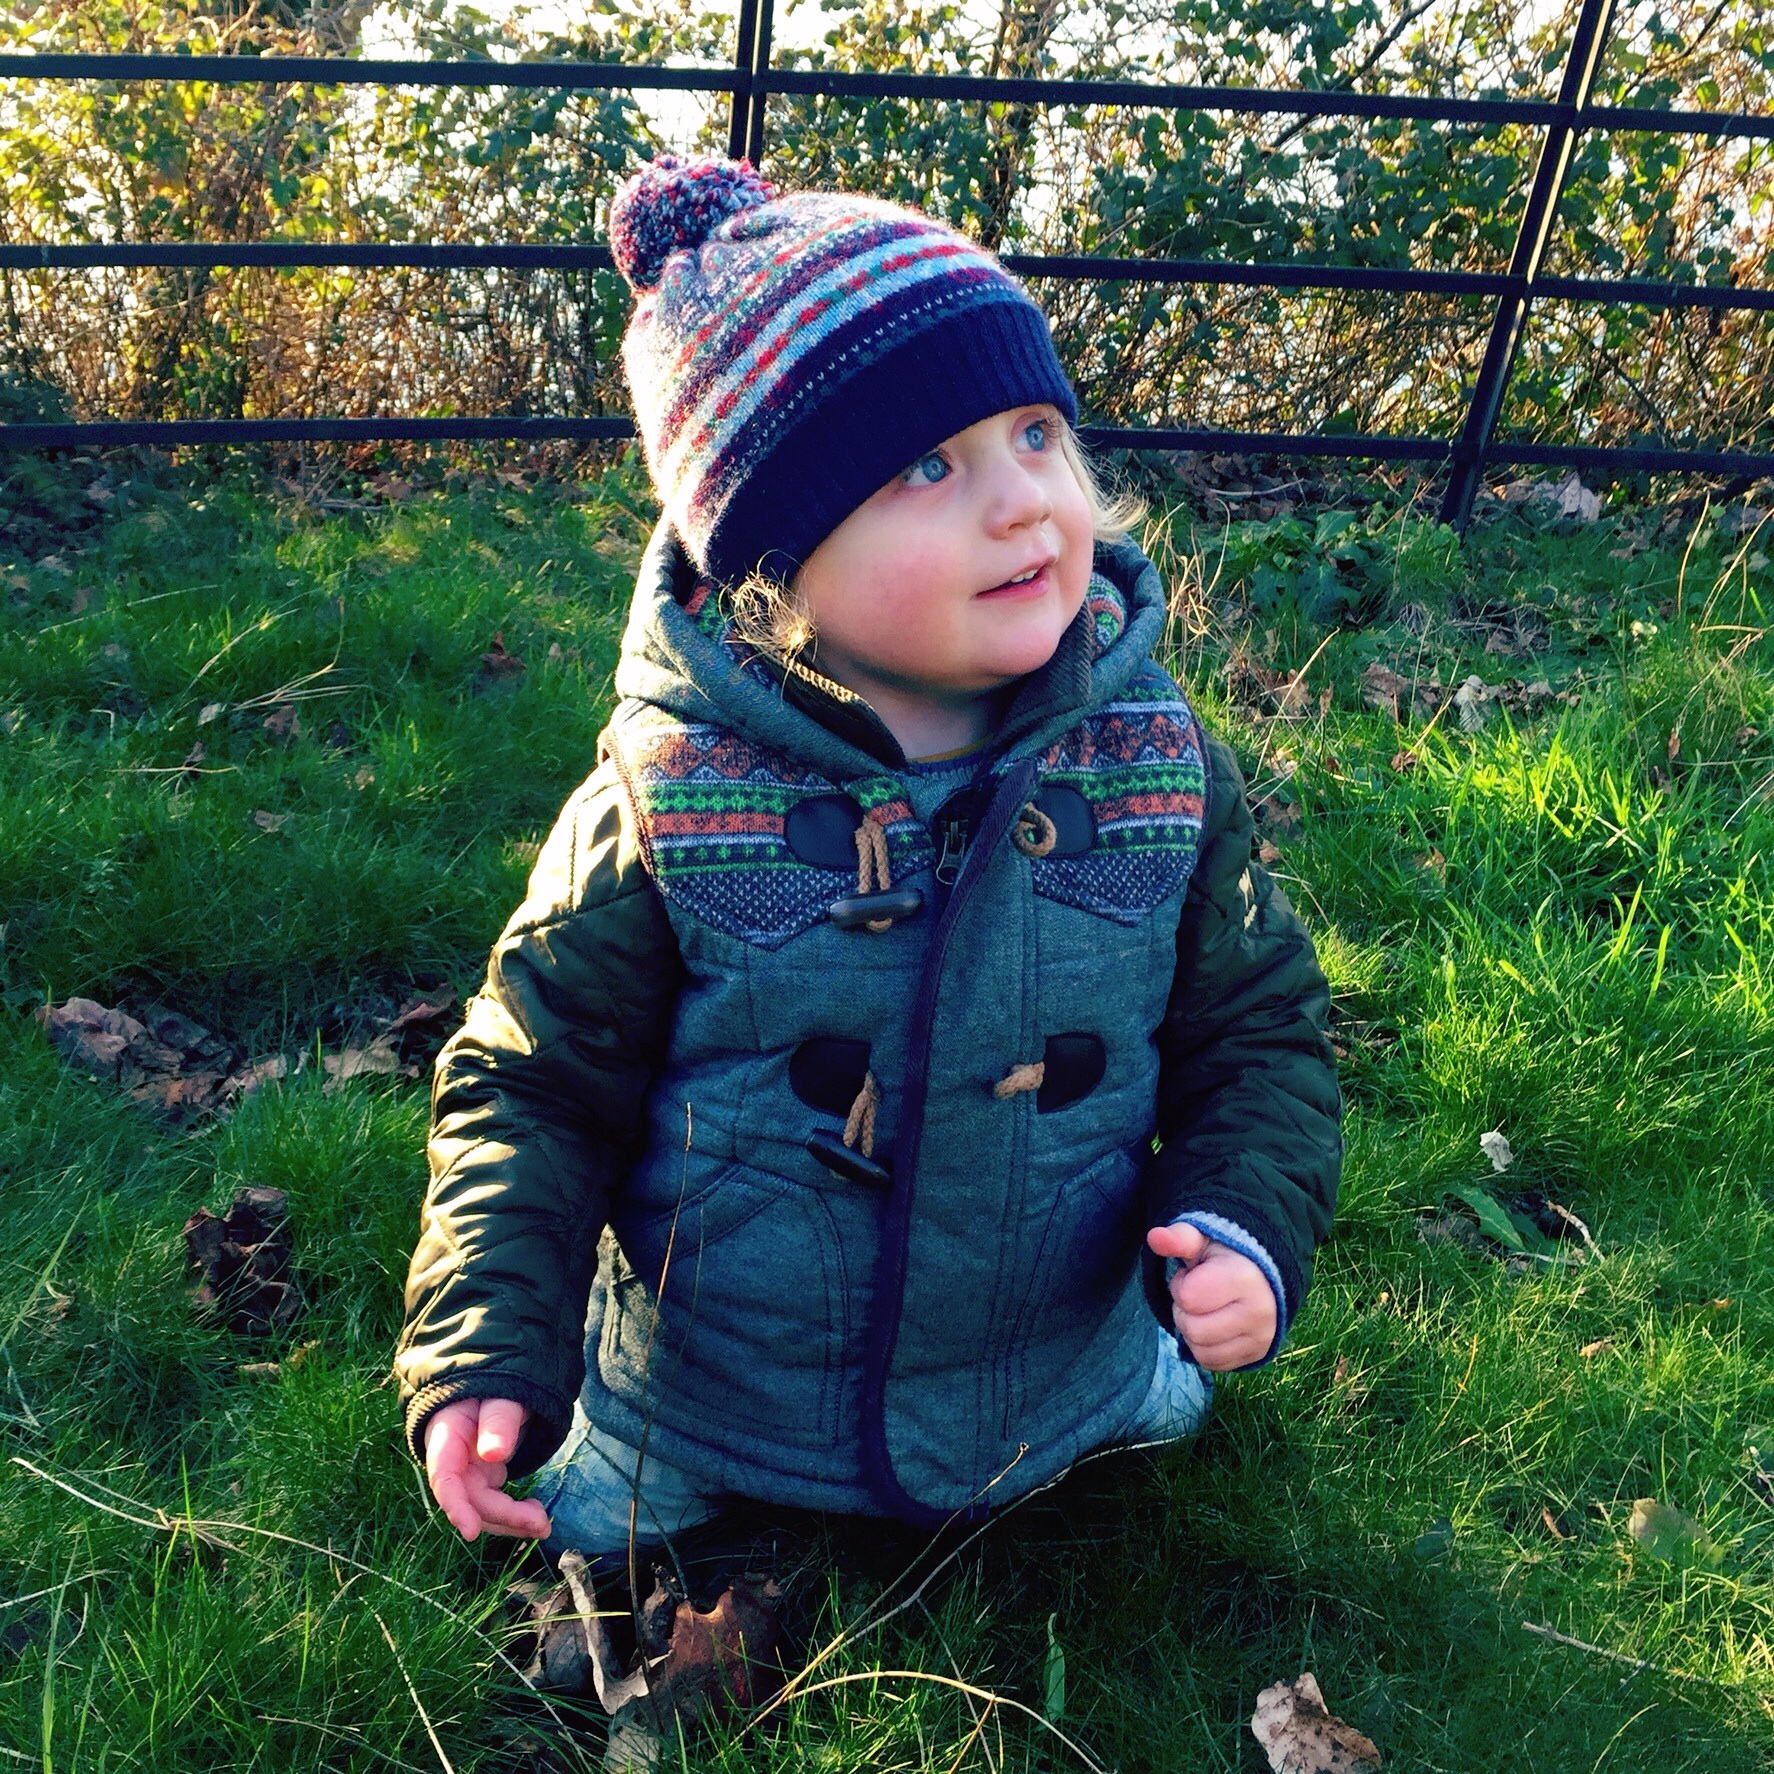
Arthur loves purpose-built play areas as much as the next kid, but it’s watching his growing confidence as he interacts with the natural world that really makes me smile.

He is especially keen at the moment to clamber around on rocks. The seawater pool that I help run is perched (when the tide is right) on the most incredible coastal moonscape, and whenever we venture down there Arthur is desperate to climb.

I had a meeting there yesterday, and unusually was organised enough to leave early so that Arthur could have a serious play before he had to sit and listen to me discuss pool business. Even though the tide wasn’t super low, there was still plenty of the rocky terrain exposed for him to have a good explore. In fact the encroaching sea forced us to explore round the corner a little bit further than we usually venture, which I couldn’t help but find fascinating too.

Arthur’s main objective was to practise being Spiderman – running across the uneven ground and leaping over gaps between the stones. I had to bite my tongue even as my heart was skipping beats at times – and in doing so found myself marvelling at his ever-increasing agility and balance.

img_1611

img_1610

img_1612

He loves his gymnastic class, but there is something about the irregularity of this natural playground that really pushes him to the limit I think.

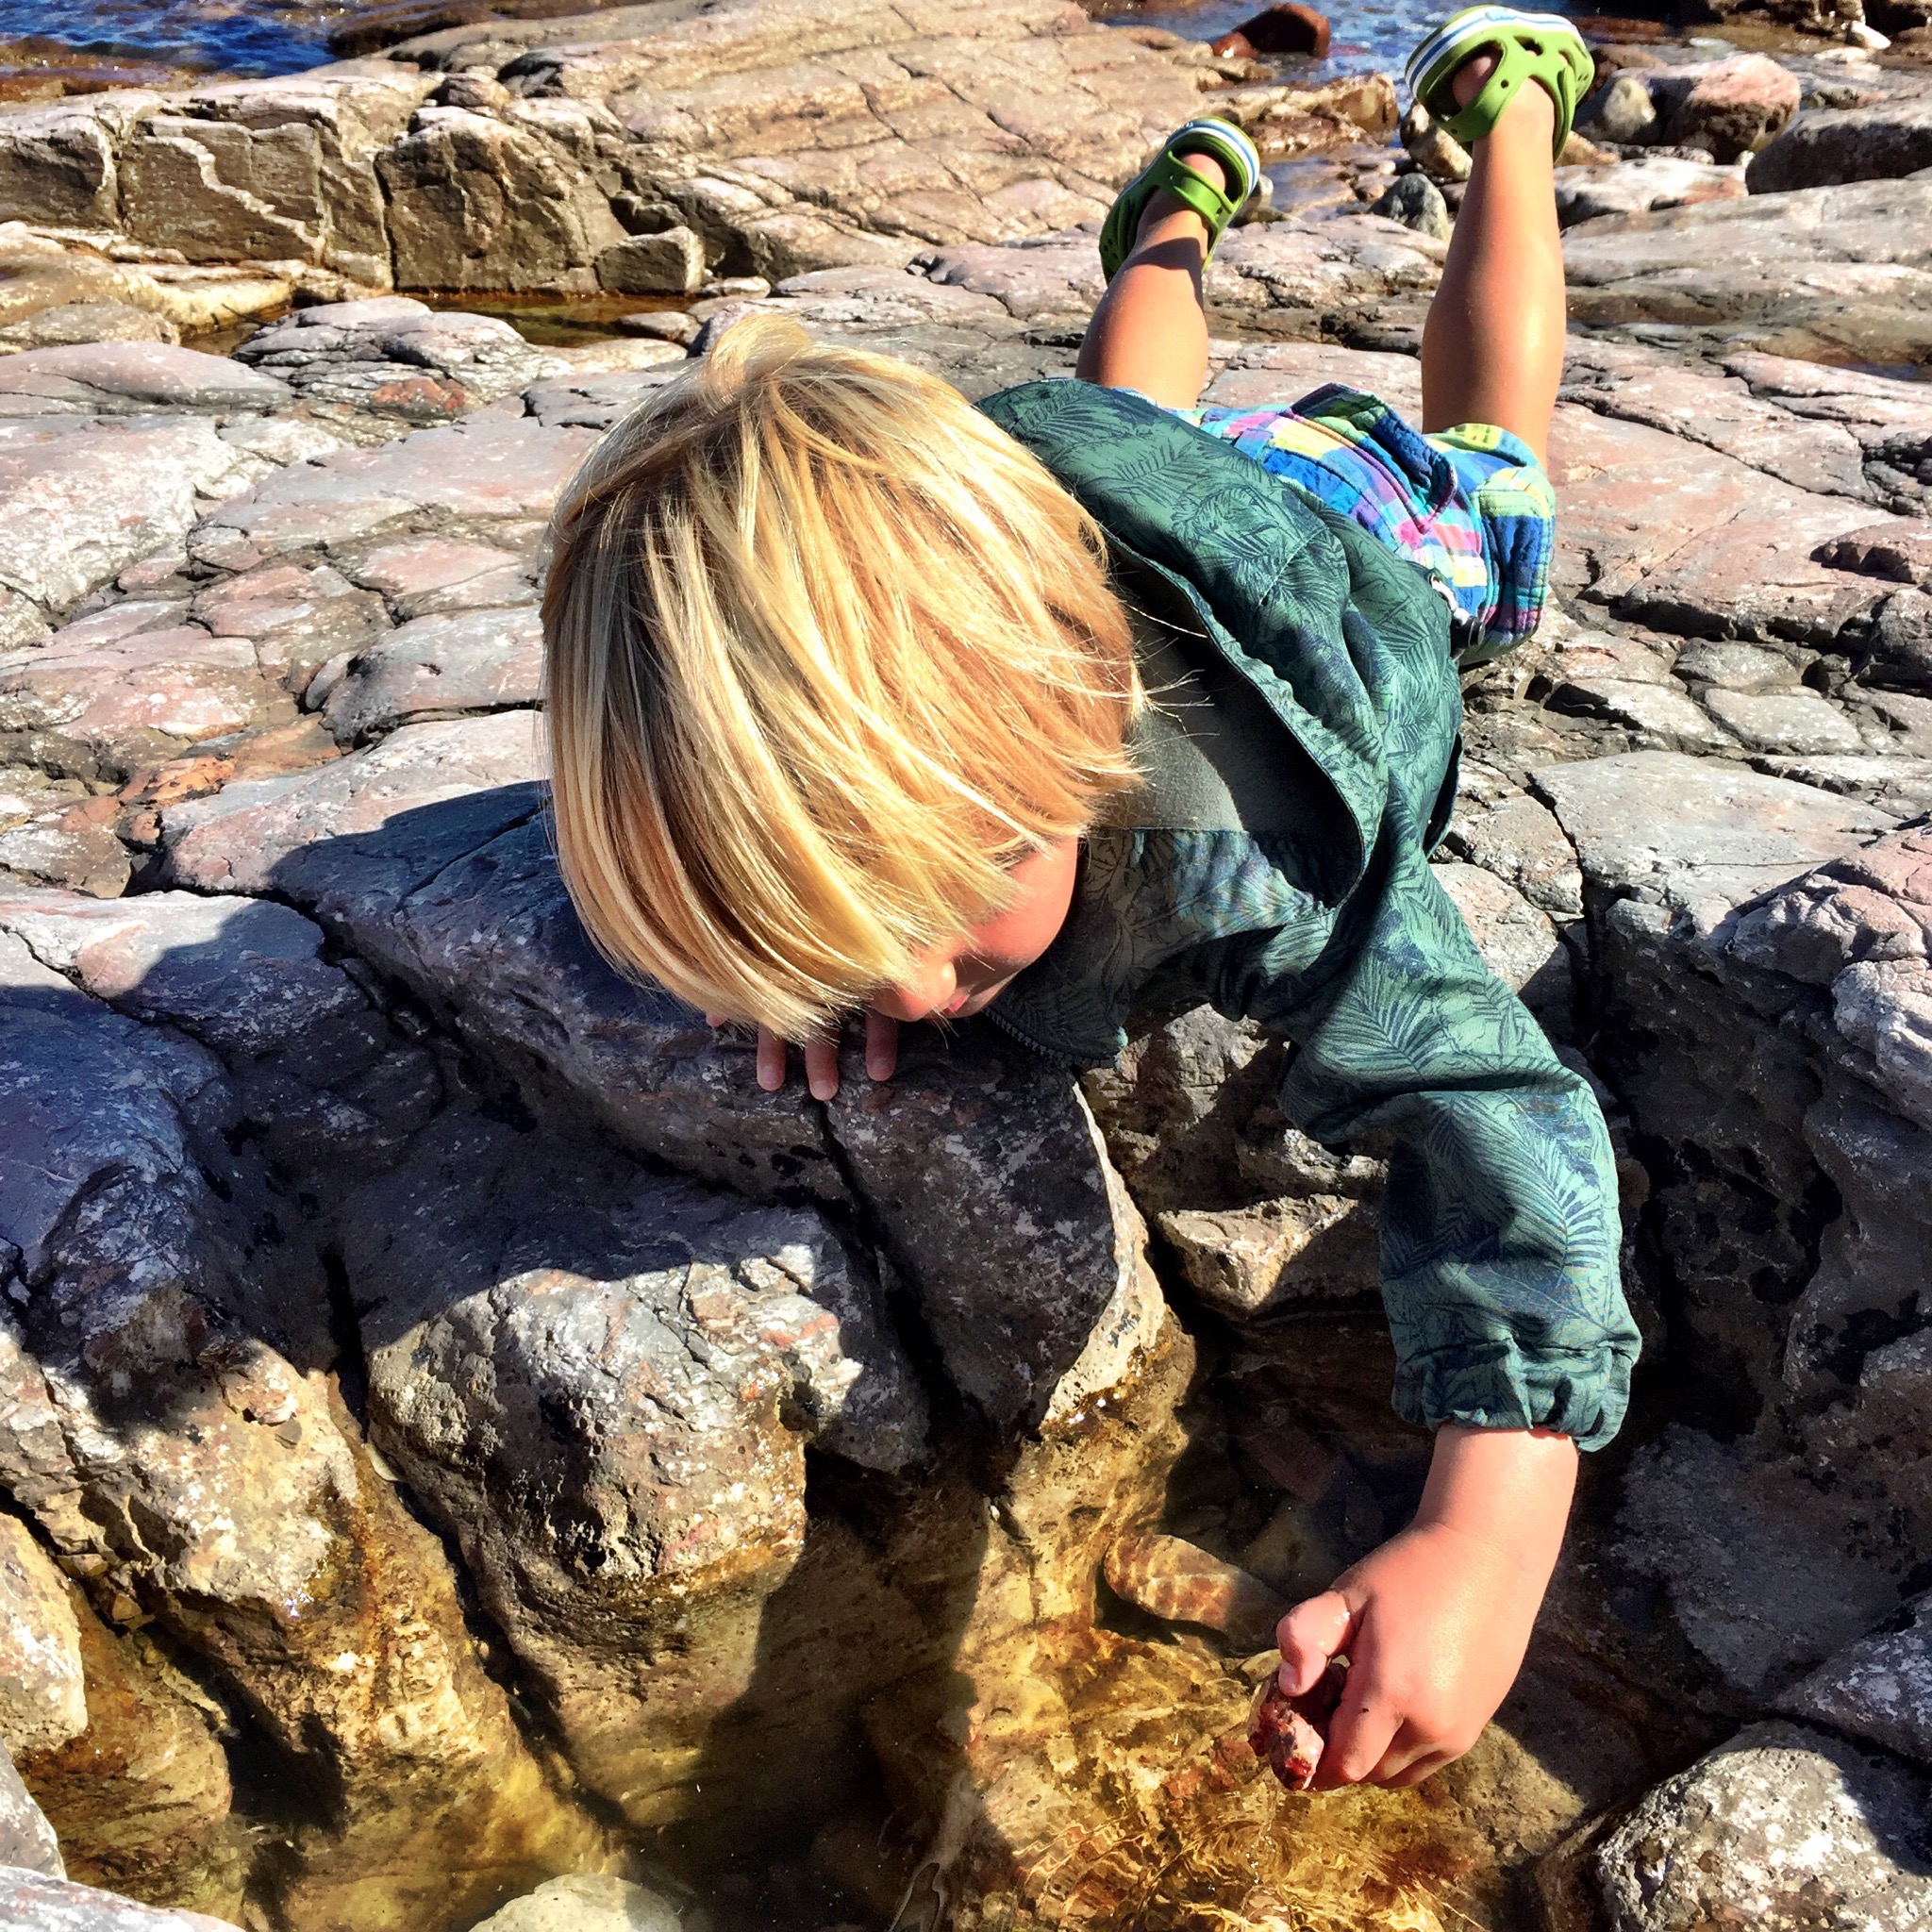
And he did, at one point, fall. He grazed his knee and hurt his finger – not badly, but enough to force him to pause for a cuddle. And then he ventured down to the rocks again – not leaping so confidently this time, but slowing down to notice the rock pools and the seaweed.

img_1609

img_1608

It was one of those moments when I could not help but revel in the beauty of the place that we call home, and swore that we would do this every day – just get out and breathe in that sea air, communing with the landscape that we are lucky enough to have on our doorstep.

It’s not always easy as the storms roll in and the days become darker, but there really is no better place for us to learn.

A breath of fresh air and friendship

image

We haven’t got out enough so far this year. There have been plenty of reasons why: the weather’s been pretty pants, sniffly colds have never been very far away, and on top of that there is of course the small matter of a novel that needs editing…

So when this week we had friends to visit and the sun came out to greet them we breathed a sigh of relief and headed out into the fresh air.

image

There’s nothing quite like hanging out with old friends to rejuvenate the soul. Emily and I were partners in crime when we were sixteen, and I feel so lucky to still have her in my life twenty years later.

She is about to embark on an uber exciting house-building project with her family, so they began their stay at my folks’ place to get some inspiration from the major renovation they’ve just completed. Whilst we were there we made the most of the beautiful countryside: feeding the chickens, seeking out snowdrops, and exploring the deep dark woods.

image

image

Arthur spent a while at one particular tree, scratching away with a stick. I asked what he was doing and he said ‘writing’ (silly). When I asked what he was writing he said ‘the story of mummy and daddy’. Nothing like the great outdoors for a bit of inspiration.

image

After twenty four hours in the beautiful South Hams we headed back to Brixham. There had been much talk of penguins, so there was nothing for it really but to head for Living Coasts. We finally got to try out the new year-round ferry, and spent a day in beautiful sunshine in Torquay.

image

image

image

We had a bit of a stroll (and the obligatory fish and chips) and then headed to our awesome coastal zoo. The toddlers were in their element here, and it was so lovely to watch them explore and bond.

image

image

image

image

On their last day we stayed closer to home. It was properly freezing, but we made it to Breakwater beach for some bracing pebble throwing.

image

image

Though our friends were only here for three days, I feel like we’ve crammed at least a month’s worth of adventures into that time. And on top of that I’ve been reminded how lucky we are to live where we do: we will most definitely be getting out more in February, whatever else the world throws at us.


My word of the week this week is friendship.

The Reading Residence

Country Kids from Coombe Mill Family Farm Holidays Cornwall


Making an advent calendar

image

This time last year, I decided I wanted to make Arthur an advent calendar. I wasn’t keen on him having a chocolate one – and besides, that’s always been a bit of a minefield with my nut allergy – but I wanted a way to make the countdown to Christmas special.

I looked at the various ideas available online, and whilst there were lots of great designs none of them felt quite right. So the only thing for it was to come up with something myself.

After paying a visit to our local haberdasher I came away with this gorgeous fabric by Makower. It reminded me of the winter skies above Torbay, and that’s what got me thinking… Why not create a design which celebrated where we lived? A Christmas boat sailing on the Devon seas.

I’m going to take you through my process in this post, but you could use it to create any design that suits you and your special little person. A Christmas train was my other main idea, or maybe a wintery woodland scene. As long as you can work out where to fit in the pockets then the only limit is your imagination.

You will need:

– Paper and pencil for sketching out a design

– Sewing kit – I made mine by hand but a machine would be handy too!

– Two large pieces of fabric for the base – mine were approx 110cm x 80cm

– Smaller pieces of fabric for the details – remember you’ll need extra for the pockets!

– Embroidery thread

– Finishing touches (ribbon , bells etc)

– A wooden dowel the width of your calendar with two screw in hooks for the ends

– Cord for hanging

Step one: Sketch out your design

Keep it bold and simple, and remember to incorporate the all-important pockets.

Step two: Create your ‘canvas’

image

I split my scene into the sea and the sky, and backed it with some sparkly tweed I found online. The thicker fabric was pretty handy to help give the finished product some solidity. Sew around three edges of your canvas but keep the top edge open – that way you can hide all your stitching. Alternatively you could leave the backing until the very end – maybe easier if you’re using a machine…

Step three: Start to add the detail

image

image

Depending on your design you may wish to create templates for some or all of it. I freestyled the boat but created paper templates for the smaller elements.

Step four: Create the pockets

image

Again depending on your design these may be intrinsic to the design elements (for example the sail pockets and the portholes) or added on later (like the stockings and the fish). You will need to decide on the best order to sew the different parts together!

Step five: Add your numbers

image

I actually left this until the very end, but in retrospect it would probably have been easier to add the numbers before sewing everything on to the base. I looked at various patches/ pre-made numbers, but in the end decided that embroidering them on would be the best way to get the effect I wanted. I just used a simple back stitch, but you could really go to town with this if you have the skills!

Step six: Put it all together

image

Once you have all of the elements of your design ready then all that remains is to sew them on to the base. This would be way quicker using a machine, though I did find the hand sewing quite therapeutic on dark November evenings!

Step seven: Get ready to hang

image

Once the design was complete, I folded over the top and created a space for the pole to go through for hanging – because of your double layer, you should be able to stitch the back in such a way that it doesn’t spoil the front of your design (the little robins *may* have come about because I messed this up at first…). Then slip the dowel through, screw a little hook to each end, tie on the cord and you’re ready to go.

image

The next challenge is to find twenty-four little gifts to go inside the pockets – but that’s a story for another post… Suffice to say, Arthur loved it. I can’t wait to get it out again this year!


 photo 93142f35-6d39-479f-b3de-d94dbca68162_zps58499252.jpg