Category Archives: Sophie is crafting

Ten toddler-friendly advent calendar gifts

IMG_0572

I posted earlier this week about the advent calendar I made for Arthur last year. I’m really looking forward to getting it out again this December, but before I do I have the challenge of how to fill it.

There is of course the option of something edible: whether it’s sweets or chocolates or homemade cookies this would be a fairly traditional way to go. I’m not sure I want to start every day in December with something sugary but I might slip a couple in along the way.

I love the idea that the little gifts will build the anticipation as Christmas approaches – things to talk about, or to spark off activities to get us in the festive spirit. The tricky thing is finding gifts which are at least vaguely suitable for a nearly two year old, but I think I’ve managed to come up with some ideas that will work.

1) Bubbles

IMG_6914

These were a real hit last year and I think will make it in again. Chasing bubbles around is certainly a fun way to start a December morning! There are various mini bubbles in festive designs out there, though I’m pretty sure the toddler in your life won’t be too worried about the package they come in…

2) Bells

IMG_7299

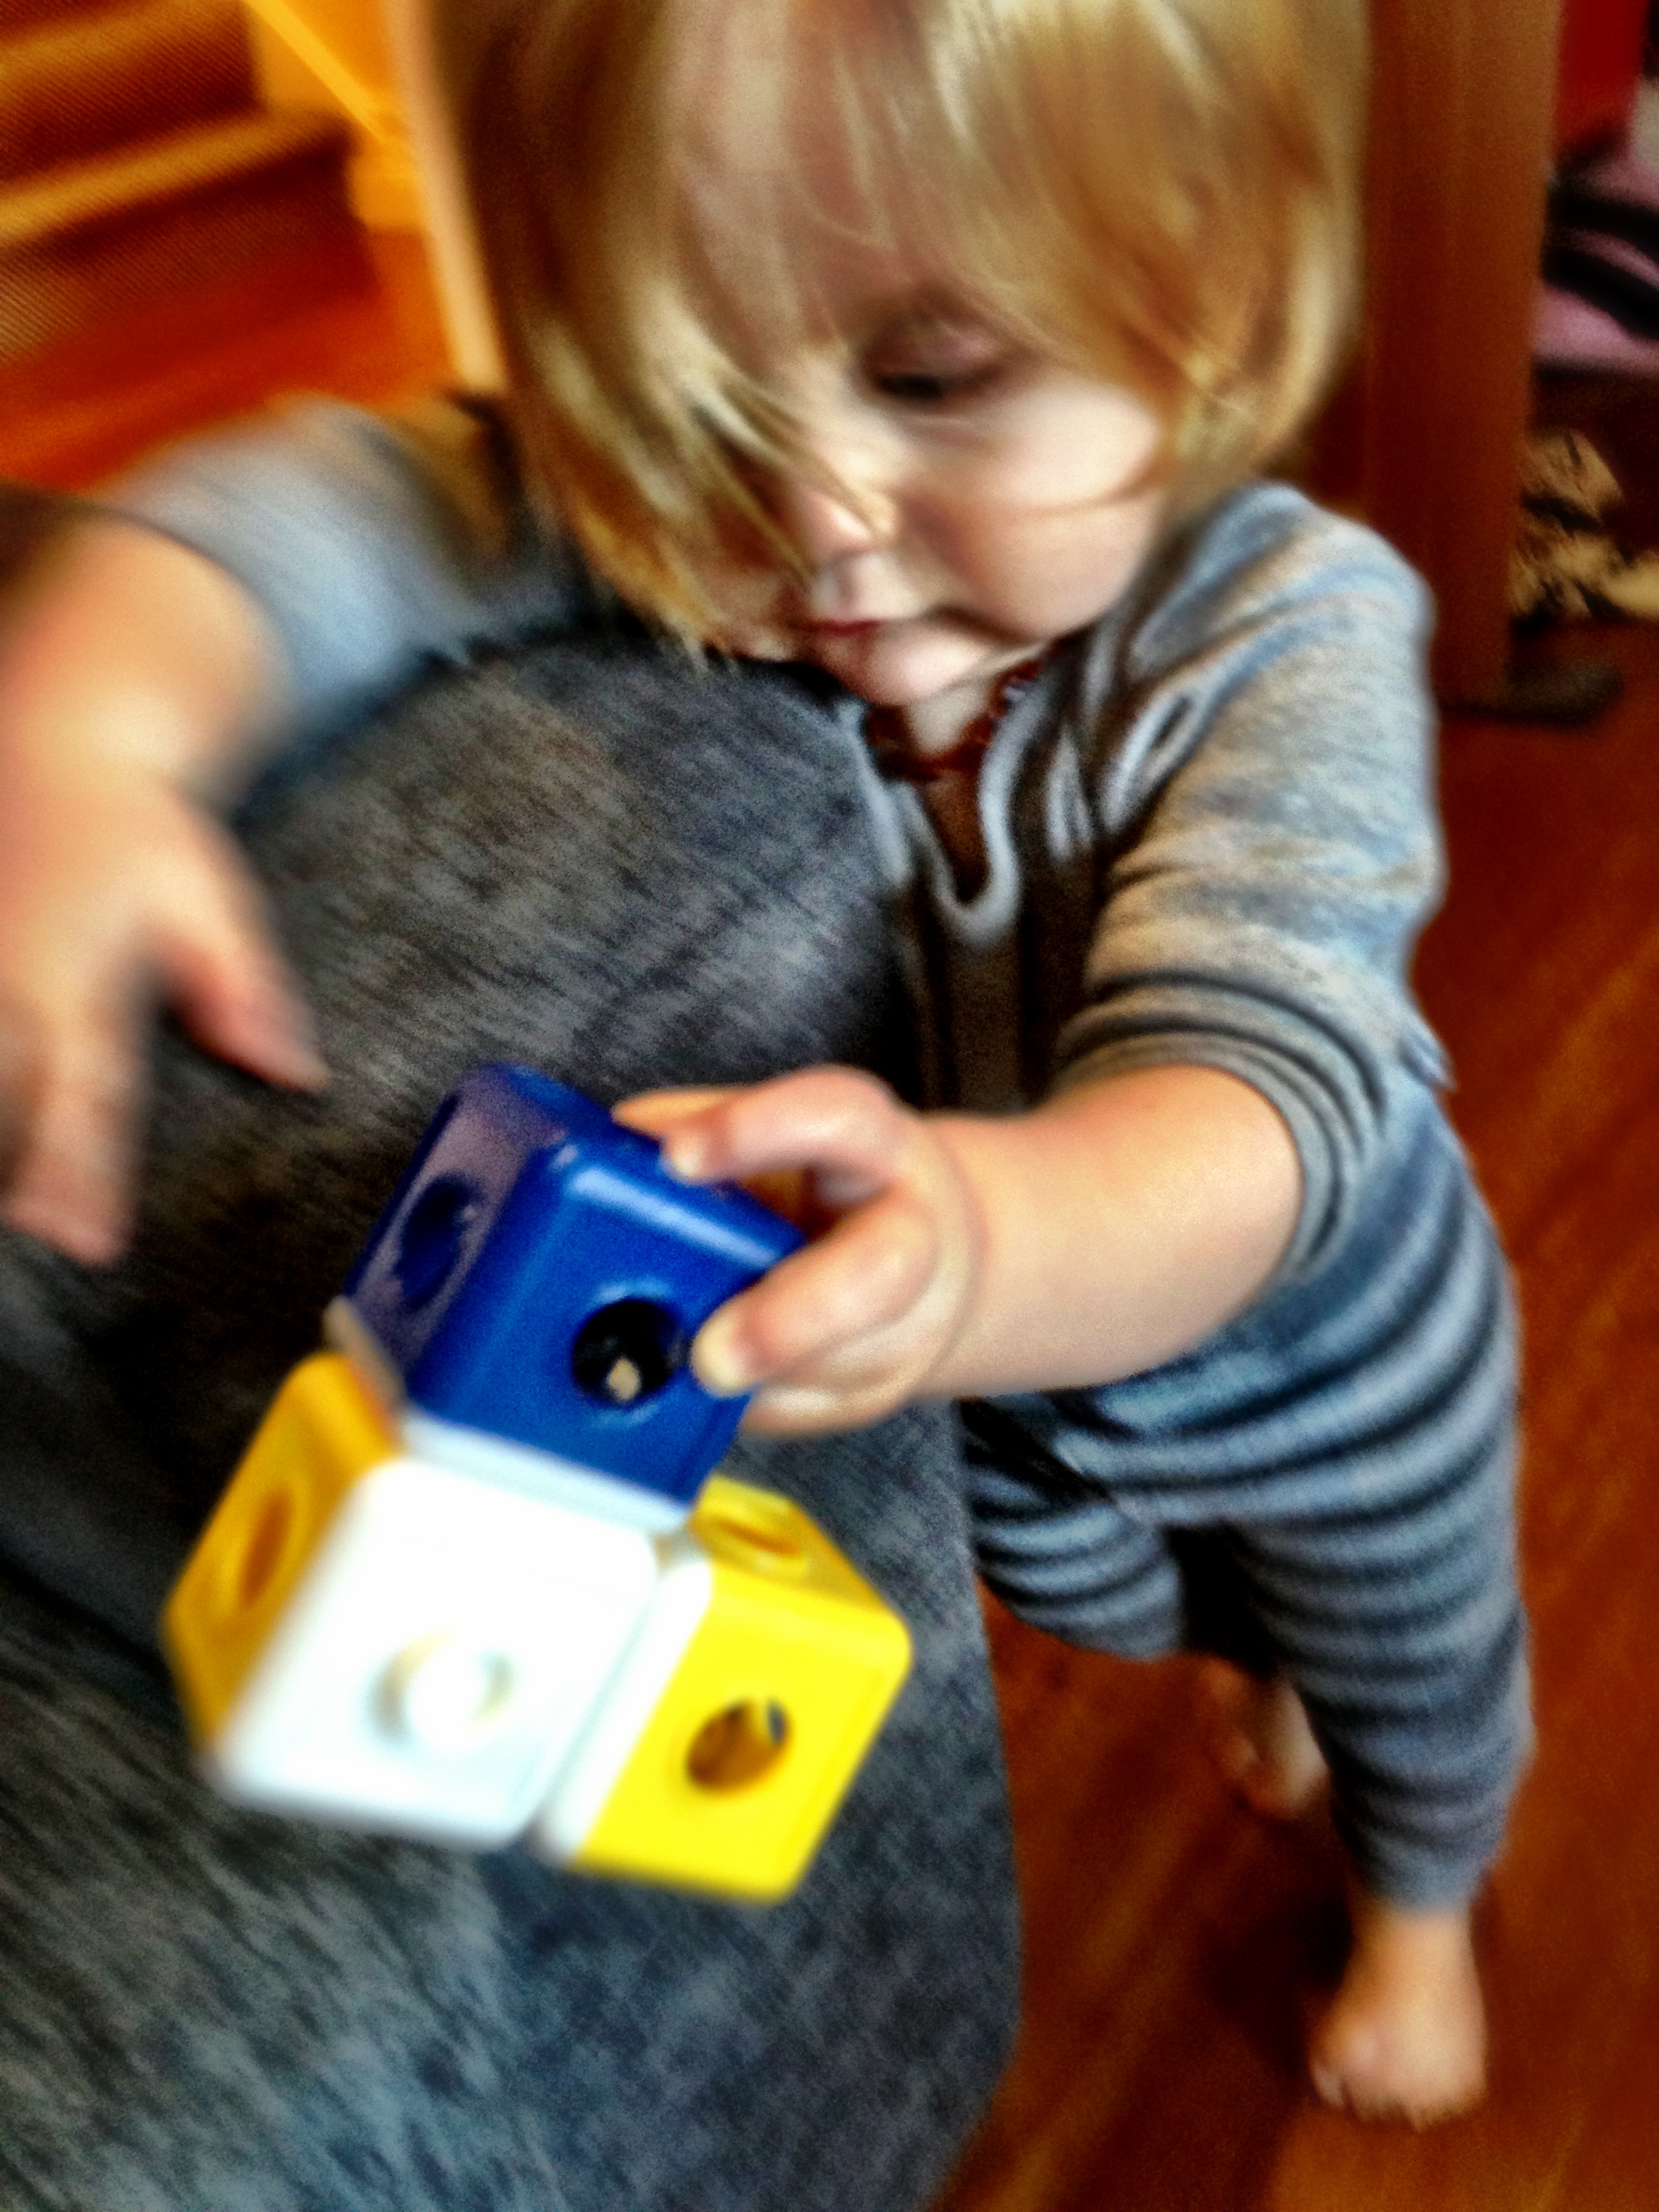
This was a bit of a specific find last year – a set of baby-friendly blocks with little jingle bells inside. I separated out the blocks into different days and they fitted together to form an ever-growing musical instrument. There are probably other options you could find for older toddlers – and it was nice to inject a bit of music-making into the build up to Christmas.

3) Crayons

This is a new idea for this year, as Arthur’s really starting to get into drawing. Dapper Baby have some great handmade ones in different shapes – the penguins and angels are particularly festive. I might even get a Christmas colouring book too to add to the fun…

4) Finger puppets

IMG_7156

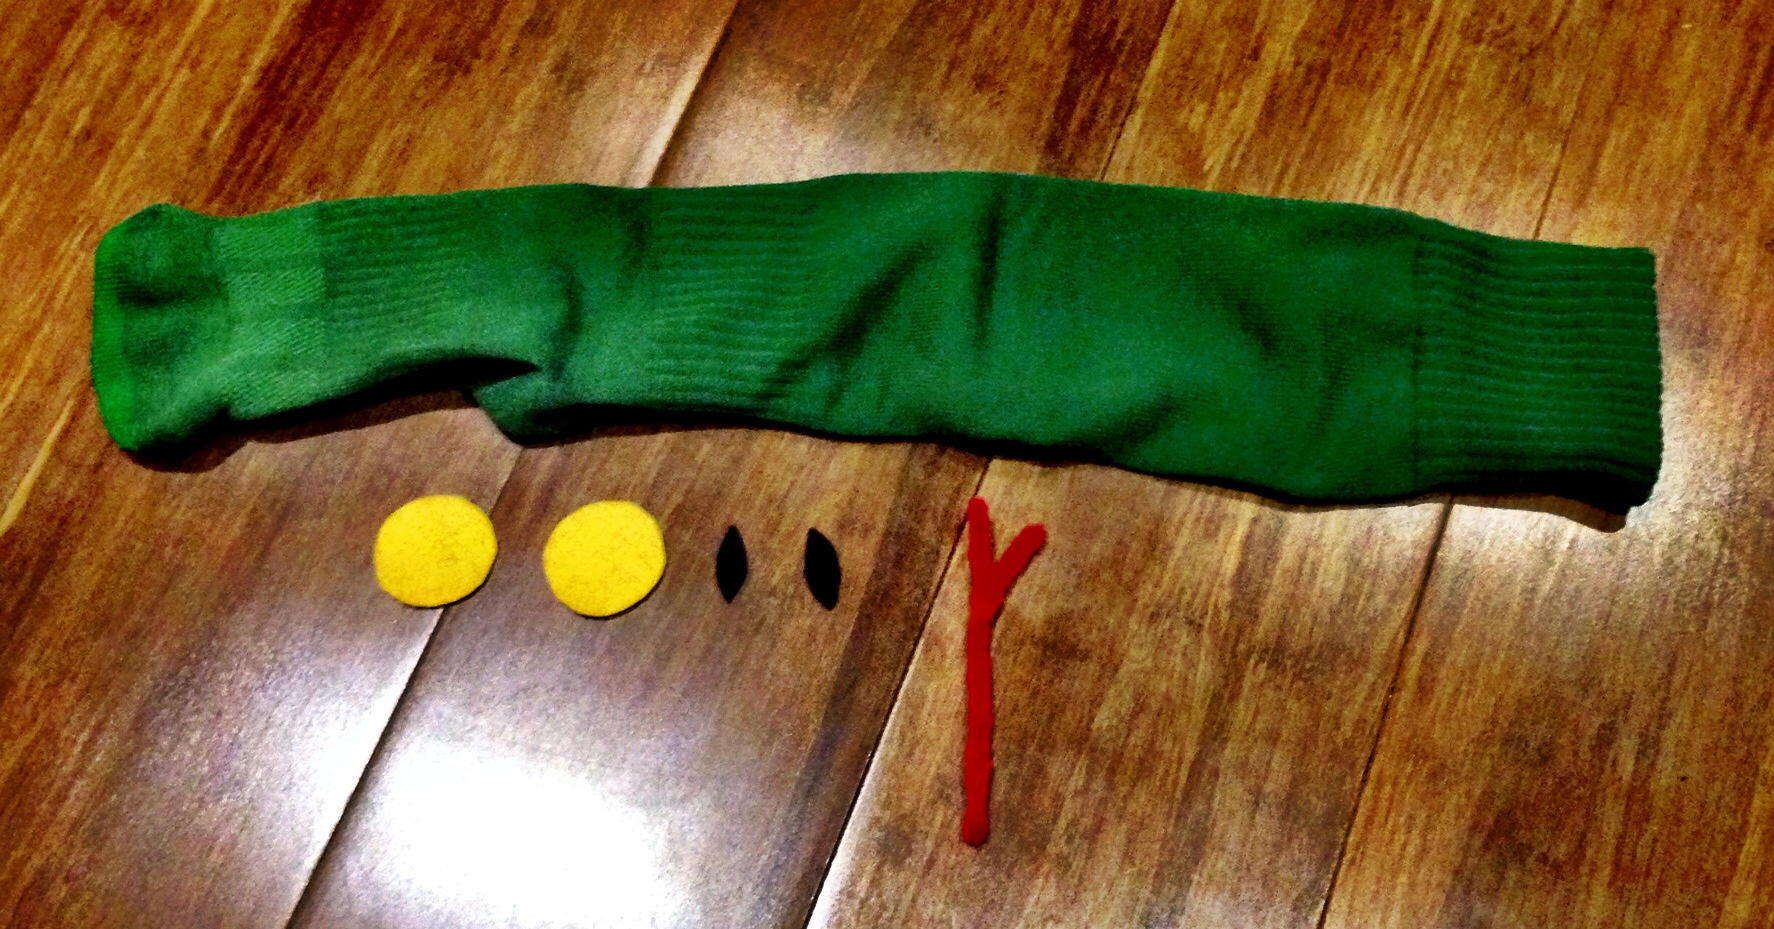
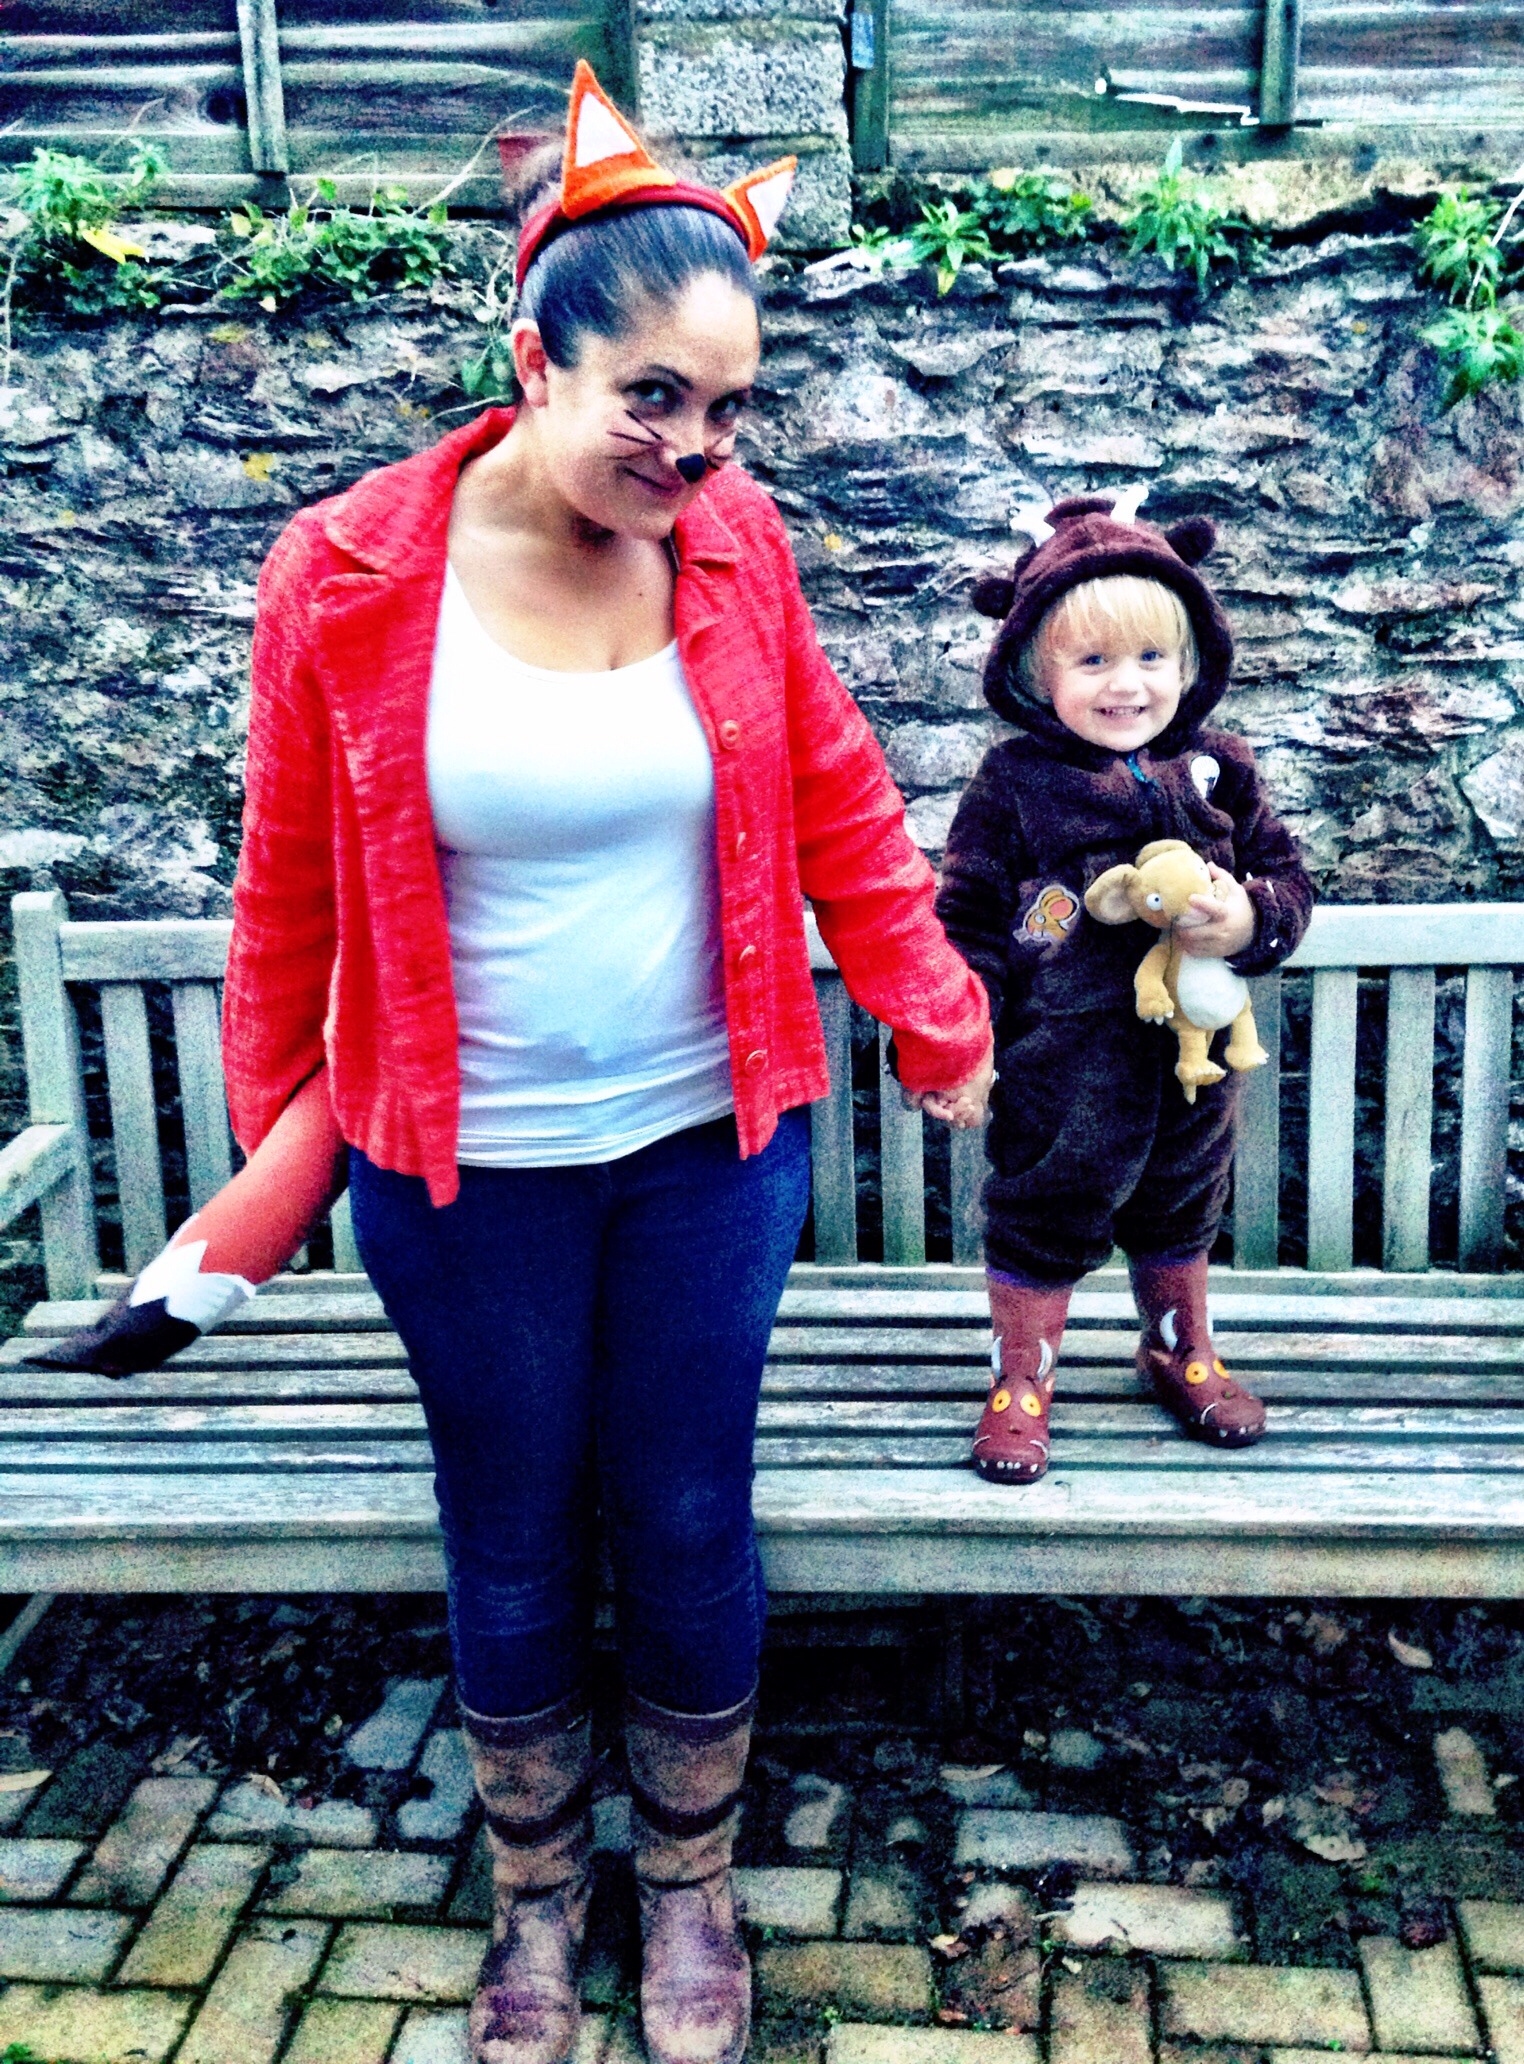
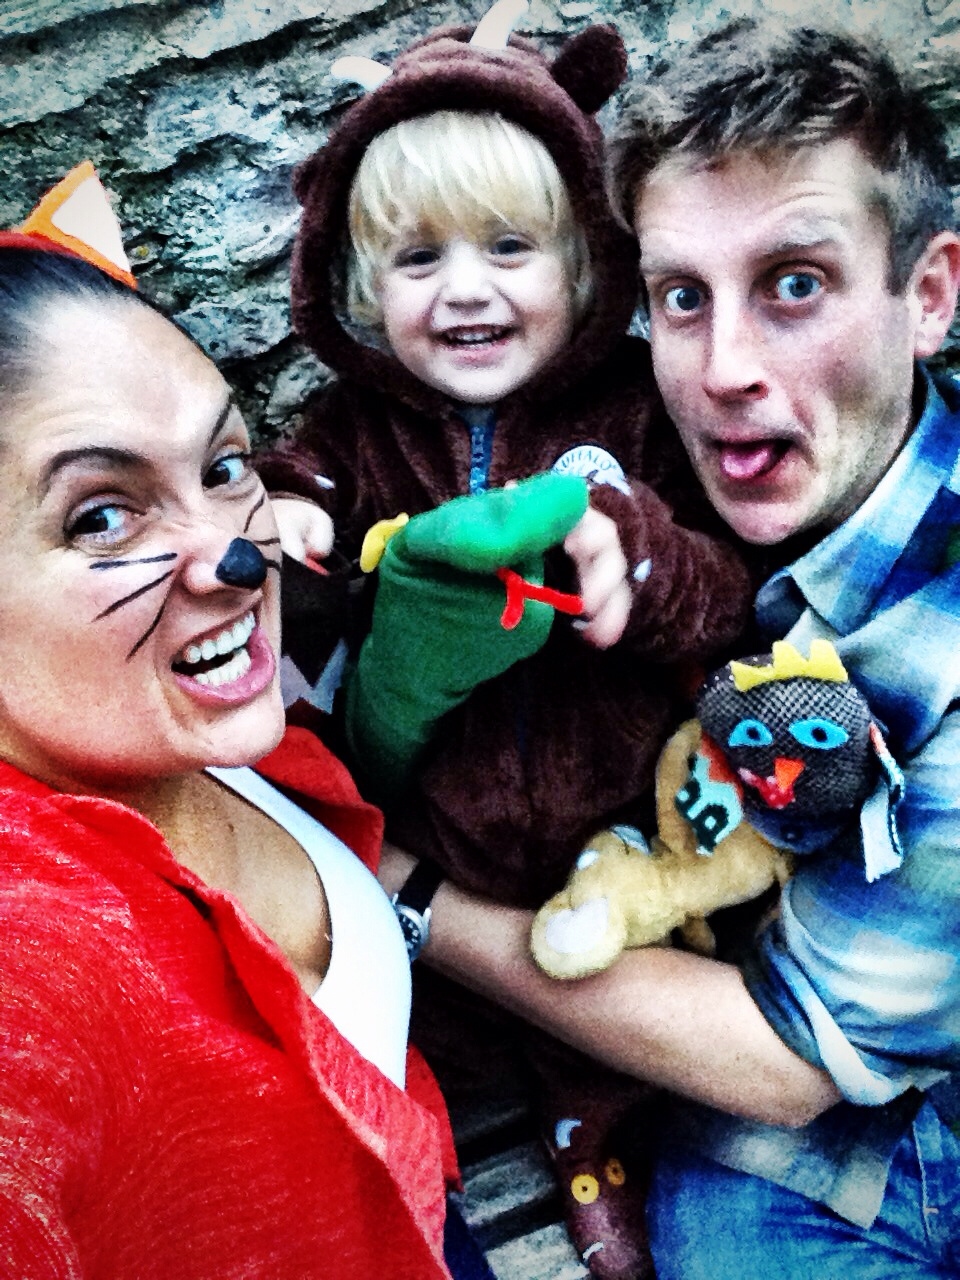
Last year I found a little collection of Christmas finger puppets which definitely put a smile on Arthur’s face. They were handy as December unfolded, providing something to keep him entertained at family gatherings and on journeys to see friends. This year I couldn’t resist a Gruffalo’s child set to spread across several days though this is rather more than I was intending to spend. I think I’ll be making my own next year!

5) Balloons

IMG_7445

Again an easy crowd pleaser, blowing up a balloon never fails to get Arthur excited – by the time Christmas came around last year he had a whole collection to play with.

6) Plastic animals

Arthur loves these little Schleich plastic animals, and as long as he’s being supervised I’m happy for him to play with them. They’re a bit more expensive than my other gift ideas, but I might slip in one or two as an extra special treat.

7) Christmas socks

IMG_7347

What would Christmas be without some festive socks to keep toes toasty warm? And the ones that fit on tiny feet are perfect for squishing into a pocket on an advent calendar.

8) Stickers

A really easy and cheap solution, little festive stickers (cut from larger sheets) are perfect to slip into the smaller pockets.
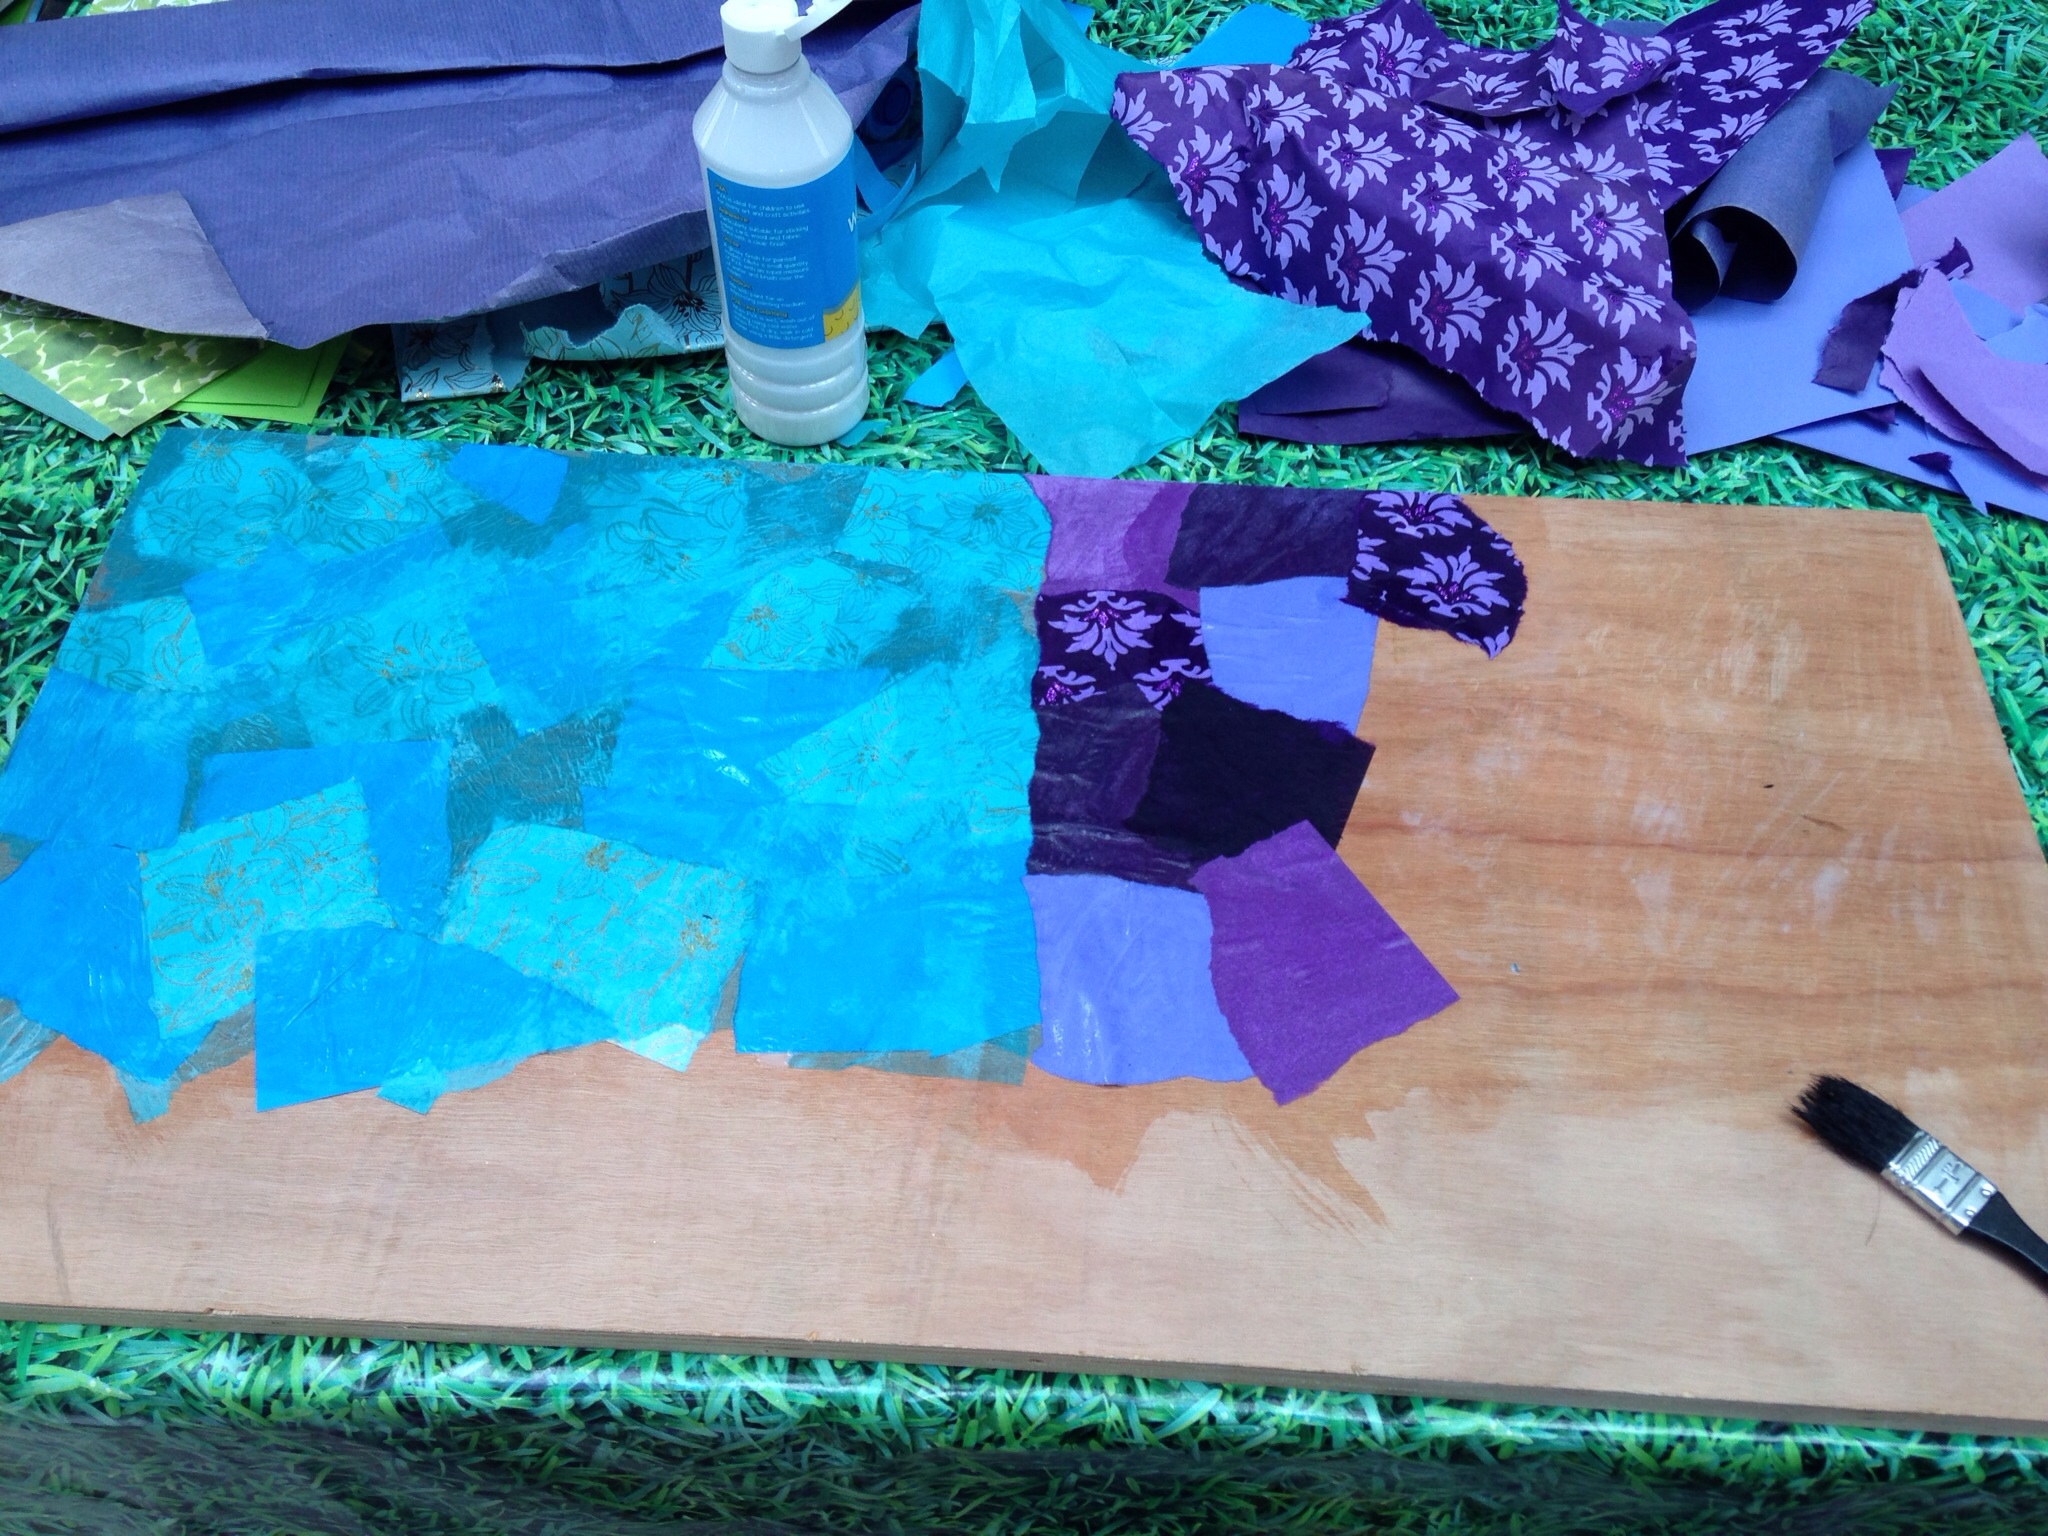
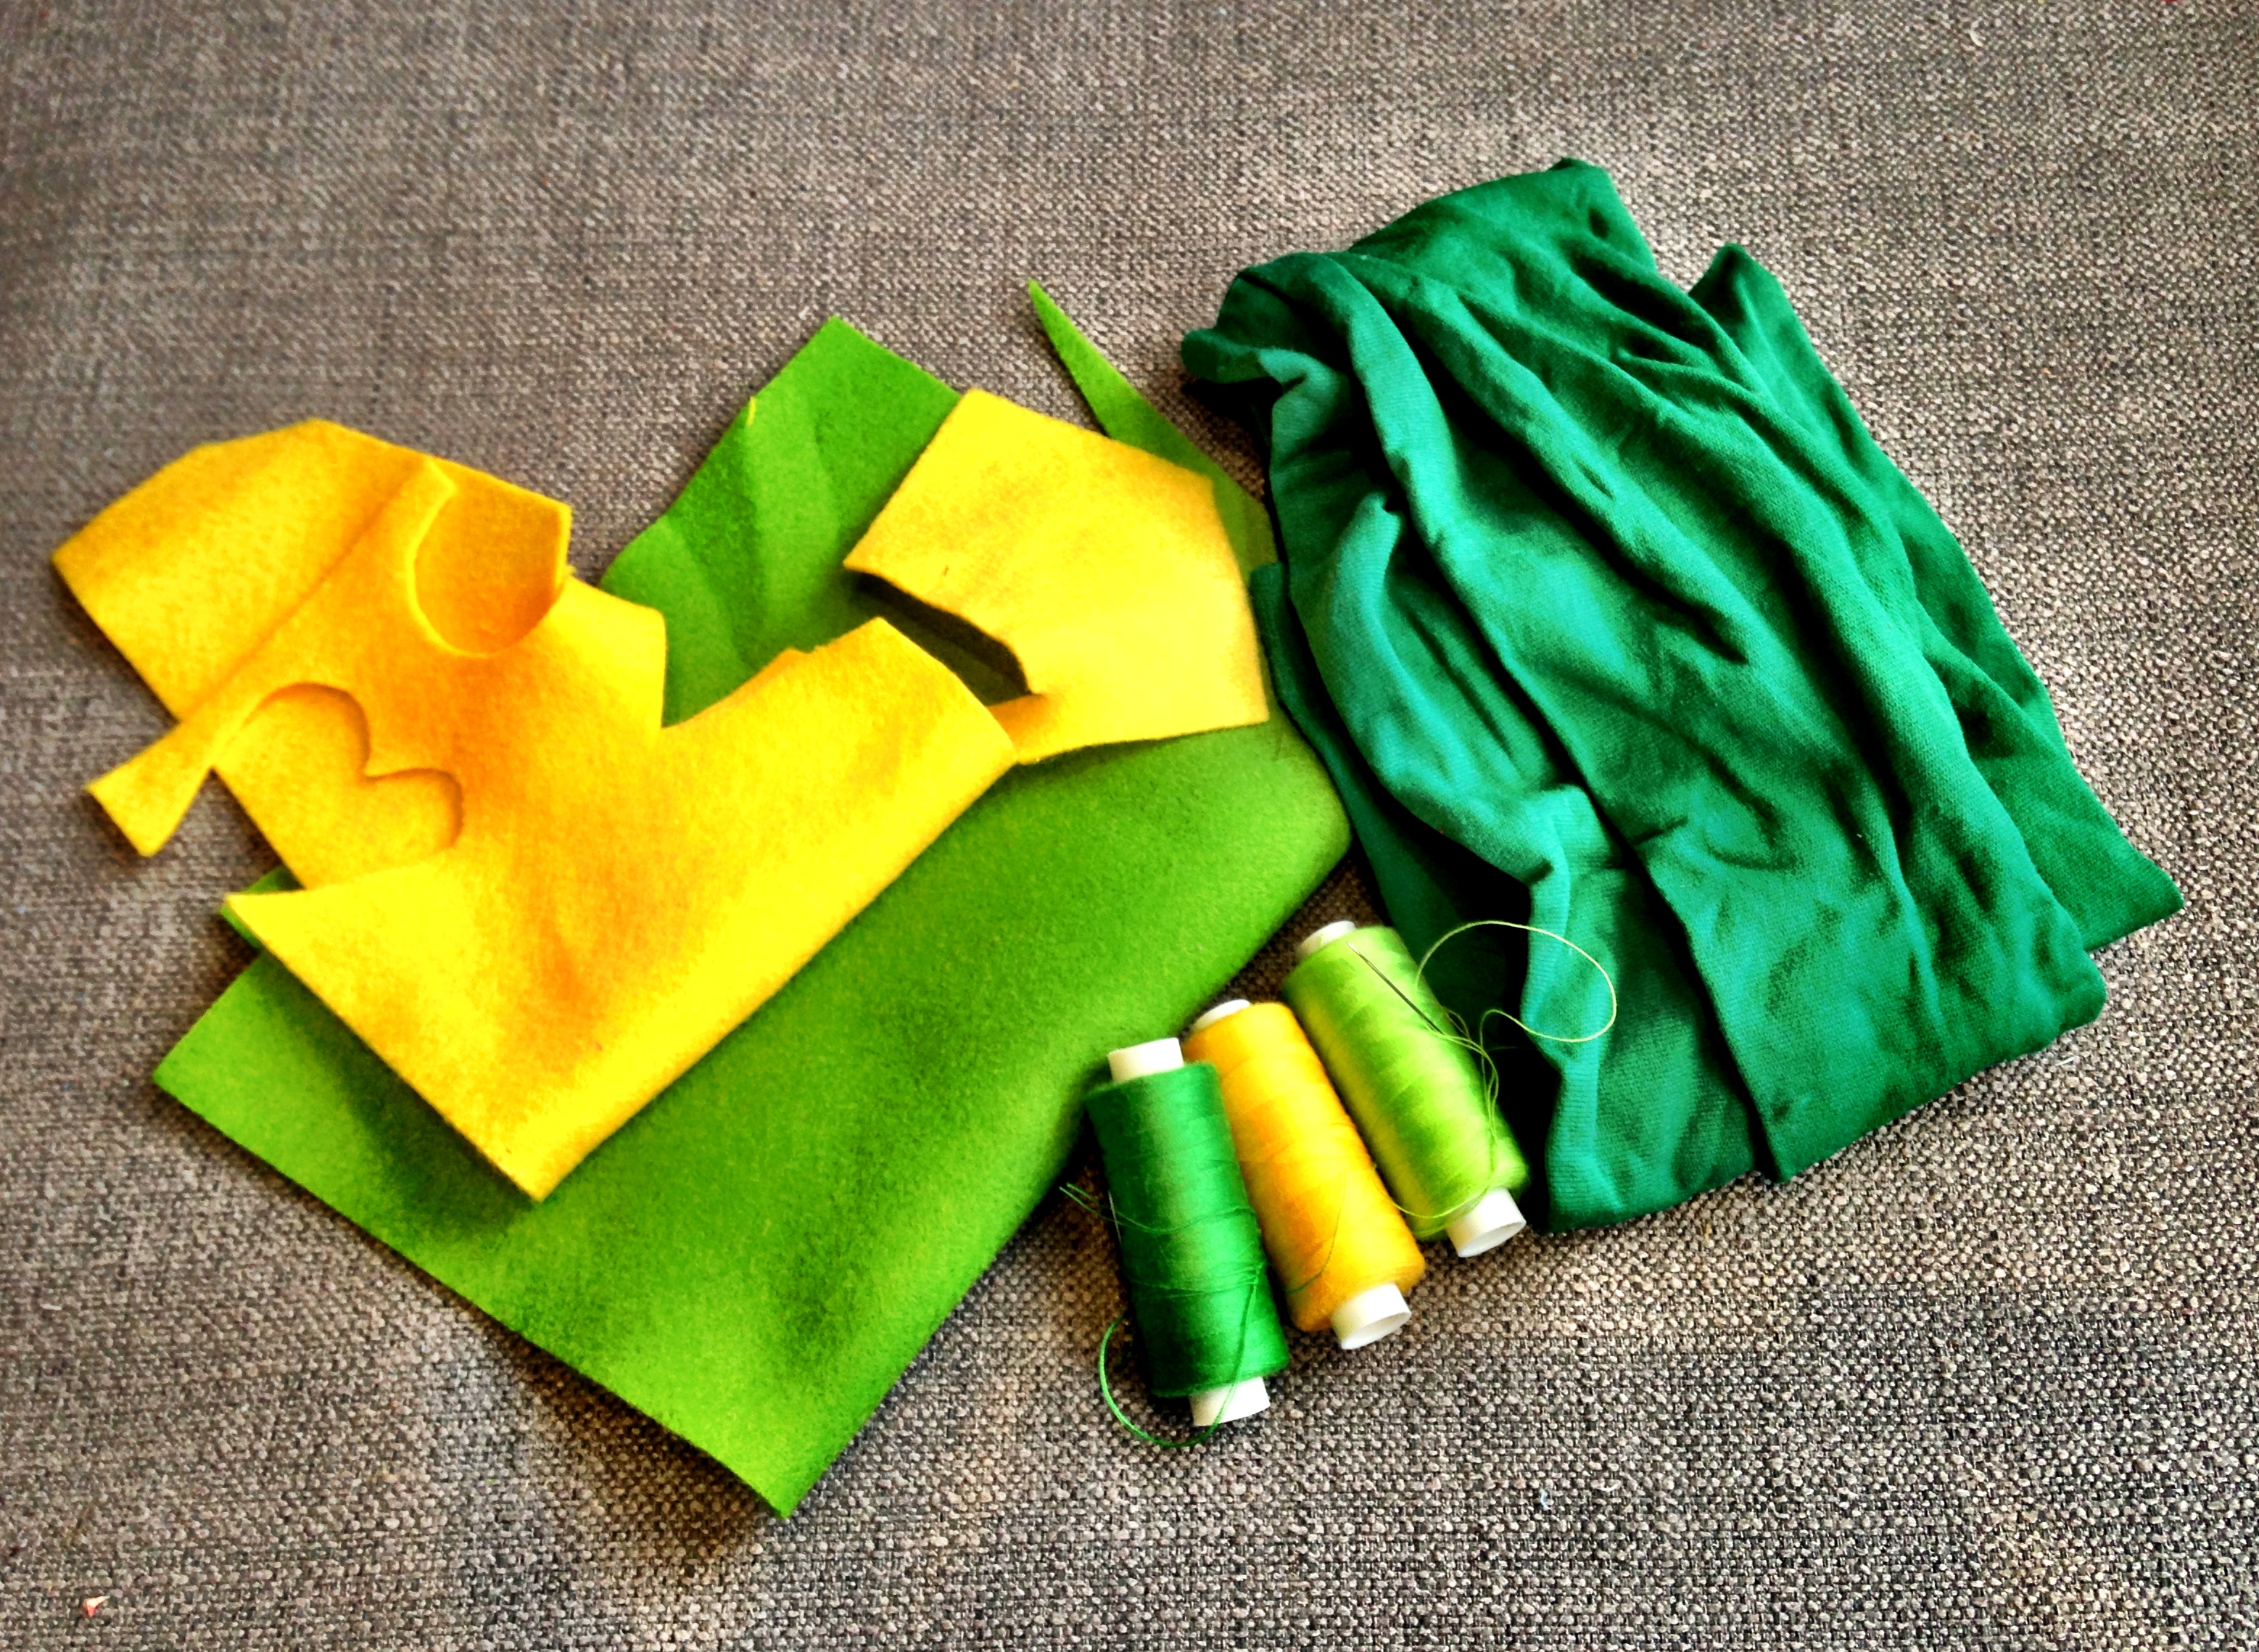
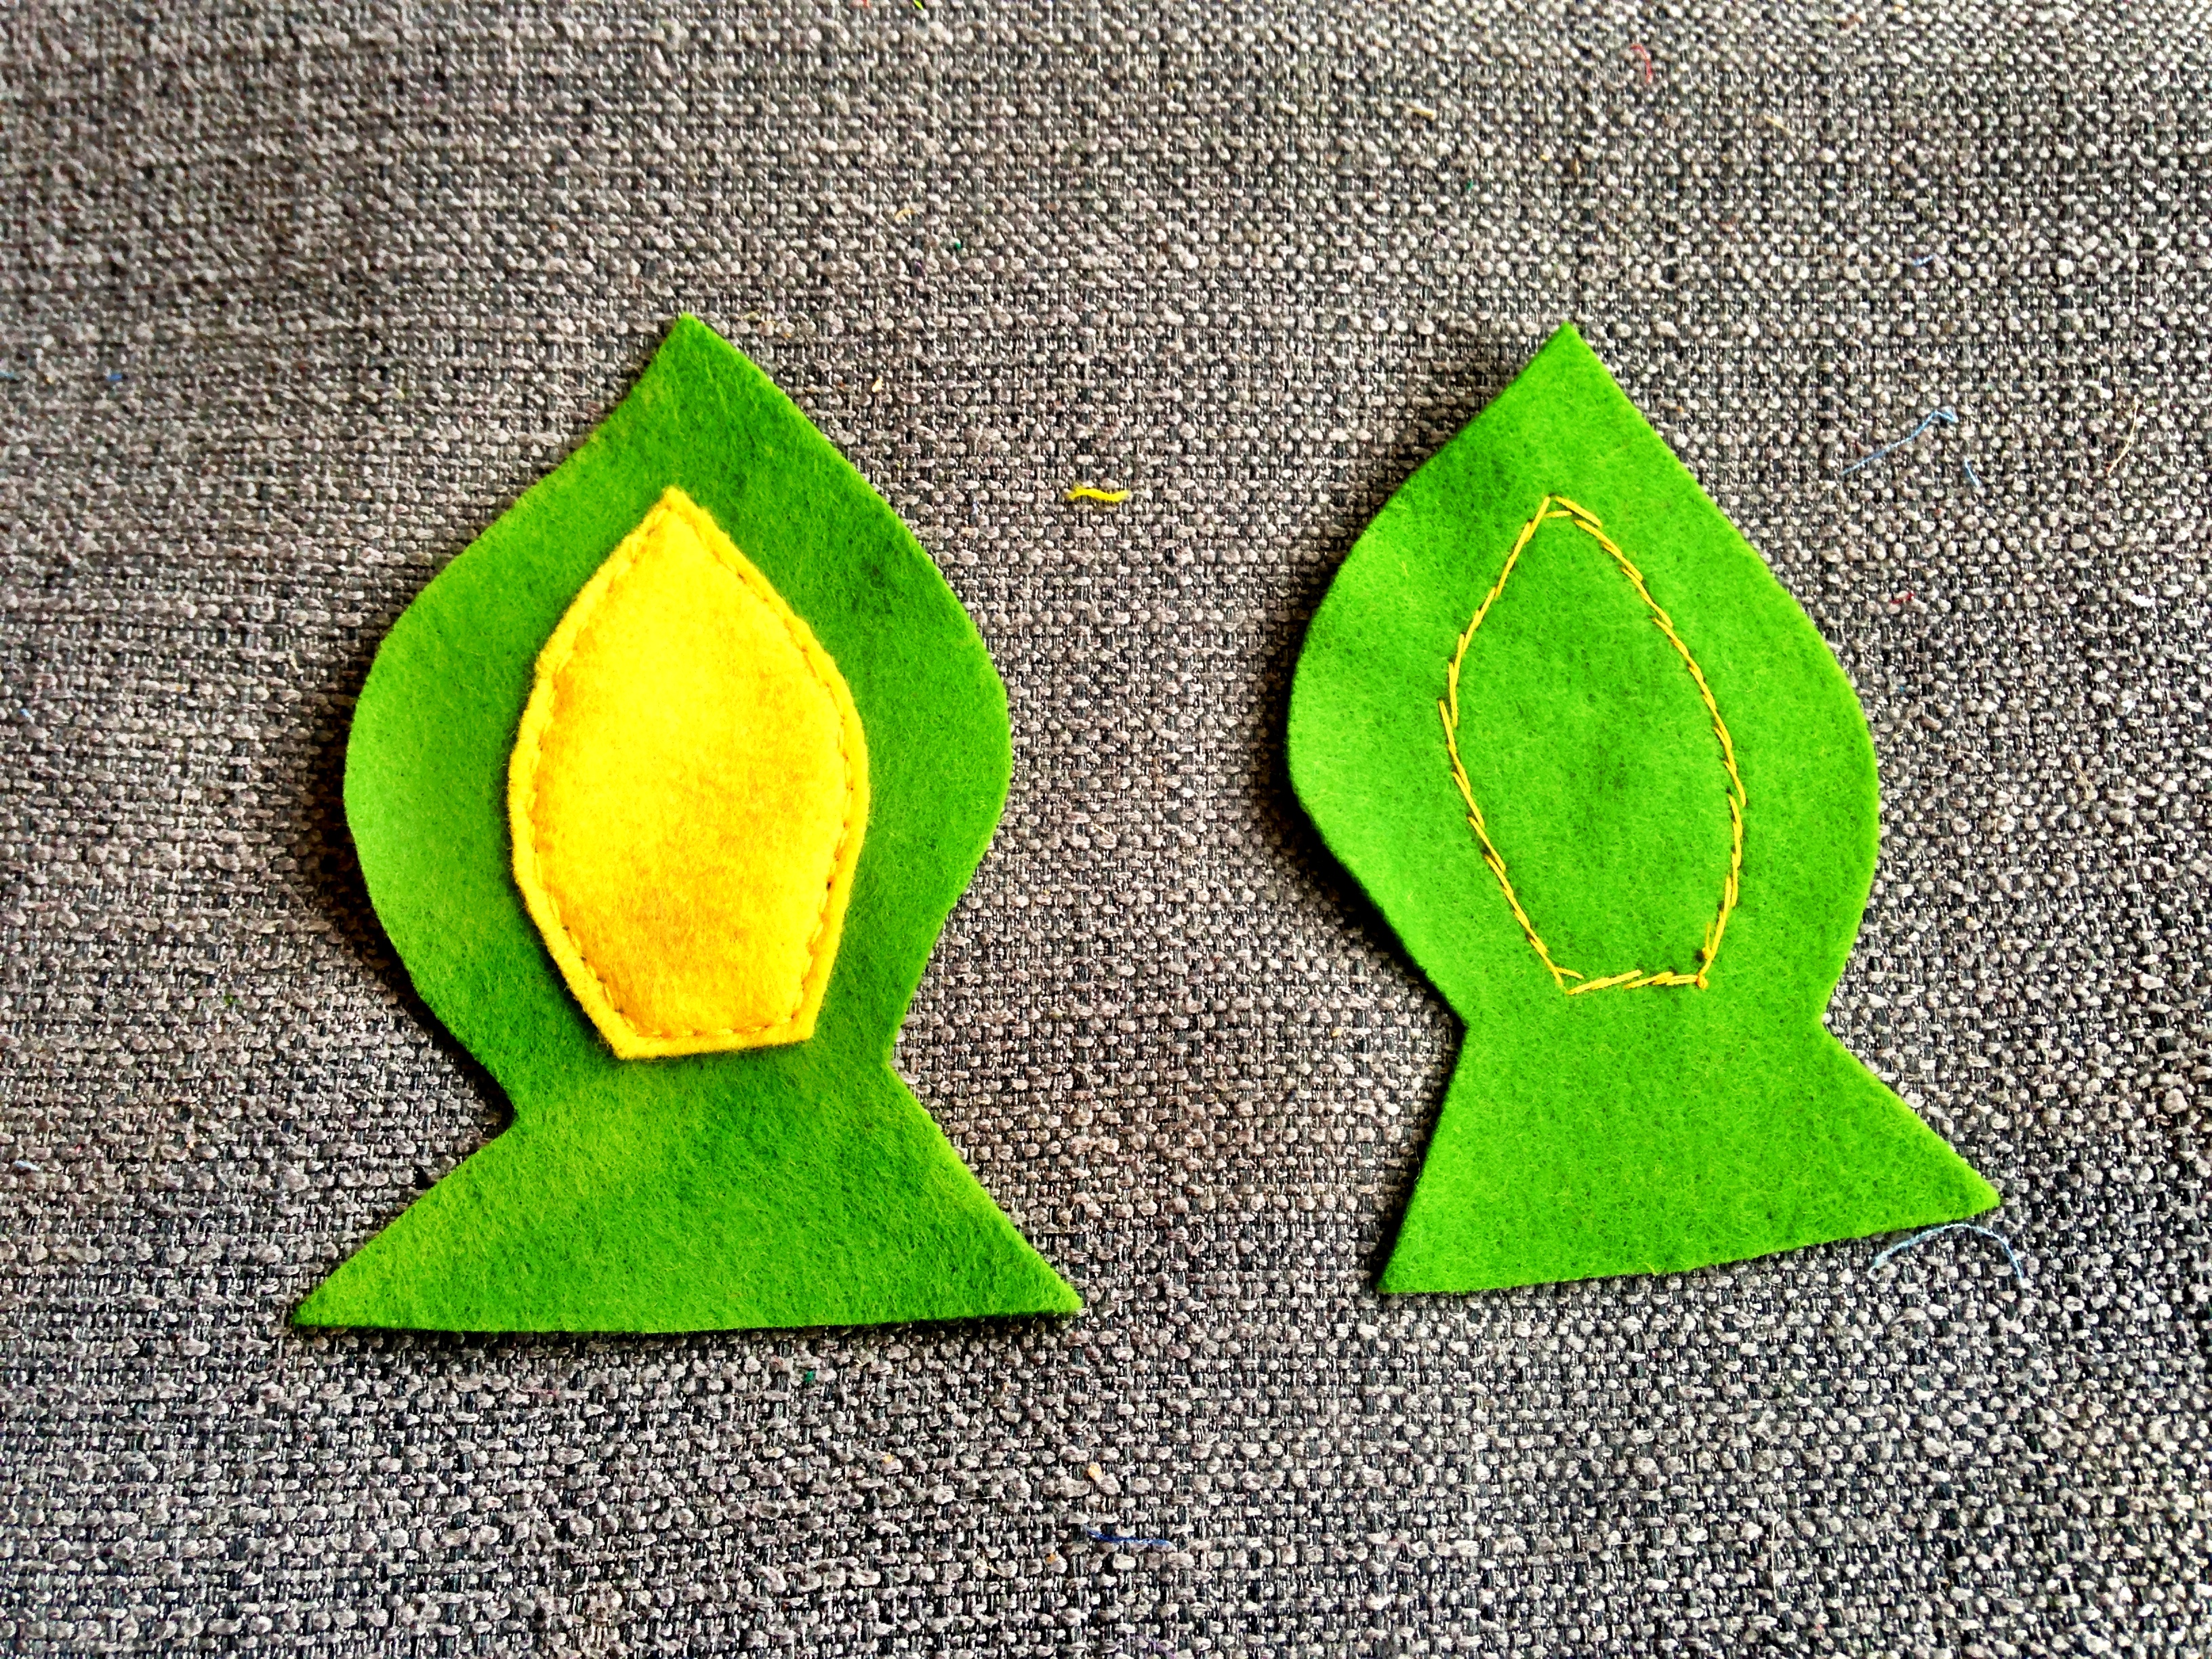
9) Tree decorations

IMG_7379

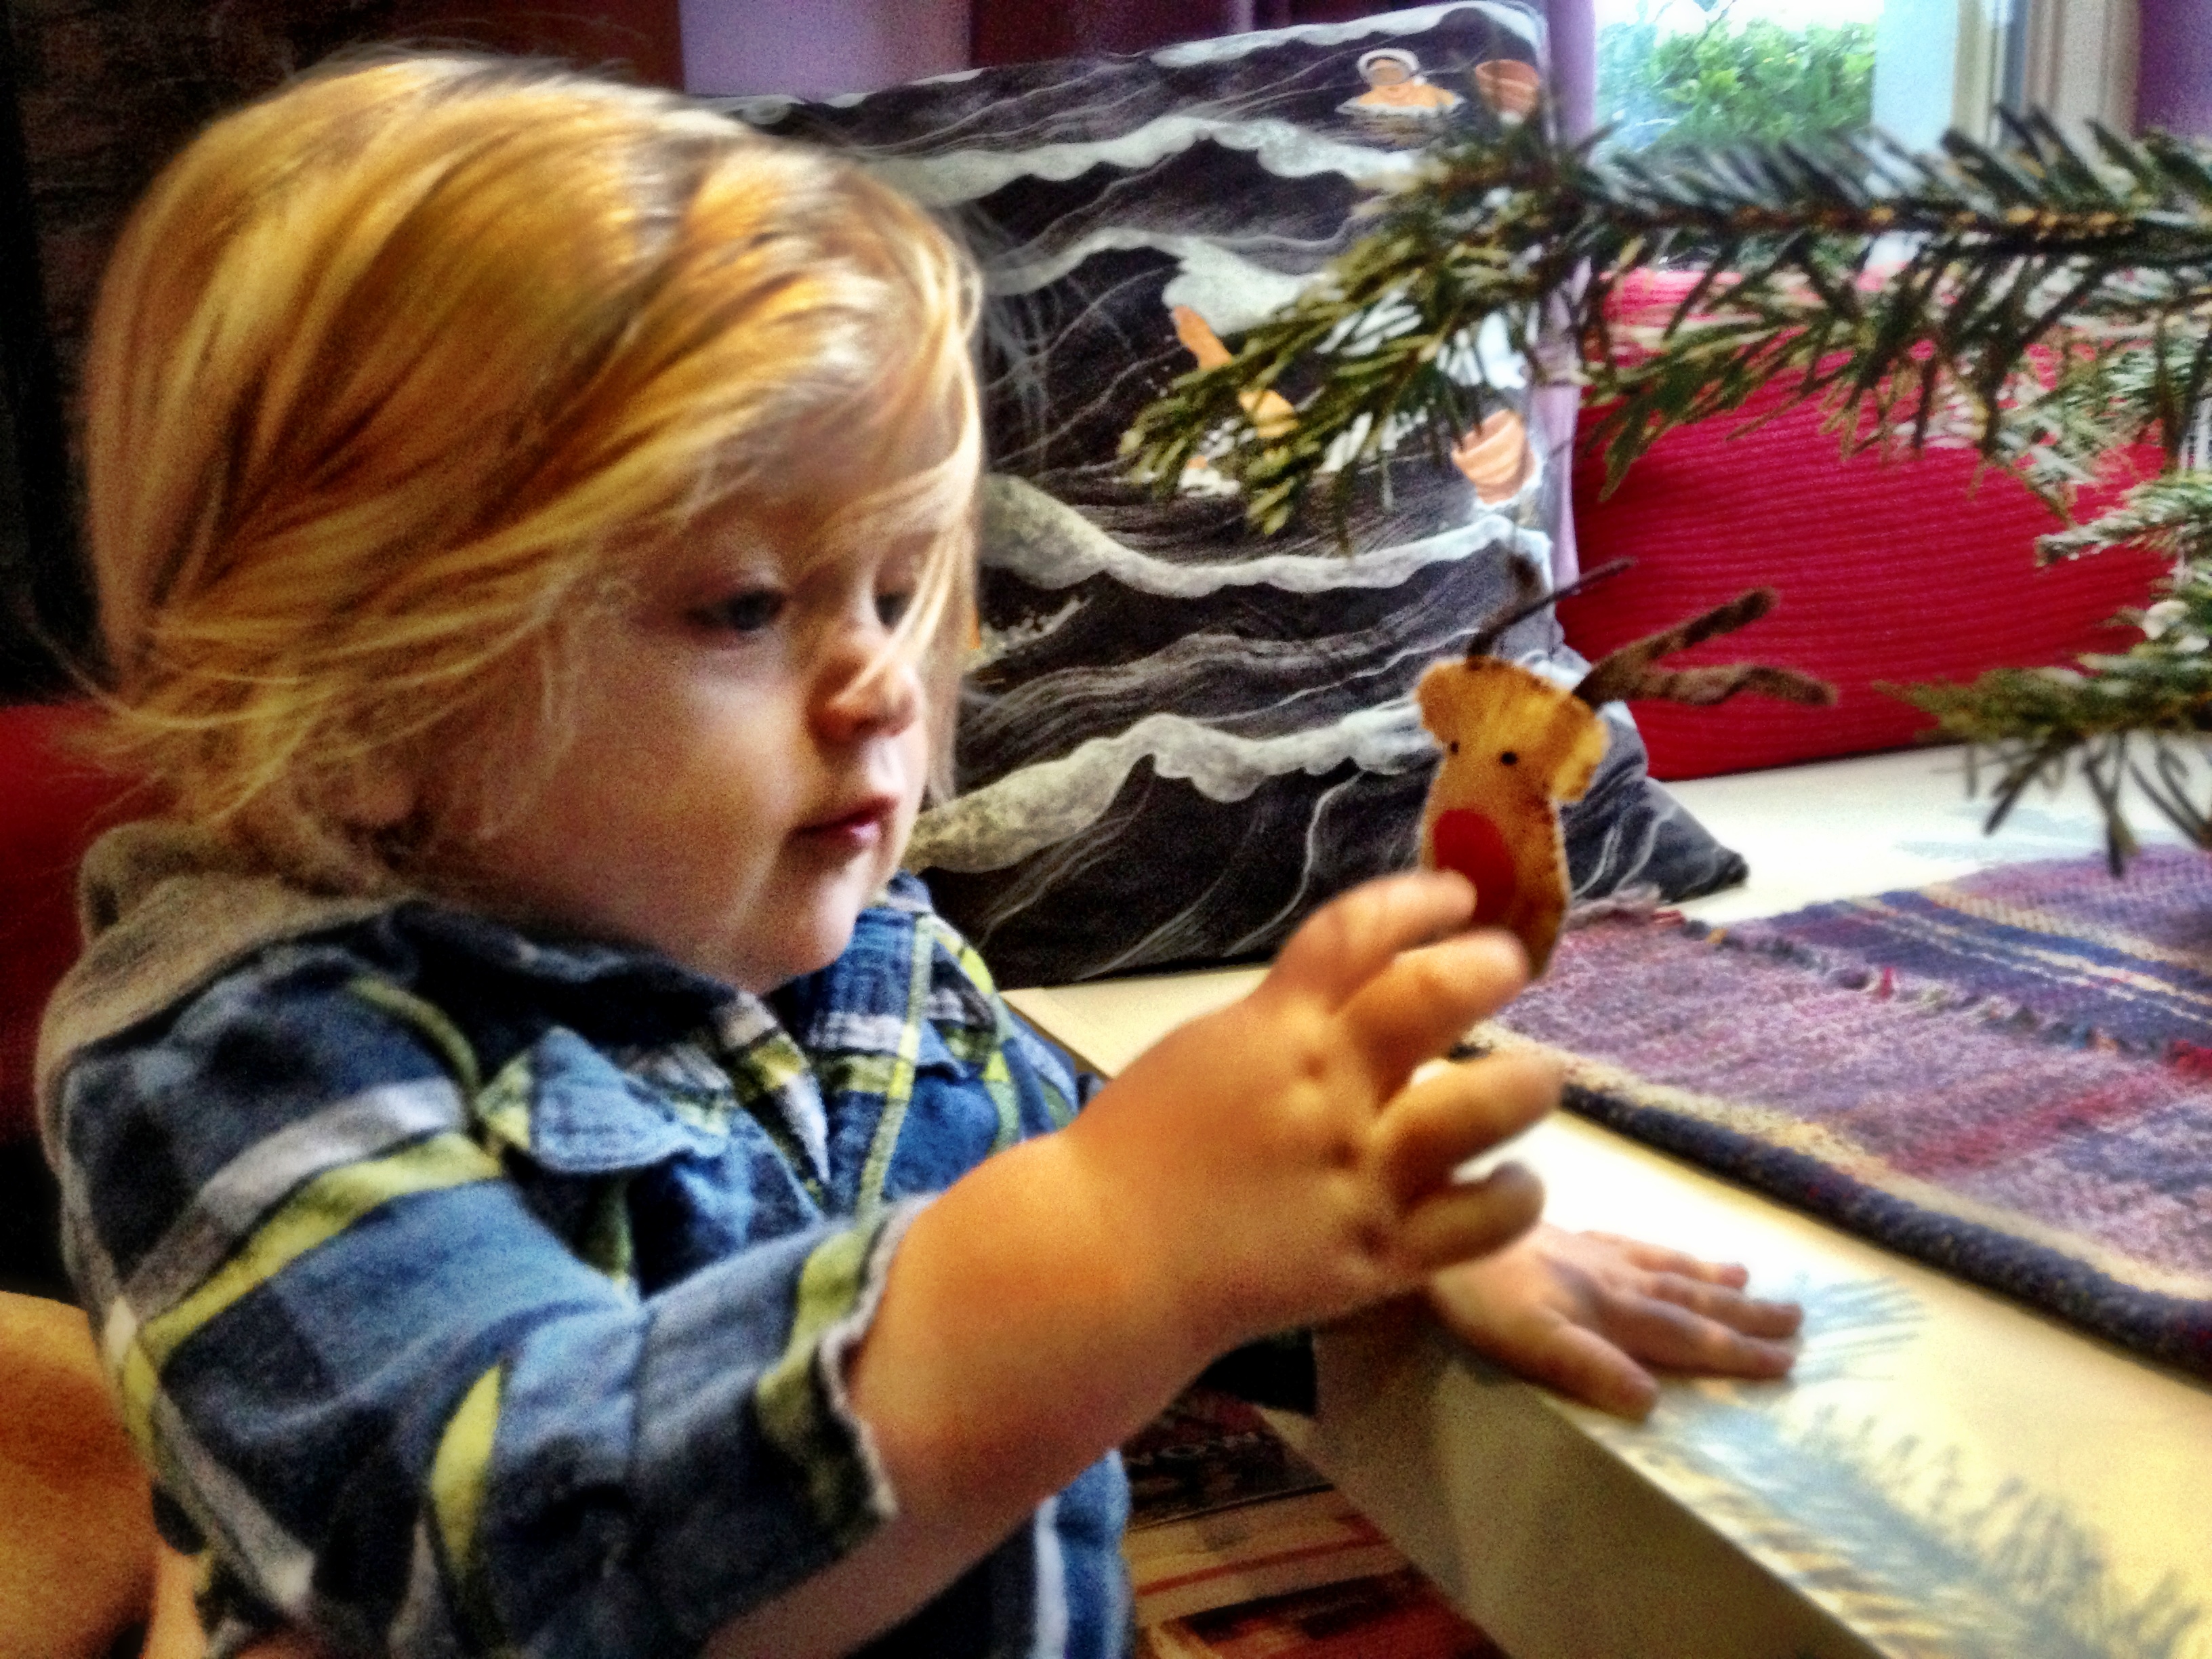
I made some little felt decorations last year that Arthur and I could hang on the tree together. He really loved it, so that’s another idea I’m going to repeat.

10) Treasure map

I’ve just come across the concept of Christmas eve boxes, which I think are a lovely idea and a tradition I very much intend to steal. The perfect place for some new pyjamas, a Christmassy book, maybe a couple of carrots for the reindeer… So this year my 24th December pocket will contain a map – and together we can hunt down this final extra special pre-Christmas treat!

So there you have it! Ten different ideas for toddler-friendly advent calendar gifts, many of which can be made or bought very cheaply, and with a couple of variations on each theme easily enough to fill twenty four little pockets.

I’m always on the lookout for new inspiration though, so if you have any other ideas then please share them in the comments.


Mums' Days

Making an advent calendar

image

This time last year, I decided I wanted to make Arthur an advent calendar. I wasn’t keen on him having a chocolate one – and besides, that’s always been a bit of a minefield with my nut allergy – but I wanted a way to make the countdown to Christmas special.

I looked at the various ideas available online, and whilst there were lots of great designs none of them felt quite right. So the only thing for it was to come up with something myself.

After paying a visit to our local haberdasher I came away with this gorgeous fabric by Makower. It reminded me of the winter skies above Torbay, and that’s what got me thinking… Why not create a design which celebrated where we lived? A Christmas boat sailing on the Devon seas.

I’m going to take you through my process in this post, but you could use it to create any design that suits you and your special little person. A Christmas train was my other main idea, or maybe a wintery woodland scene. As long as you can work out where to fit in the pockets then the only limit is your imagination.

You will need:

– Paper and pencil for sketching out a design

– Sewing kit – I made mine by hand but a machine would be handy too!

– Two large pieces of fabric for the base – mine were approx 110cm x 80cm

– Smaller pieces of fabric for the details – remember you’ll need extra for the pockets!

– Embroidery thread

– Finishing touches (ribbon , bells etc)

– A wooden dowel the width of your calendar with two screw in hooks for the ends

– Cord for hanging

Step one: Sketch out your design

Keep it bold and simple, and remember to incorporate the all-important pockets.

Step two: Create your ‘canvas’

image

I split my scene into the sea and the sky, and backed it with some sparkly tweed I found online. The thicker fabric was pretty handy to help give the finished product some solidity. Sew around three edges of your canvas but keep the top edge open – that way you can hide all your stitching. Alternatively you could leave the backing until the very end – maybe easier if you’re using a machine…

Step three: Start to add the detail

image

image

Depending on your design you may wish to create templates for some or all of it. I freestyled the boat but created paper templates for the smaller elements.

Step four: Create the pockets

image

Again depending on your design these may be intrinsic to the design elements (for example the sail pockets and the portholes) or added on later (like the stockings and the fish). You will need to decide on the best order to sew the different parts together!

Step five: Add your numbers

image

I actually left this until the very end, but in retrospect it would probably have been easier to add the numbers before sewing everything on to the base. I looked at various patches/ pre-made numbers, but in the end decided that embroidering them on would be the best way to get the effect I wanted. I just used a simple back stitch, but you could really go to town with this if you have the skills!

Step six: Put it all together

image

Once you have all of the elements of your design ready then all that remains is to sew them on to the base. This would be way quicker using a machine, though I did find the hand sewing quite therapeutic on dark November evenings!

Step seven: Get ready to hang

image

Once the design was complete, I folded over the top and created a space for the pole to go through for hanging – because of your double layer, you should be able to stitch the back in such a way that it doesn’t spoil the front of your design (the little robins *may* have come about because I messed this up at first…). Then slip the dowel through, screw a little hook to each end, tie on the cord and you’re ready to go.

image

The next challenge is to find twenty-four little gifts to go inside the pockets – but that’s a story for another post… Suffice to say, Arthur loved it. I can’t wait to get it out again this year!


 photo 93142f35-6d39-479f-b3de-d94dbca68162_zps58499252.jpg

Halloween creations

IMG_0532

One of my favourite things about halloween is the excuse it brings to begin getting all creative again. It’s the time of year when the darkness is beginning to draw in faster than you can blink, the only benefit of which as far as I can make out is more hours to spend inside making things – and (whisper it) to begin limbering up those creative muscles in time for Christmas.

I had more ideas than I had time this year – predictably perhaps, but also because I’d set the end of October as the deadline for finishing the second draft of my novel. Despite that I still managed to fit in some little projects which I will share with you here.

Costumes

Now Arthur’s costume this year was a piece of cake. He is still just a little bit obsessed with The Gruffalo, and having found him the perfect onesie and wellington boots his outfit for the best part of last week was sorted.

IMG_0511

When it came to halloween itself though I was keen for Leigh and I to join in. Having toyed around with various ideas, all of which I quickly dismissed as way too ambitious, I set out to solve this creative challenge with two socks and a pair of tights.

IMG_0527

The snake came first: a few bits of felt and a red pipe cleaner turning a green football sock into the easiest puppet ever.

IMG_0526

IMG_0524

IMG_0525

Then came the fox. I’d already decided to pinch a pair of Arthur’s baby-led weaning ears, but I was not going to pull it off without a nice bushy tail. This is where the lovely orange tights came in: stuff one leg with a generous helping of toy filling (I had some kapok left over from another project but anything would do), then cover it with the other leg for a nice deep colour and extra stability.

IMG_0523

I used some extra pipe cleaners to give the tail a bit of bend too, just twisting them down into the stuffing, then embellished the end with a couple more scraps of felt.

IMG_0522

A length of elastic folded into the open end of the tights and sewn firmly and hey presto! A tail.

IMG_0521

The second sock was going to be transformed into the owl, but I have to admit that I ran out of time, resorting to something I’d made earlier…

owl

(It was actually the result of a make a monster kit from Donna Wilson that Arthur had been given last Christmas, but it does look an awful lot like an owl).

It all came together pretty well in the end, and alongside Arthur’s Gruffalo we had me as the fox…

IMG_0515

And Leigh as the snake (and the owl)…

IMG_0519

And together we were the cast of The Gruffalo!

IMG_0516

Arthur actually won a fancy dress competition for his costume on halloween night. I felt a bit bad at first seeing as all the other costumes kids were wearing had clearly taken considerably more time and effort than slipping on his onesie, but then I figured that with us as his ‘props’ he could hardly not win really!

Pumpkins

Now initially we had grand plans for Gruffalo pumpkins to go with our general theme. Arthur and Leigh had sat down to do some research a couple of days before, discussing possible images as Leigh hollowed out the pumpkins ready to begin.

IMG_0530

IMG_0531

But then we got distracted, and didn’t actually get round to beginning the carving till half an hour before we sat down for dinner on Friday. So we decided to go with something simpler, aiming for sort-of self-portraits. Leigh and I did our own, and then I carved Arthurs as a cat-mouse-gruffalo sort of creature. The resemblance is uncanny, don’t you think?

IMG_0514

IMG_0520

Baking

Now after all that lantern-carving we were left with an awful lot of pumpkin guts to deal with, and it seemed like a terrible waste just to throw them away. So I decided to do some baking – Arthur and I had a playdate during the day on Friday and it would have been a shame to turn up empty handed!

IMG_0528

I used some of the pumpkin to make spiced pumpkin muffins using this recipe, and iced them with a cream cheese frosting – yum! I also rustled up some gingerbread cats for good measure – here’s the recipe for those, but they didn’t contain any pumpkin.

IMG_0517

We had planned to put the rest of the puree into a pumpkin pie to enjoy after Sunday lunch with friends, but actually after a bit of research we discovered that your everyday pumpkin doesn’t actually make an especially good pie. So Leigh made a squash and sweet potato pie instead, adapting this recipe. It was so delicious I just had to share…

IMG_0533

So there you have it: this year’s halloween creations. I’m feeling well and truly limbered up for christmas now. But that’s still ages away, right?


 photo 93142f35-6d39-479f-b3de-d94dbca68162_zps58499252.jpg

A boy in a tutu

IMG_0081

Next weekend, we’re going to a garden party with the theme of ‘A Midsummer Night’s Dream’. Now I need little excuse to dress up, especially if that dressing up can possibly involve tutus. But I’d been pondering a little what to do for Arthur… I was working generally around the idea of ‘woodland elf’, but was having trouble finding anything terribly inspiring. And then we went to my friend’s daughter’s first birthday party. And she was given a tutu. And it looked fabulous.

It got me thinking that maybe I was being a little narrow-minded in not including tutus as part of Arthur’s dressing up repertoire. I mean, tutus come in all sorts of styles and colours, and surely I could find one that would be fun for a little boy? Having trawled the internet though I could find nothing that wasn’t incredibly girly or incredibly expensive. But what I did find was a great little tutorial for no sew tutus – the perfect style for a woodland elf too rather than the more manicured ballerina-esque approach.

Using the tutorial as a guide I rustled up a tutu in no time at all. I’m fairly free-form in my approach to making things, but I’ve tried to break down how I did it here in case you feel the need for a tutu in your life!

Super easy tutus (for girls OR boys)

You will need:

Net in your choice of colour(s) – how much will depend on the size of the tutu, for Arthur’s I used about 4m off the roll

A length of elastic to fit round the waist

Basic sewing kit

Step One:

Cut the netting into strips – about 10 cm wide and twice the length you want the finished tutu to be. I used equal amounts of three colours (light green, dark green and brown) which I think looked pretty cool.

IMG_0094

Step Two: 

Cut a length of elastic to fit around the waist. You want it to be stretched quite tight as the process of making the tutu loosens it a bit. I sewed the ends of the elastic together, but you could knot it if you prefer.

IMG_0093

Step Three:

Find something to use as a frame for making the tutu: you want the elastic to be tight enough not to fall down but not stretched too much. I started off with the piano stool but that was actually a bit too big. The handle of Arthur’s walker was a much better size!

Taking each strip in turn, fold it in half, put the loop at the top over the elastic and then draw the two ends through and pull tight. I didn’t manage to get a very good photo of this process but hopefully you get the idea…

IMG_0097

Keep going all the way around the piece of elastic. The tighter the knots the more strips of net you’ll need but the fuller the tutu will be.

IMG_0089

Step Four:

Try the tutu on for size!

IMG_0088

Arthur was a little bit sceptical at first but as you can see from the picture at the top of the post it wasn’t long before he was loving it!

I made one for myself too, following exactly the same process but just sizing everything up. The upturned piano stool was perfect this time.

IMG_0084

So there you have it: two gorgeous tutus ready to party.

IMG_0083

Leigh was feeling left out by the time I was done so I’ll be making him one too this week. Watch this space to see how his turns out, and also for all of our finished costumes! Just a few more bits to do…


 photo 93142f35-6d39-479f-b3de-d94dbca68162_zps58499252.jpg

Making a toddler activity board

Over the past couple of weeks, Arthur has become obsessed with hanging things wherever he can manage to get them to stick. It started with his beloved Ukulele – balanced on the edge of a sideboard or hanging from the lamp in the kitchen. The other morning he was very pleased with himself when he hung a bag of nappies on the doorknob, though adding the hat was a little trickier. Now wherever I go around the house there is evidence of this new game he’s invented for himself.

image    image

image    image

It got me thinking: was there something I could make that would help him practise this new skill, and maybe discover some new ones whilst he was having fun with that? Then I remembered we had some cup hooks kicking around somewhere, and an idea was born.

Toddler Activity Board

image

You will need:

  • A rectangular piece of wooden board: ours was 80 x 40 x 2cm
  • Colourful paper for the background
  • PVA glue
  • Metallic or grey paper for the ‘shadows’
  • Card for templates
  • Cup hooks
  • A selection of different coloured felt
  • Ribbon for hanging

As well as the usual paint brush/sewing kit/basic tools!

Step One

I decided I wanted the background of Arthur’s board to be night and day: we’re still having issues with frequent night waking so this is something we need to discuss with him! Once I’d gathered my range of papers in three colours (blue for day, purple for night and green for the grass), I began by creating this background.

image

I used standard PVA glue – full strength as a base for sticking then diluted 50-50 with water as a glaze for over the top.

image

I was pretty pleased with the finished effect – it looked even better when it had dried!

image

Step Two

Using this background I wanted to create a simple scene using things that are just beginning to be in Arthur’s vocabulary. I decided on a house, the sun, a cat, a tree, an owl, a star and the moon. I drew the shapes on to card, then cut them out to use as templates.

image

Step Three

I wanted to create ‘shadows’ on the board so that part of the activity became matching shapes. I decided to use gold paper on the ‘day’ side, and silver for ‘night’. Once I’d used the templates to cut out the shapes I used the PVA to fix them in place, remembering to leave space for the cup hooks and hanging shapes.

image

Step Four

Next came the cup hooks for the key hanging part of the activity. I used a mix of sizes just because that’s what we had – but actually it works quite well to add different levels of difficulty into the activity. I used a hammer and nail to make an initial hole which made screwing in the hooks easy peasy.

image

Step Five

Once the board itself was completed it was time to make the shapes for hanging. I used the templates to cut these out of felt, embellishing them a little and sewing on a loop of ribbon to each. You could go as far as you like with these, maybe even creating little stuffed shapes if you wanted something more substantial!

image

Step Six

After checking all the shapes fitted where they were supposed to, it was time to lay them out in front of the board and see what Arthur made of it!

image

He was definitely quite intrigued, though at the moment he finds hanging the shapes a bit challenging – which is a good thing as it means there’s room to grow!

image

We also found that the portability of this activity was very handy when the sun came out this afternoon…

image

So all in all a success I reckon! These are the skills I think this activity board will help Arthur develop:

  • Fine motor skills (hanging the shapes)
  • Matching shapes
  • Naming and developing vocabulary
  • Understanding night and day

It only took a few hours to make, and that was whilst keeping Arthur entertained too. I’m already thinking about the next one which might end up being a little bit more complicated!


Post Comment Love

Baby-led weaning ears

Despite being pretty convinced before we got there that I’d be embracing the world of purees, Arthur’s explorations of food beyond breast milk have ended up being very much baby-led. And we’ve loved it! I’ve loved watching the expression on his face change as he tentatively brings new tastes to his mouth, I’ve loved the delight he’s taken in a variety of textures as he squidges food through his fingers, I’ve loved how his dexterity has slowly improved so he can now pick up even single grains of rice, I’ve loved having him as a companion at the dinner table with his giggles and expanding conversation. But what I haven’t loved is the mess.

I was ready for the carpet of discarded morsels on the floor, for the smears of carefully smushed food on anything he could get his hands on, but (perhaps naively) I hadn’t quite anticipated the effect on his hair. Arthur has a lot of hair, beautiful hair, and there is nothing he loves more at the end of a good meal (and at various points during it) than running his fingers through that hair. Cute, but oh my gosh so messy.

We tried various headbands, but all the ones that fitted were invariably and unmistakably made for baby girls. I’m all up for avoiding gender stereotyping, but as the collection of photos grew and our friends and family raised a huge collective eyebrow I decided we maybe needed to find another solution. And so baby-led weaning ears were born.

I started back in the craft burst of December, creating bear ears, mouse ears and fox ears from old pairs of tights and scraps of felt.

IMG_7020


They came out rather well, and certainly did the job of keeping the hair well away from offending foodstuffs. So much so that I’ve decided to add to the collection, beginning with a pair of dragon ears that I will talk you through here.

First, amass your materials. These ears are brilliant for using up bits you might have lying around, just taking a bit of creativity to fit what you find to an appropriate creature. For the dragon I used a palette of green and yellow. You’ll need part of a pair of old tights, two colours of felt, and thread to match.

download

The first step in the actual making is to create the band itself. I tend to loosely test this on myself first, cutting a section of tights that fits snugly on my head so it will have a bit of give for Arthur. Then you simply need to sew a line along the two cut edges, turning the band inside out ready for the next stage. I use a back stitch for this which seems to hold, but feel free to bring your own sewing expertise to the details!

download-10     download-8

Before you go any further you might want to just check the headband fits your little darling. As you can see Arthur was thrilled to have me interrupt his play time to test this out:

download-9

Next it’s time to start work on the ears themselves. You’ll need four larger pieces for the main part of the ears, leaving an extra bit of felt at the base of the ear shape for attaching to the headband. These pieces should all be pretty much identical – I drew the first one freehand with tailor’s chalk then used it as a template for the others but a paper template would work well too. You’ll also need two matching  ‘inner ears’ in an appropriate colour.

download-6

Before you begin attaching the ears I’d sew the inner ears on to their base like so:

download-1

Then with a bit of pinning to get the ears in place, attaching the ear shaped parts to each other and separating the flaps to pin to the headband, you can sew it all together so it looks something like this:

download-5

I played around with the stitching a bit with these ones to give the ears a more three dimensional quality, but the other ones worked out fine just staying flat.

And that’s it! The finished ears will go through the washing machine on a 30 degree cycle, though I haven’t tested them in the drier yet. Their potential is of course not restricted to the dinner table – after chatting to a mummy friend over coffee yesterday I’m thinking that tails might be the next step to take them to a whole other level…

But as you can see they do a very good job of holding back that beautiful hair whilst Arthur tucks into his food. And all whilst looking totally adorable in the process.

IMG_6977 IMG_7420 IMG_7233 download-4

A crafty thank you

I’ve always been pants at sending thank you cards, and always, always felt guilty about it. When Arthur was born we were sent some gorgeous gifts, but the world was such a haze back then that our friends and family were lucky to receive a text message in return.

So in the wake of Christmas and Arthur’s first birthday, and in the spirit of all those new year’s resolutions, I’ve decided it’s time to make a change.

In between various other things over the last few days I’ve been making some thank you cards to send out on behalf of Arthur. I wanted to do something personalised, something that would begin to make up for lost time if you like. I was thinking handprints, but he’s really a little little to find that fun. So instead I used his hand as a template.

We had some paper left over from wrapping his presents which seemed appropriate as well as being kinda funky, so after tracing round his hand (the trickiest bit) the first job was to draw out all the hand shapes on the back of the paper.

Image

Then a bit of cutting out.

Image

Then some sticking, a bit of stamping, and voila!

Image

The lettering wasn’t all as neat as that. My stamping definitely needs some practise. But all in all I was quite pleased with them – and when I showed them to Arthur he waved, which confirms at least that they look like hands.

All that remains now is to write them and get them in the post – hopefully beginning a lifetime of guilt-free thank you card sending for our little man.